Product Details
- Brand: Curt
- Model: 13371 58044-CH1340
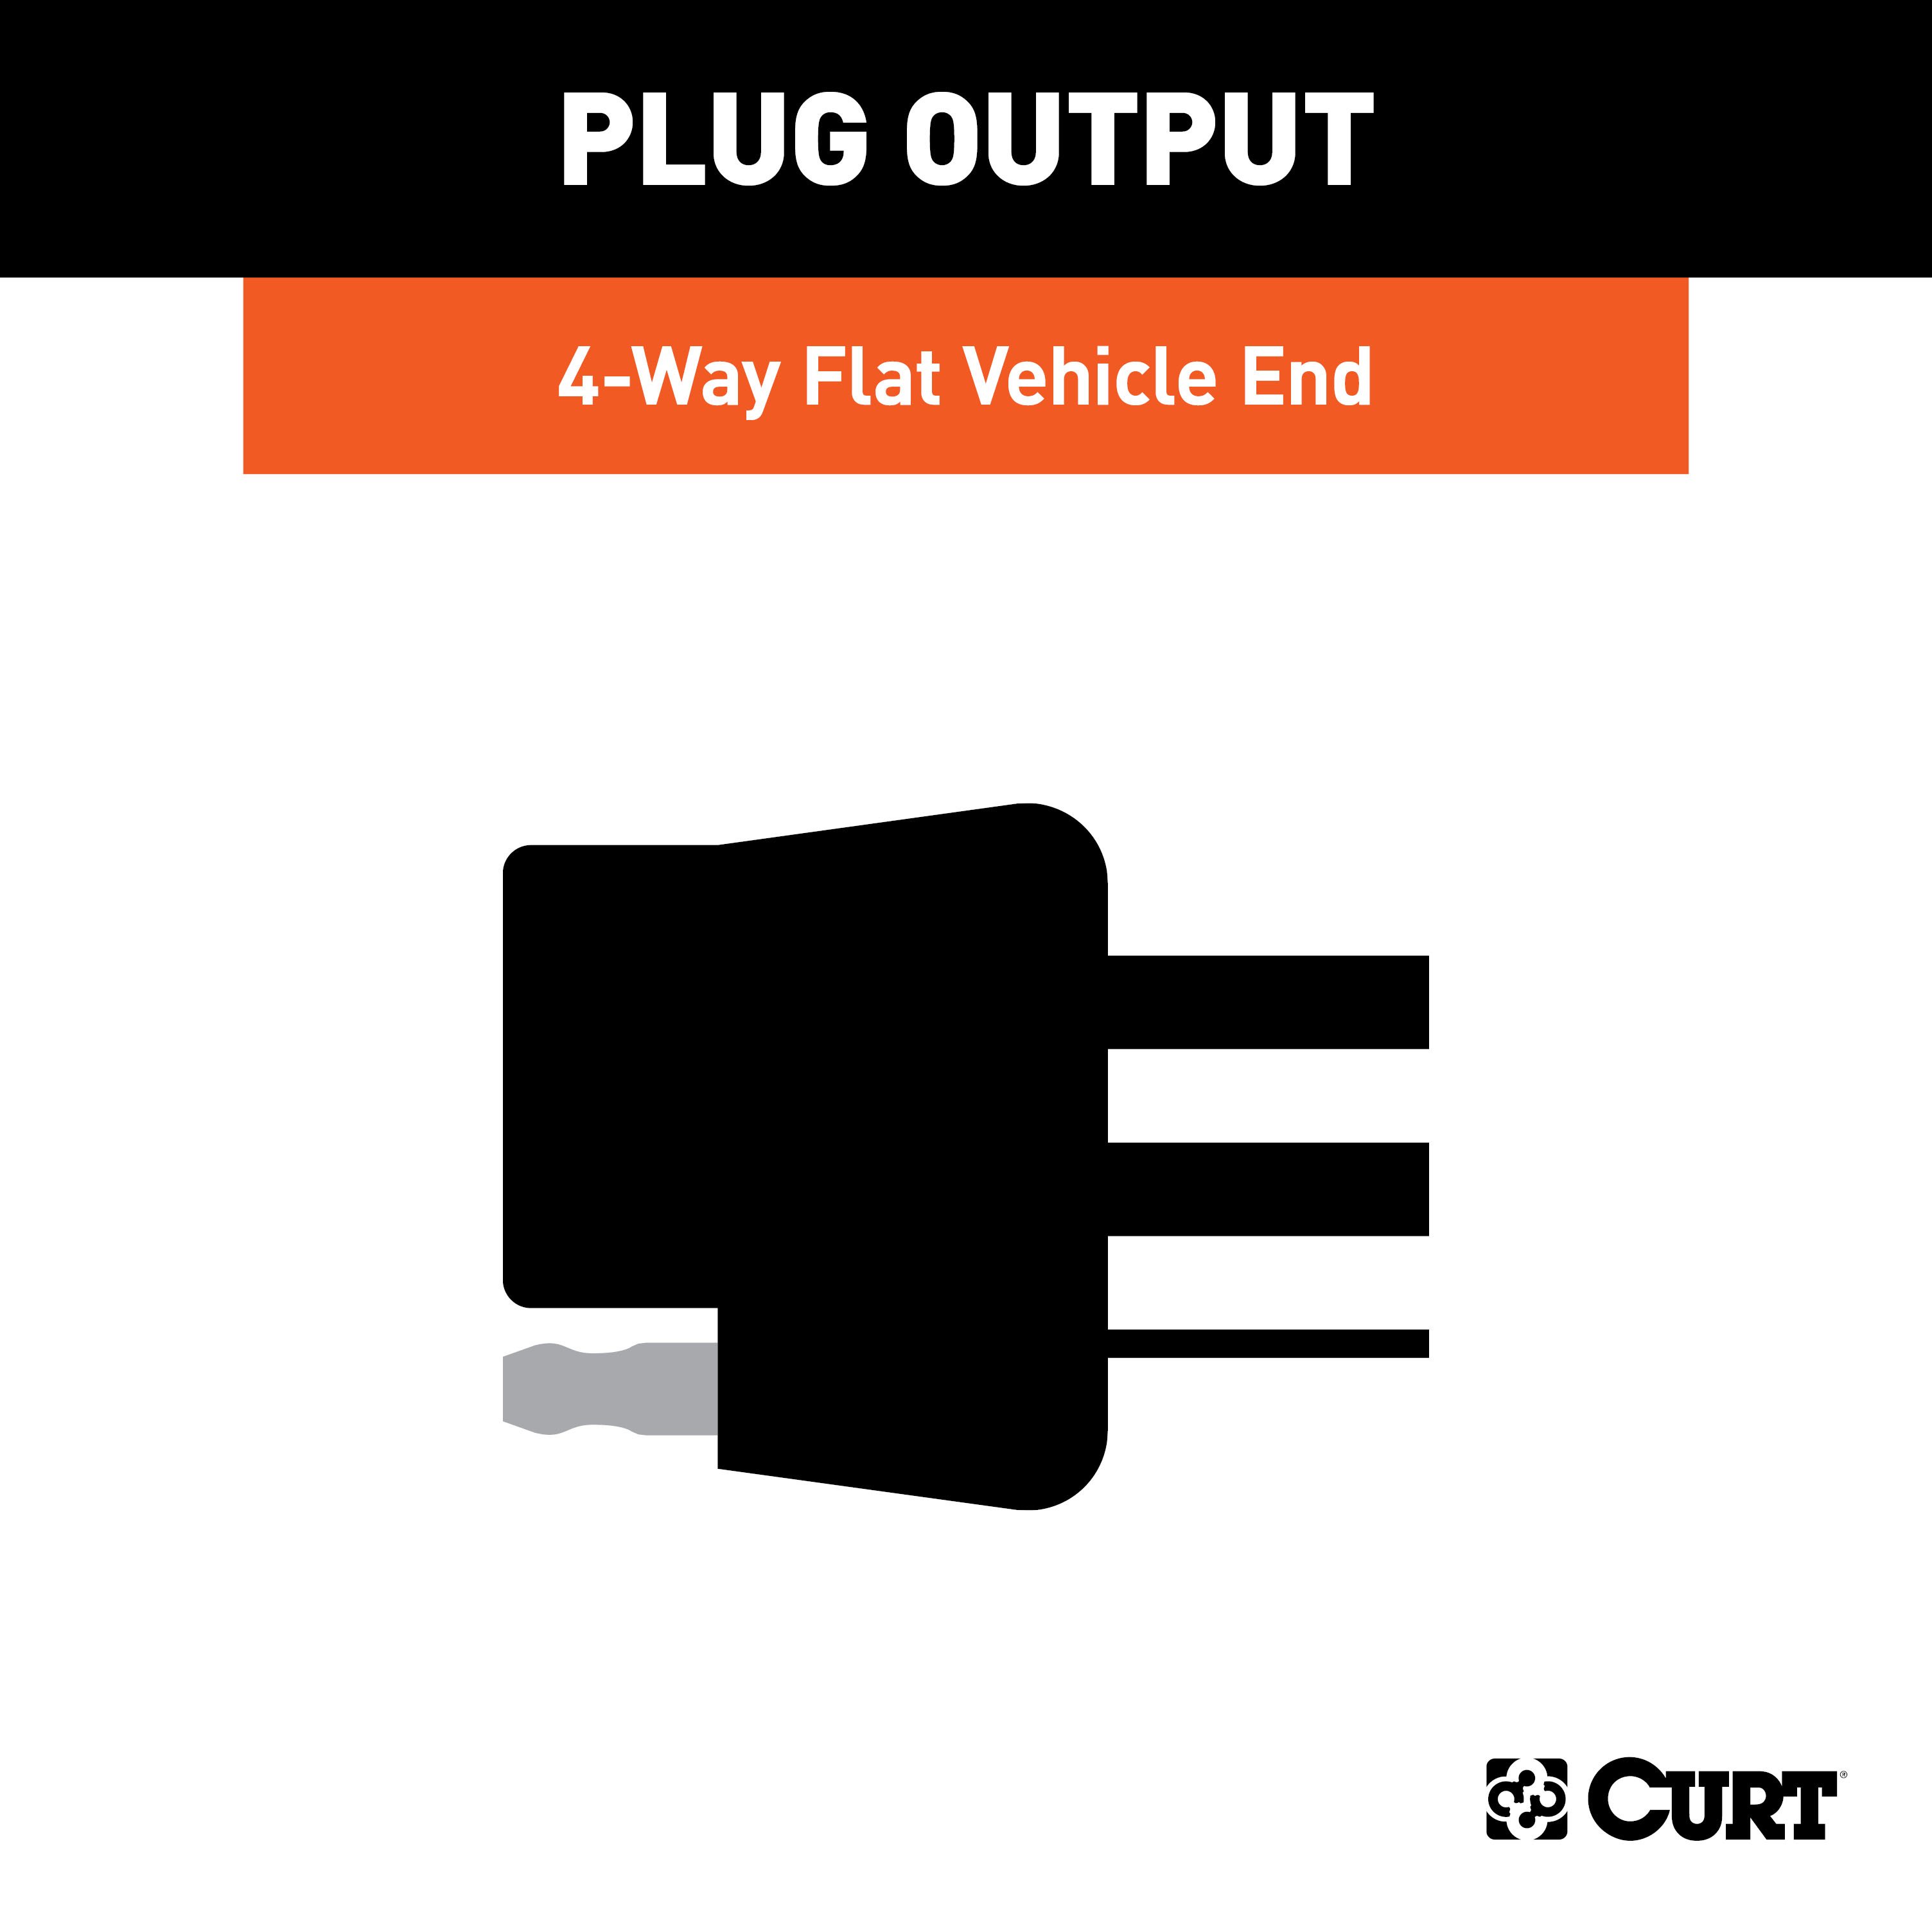
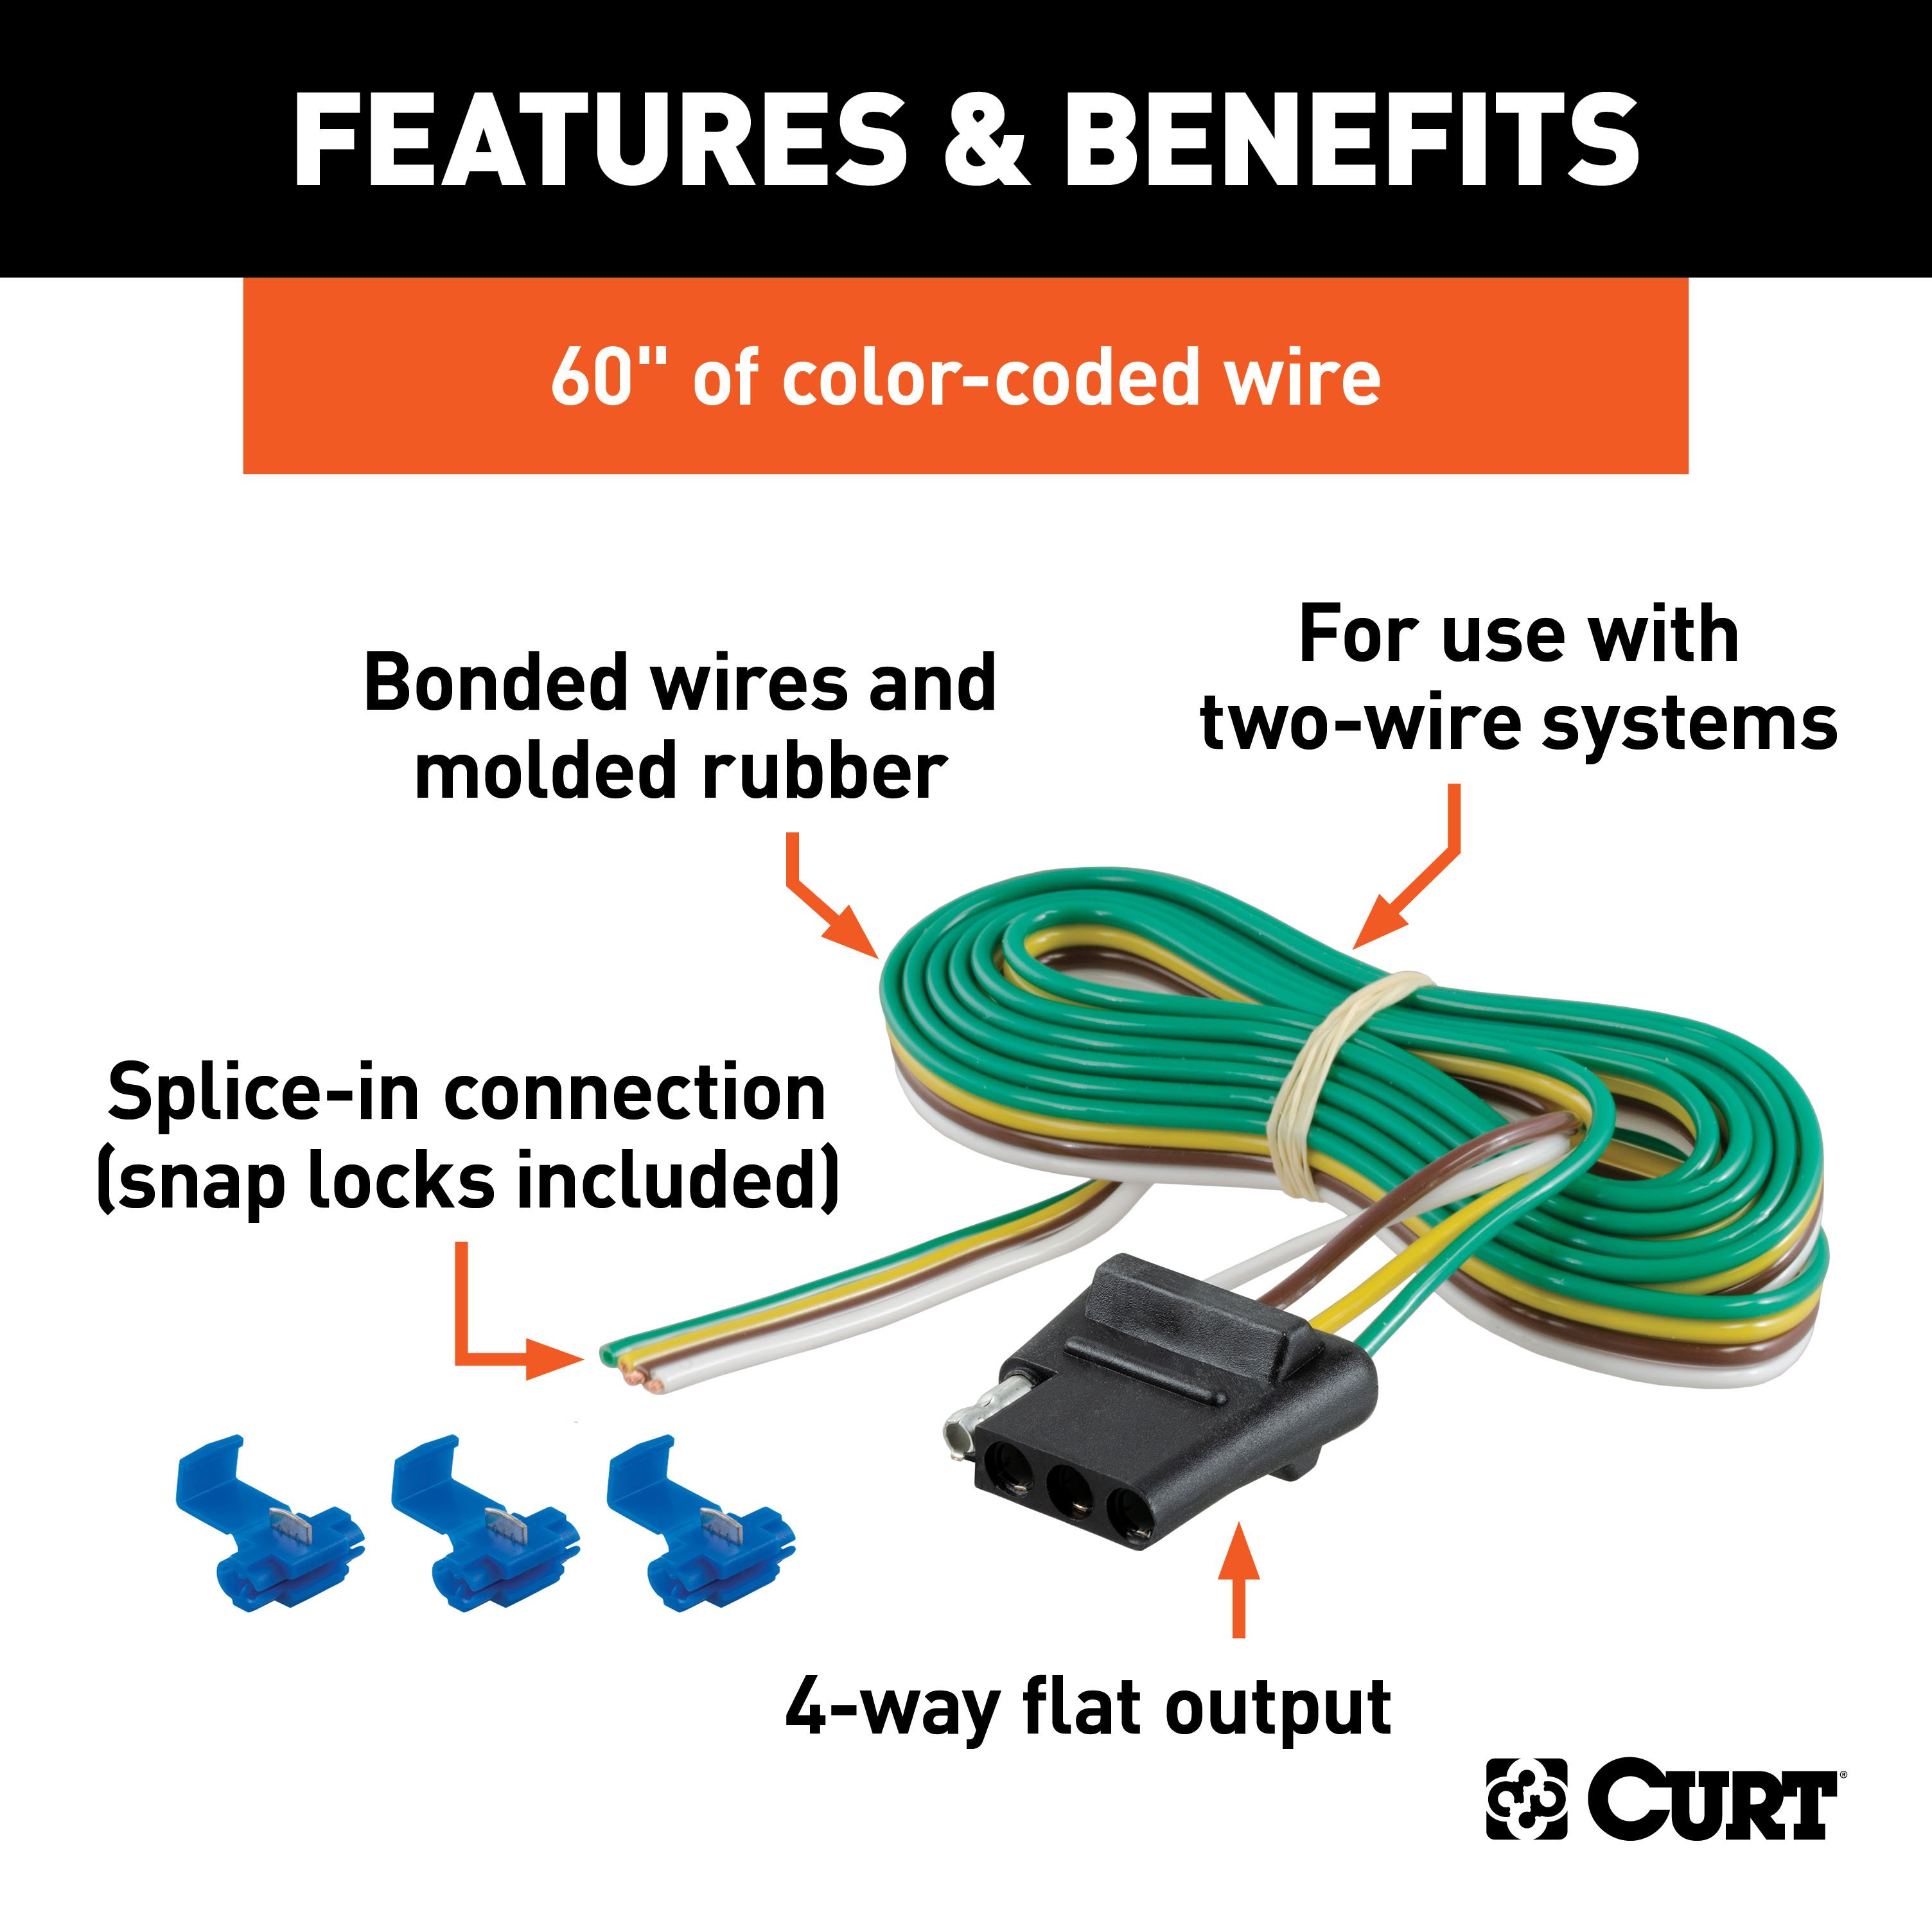
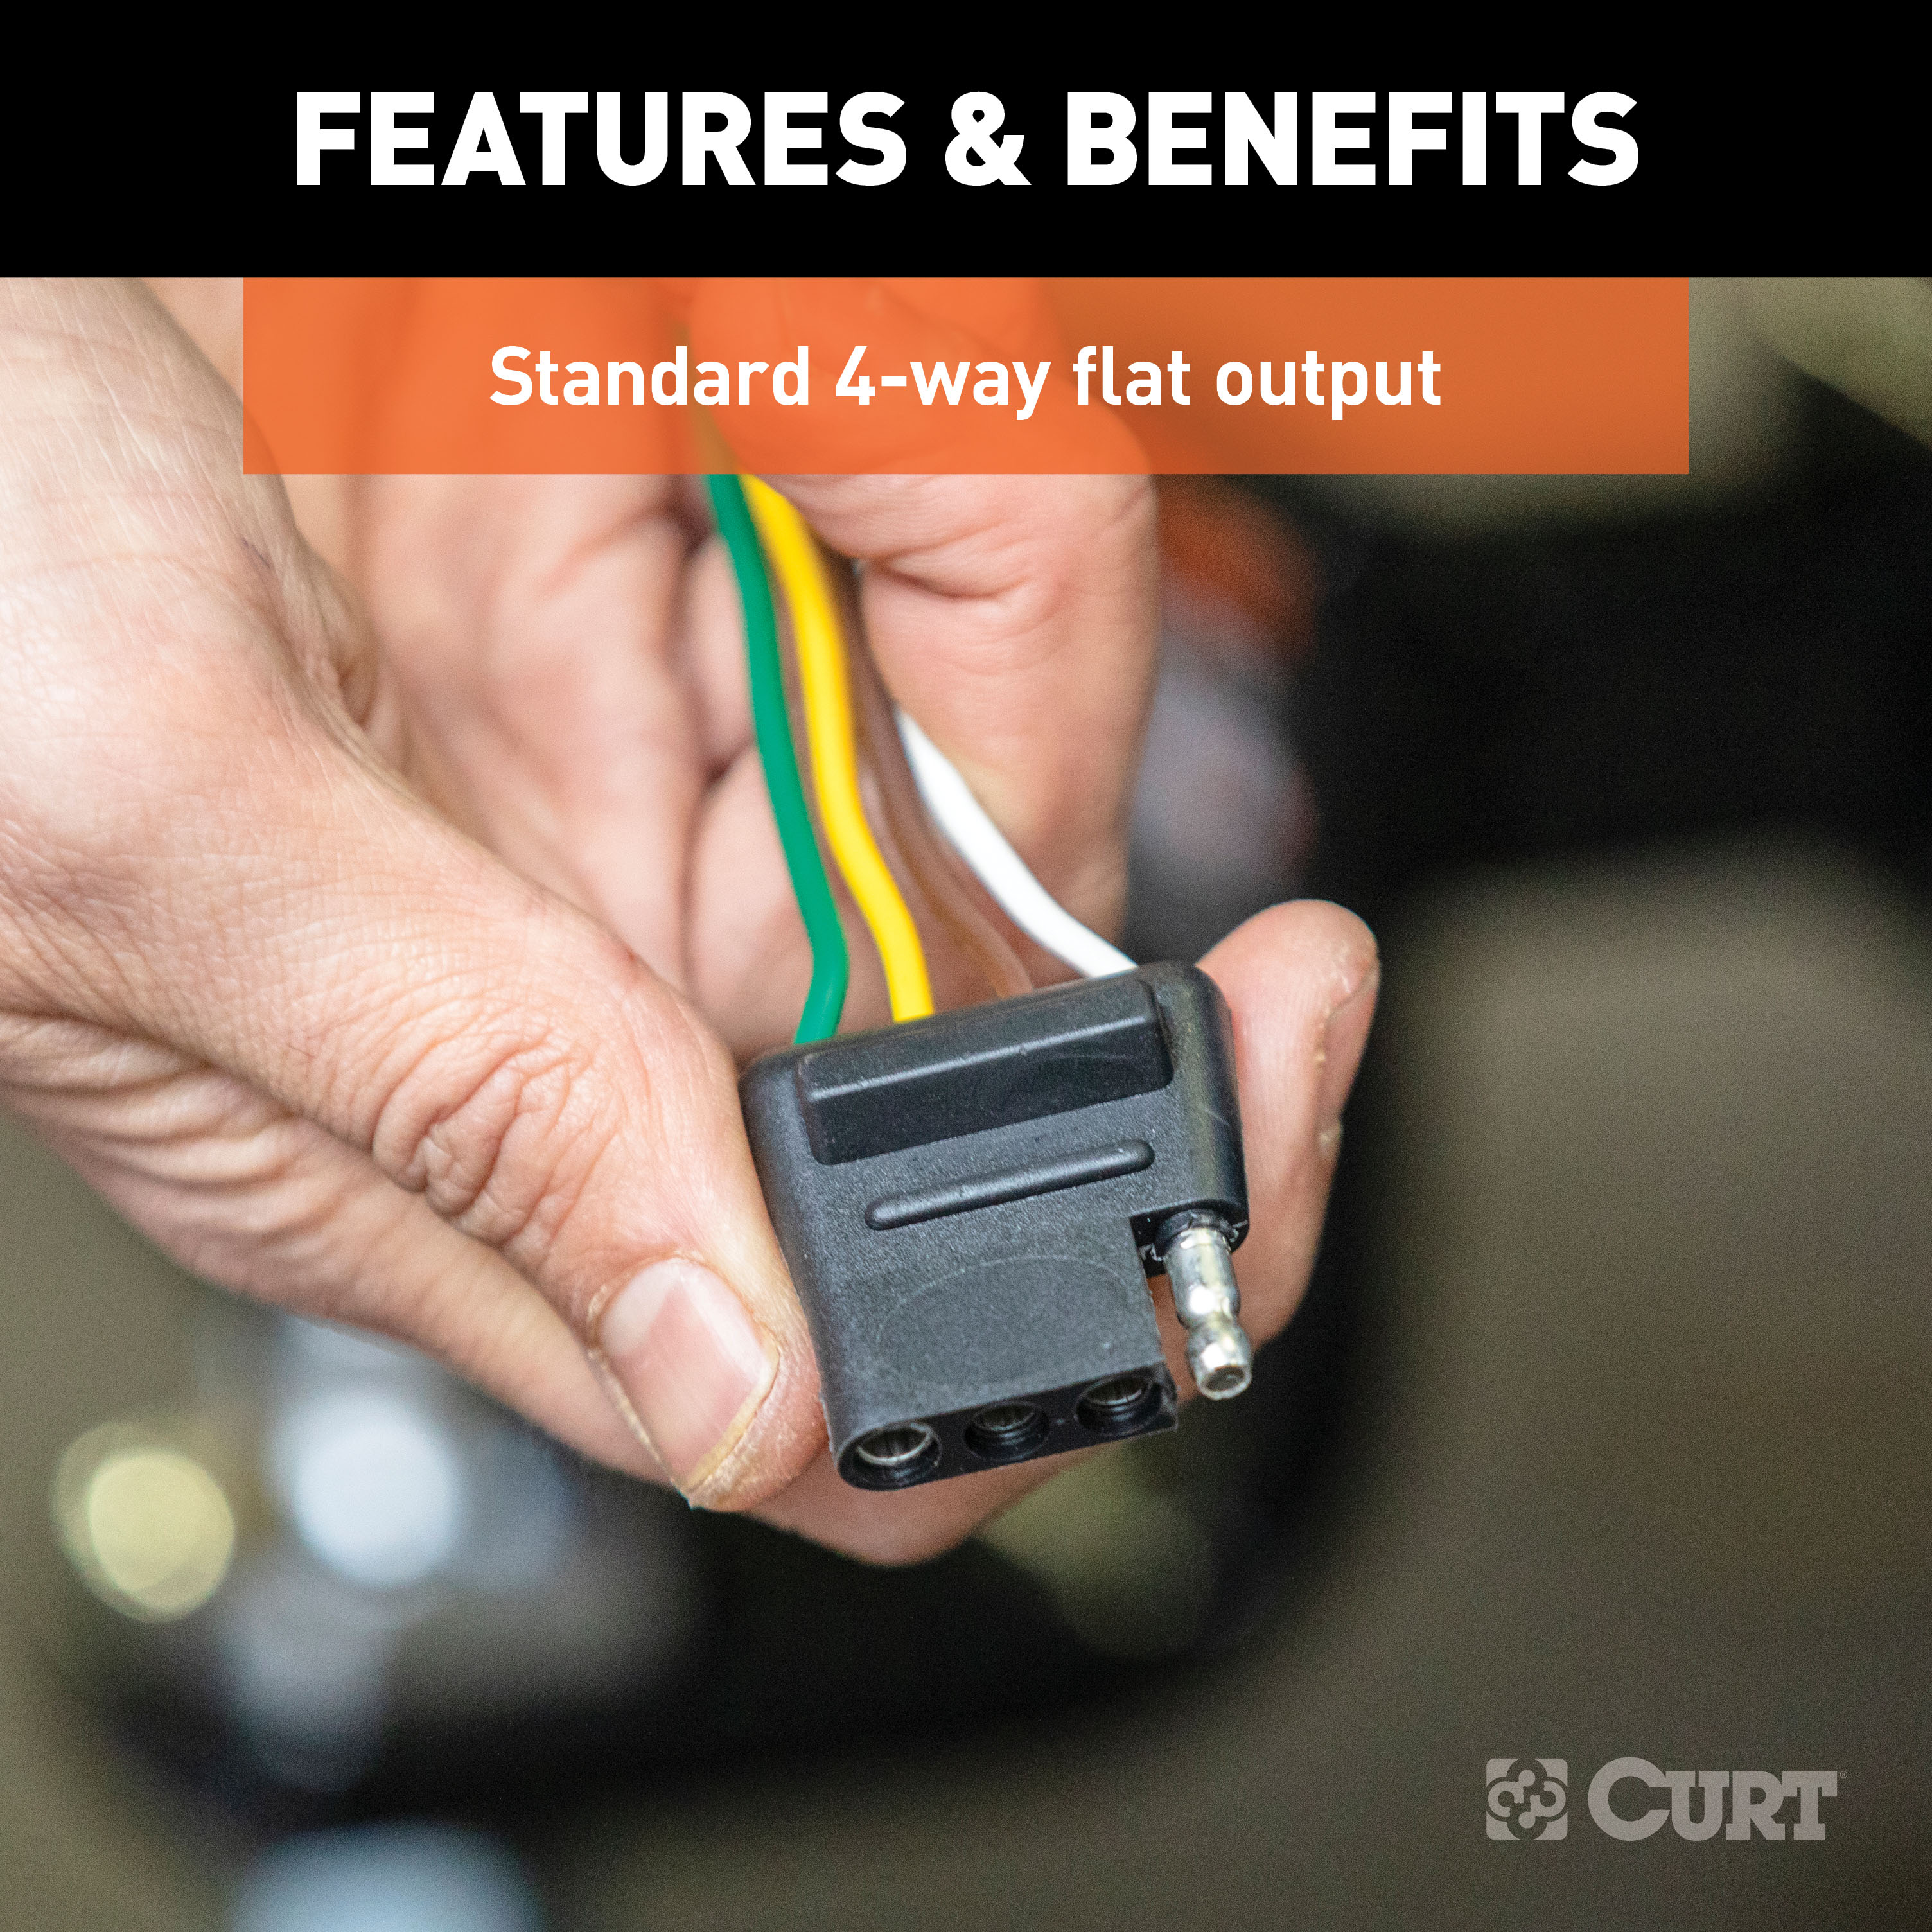
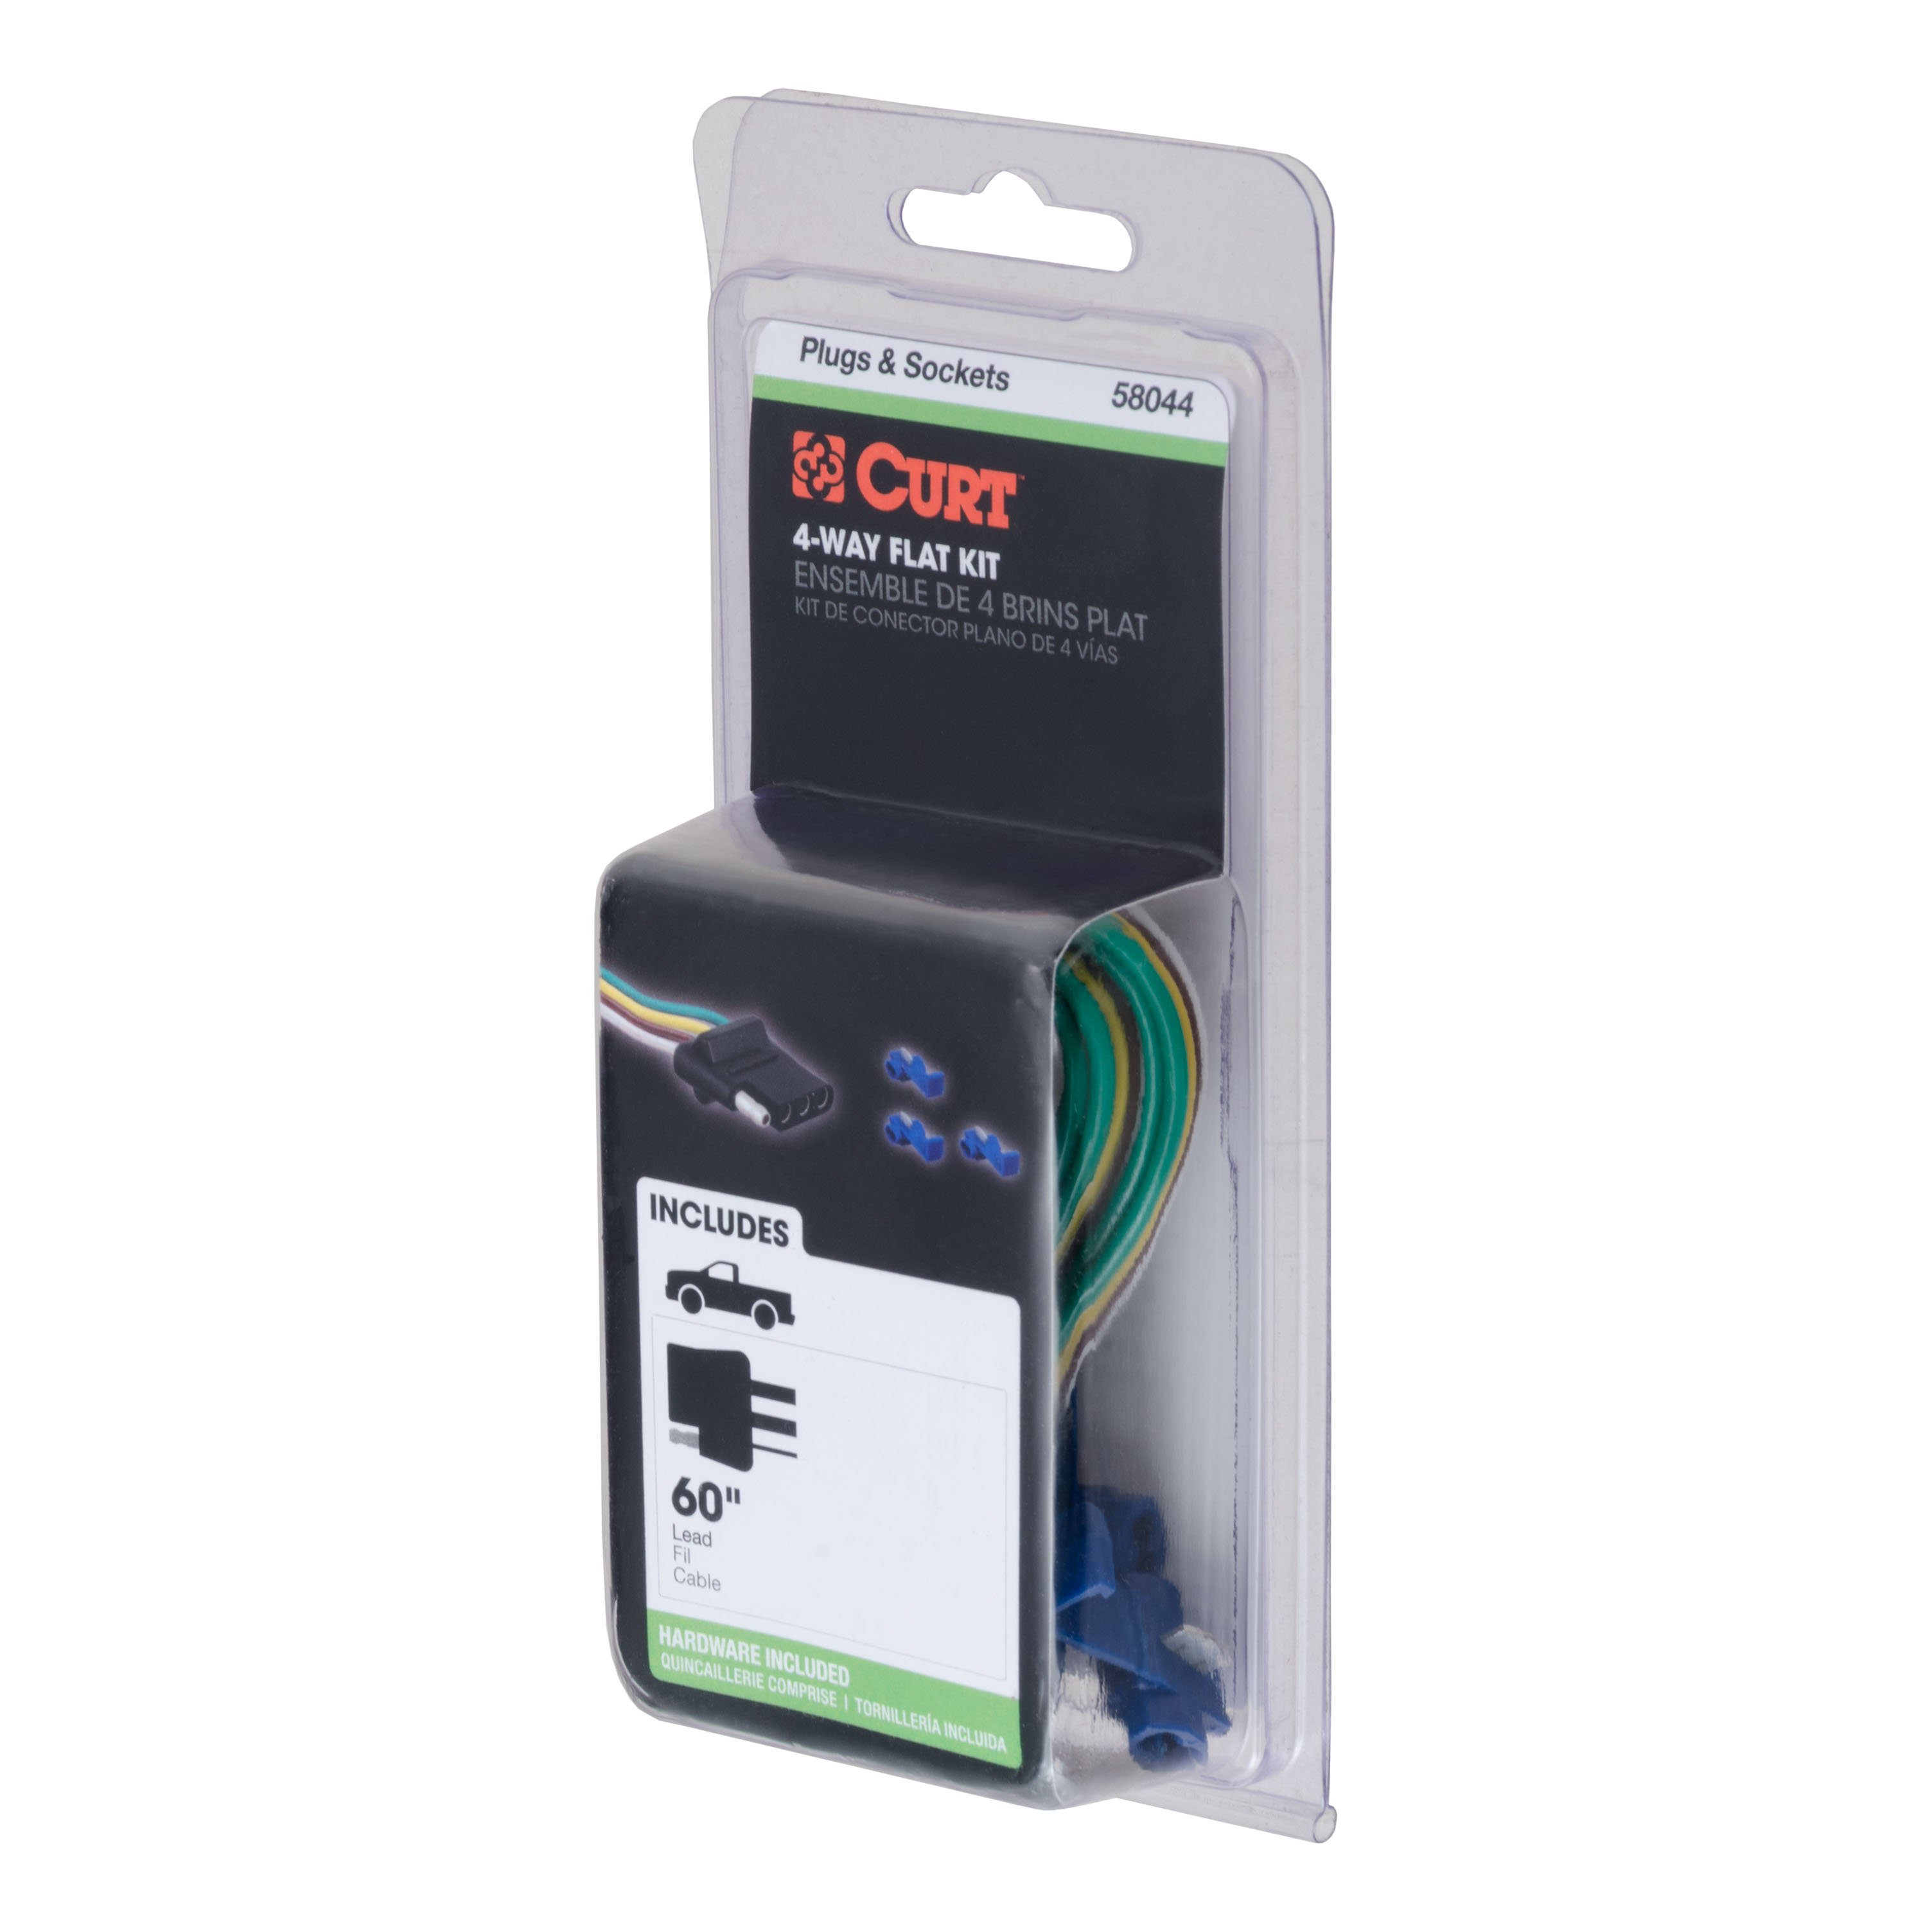
- Includes: Class 3 Trailer Tow Hitch, 4-Way Flat Connector Socket with 60" Wires
Compatibility Chart
Description
Get Expert Help
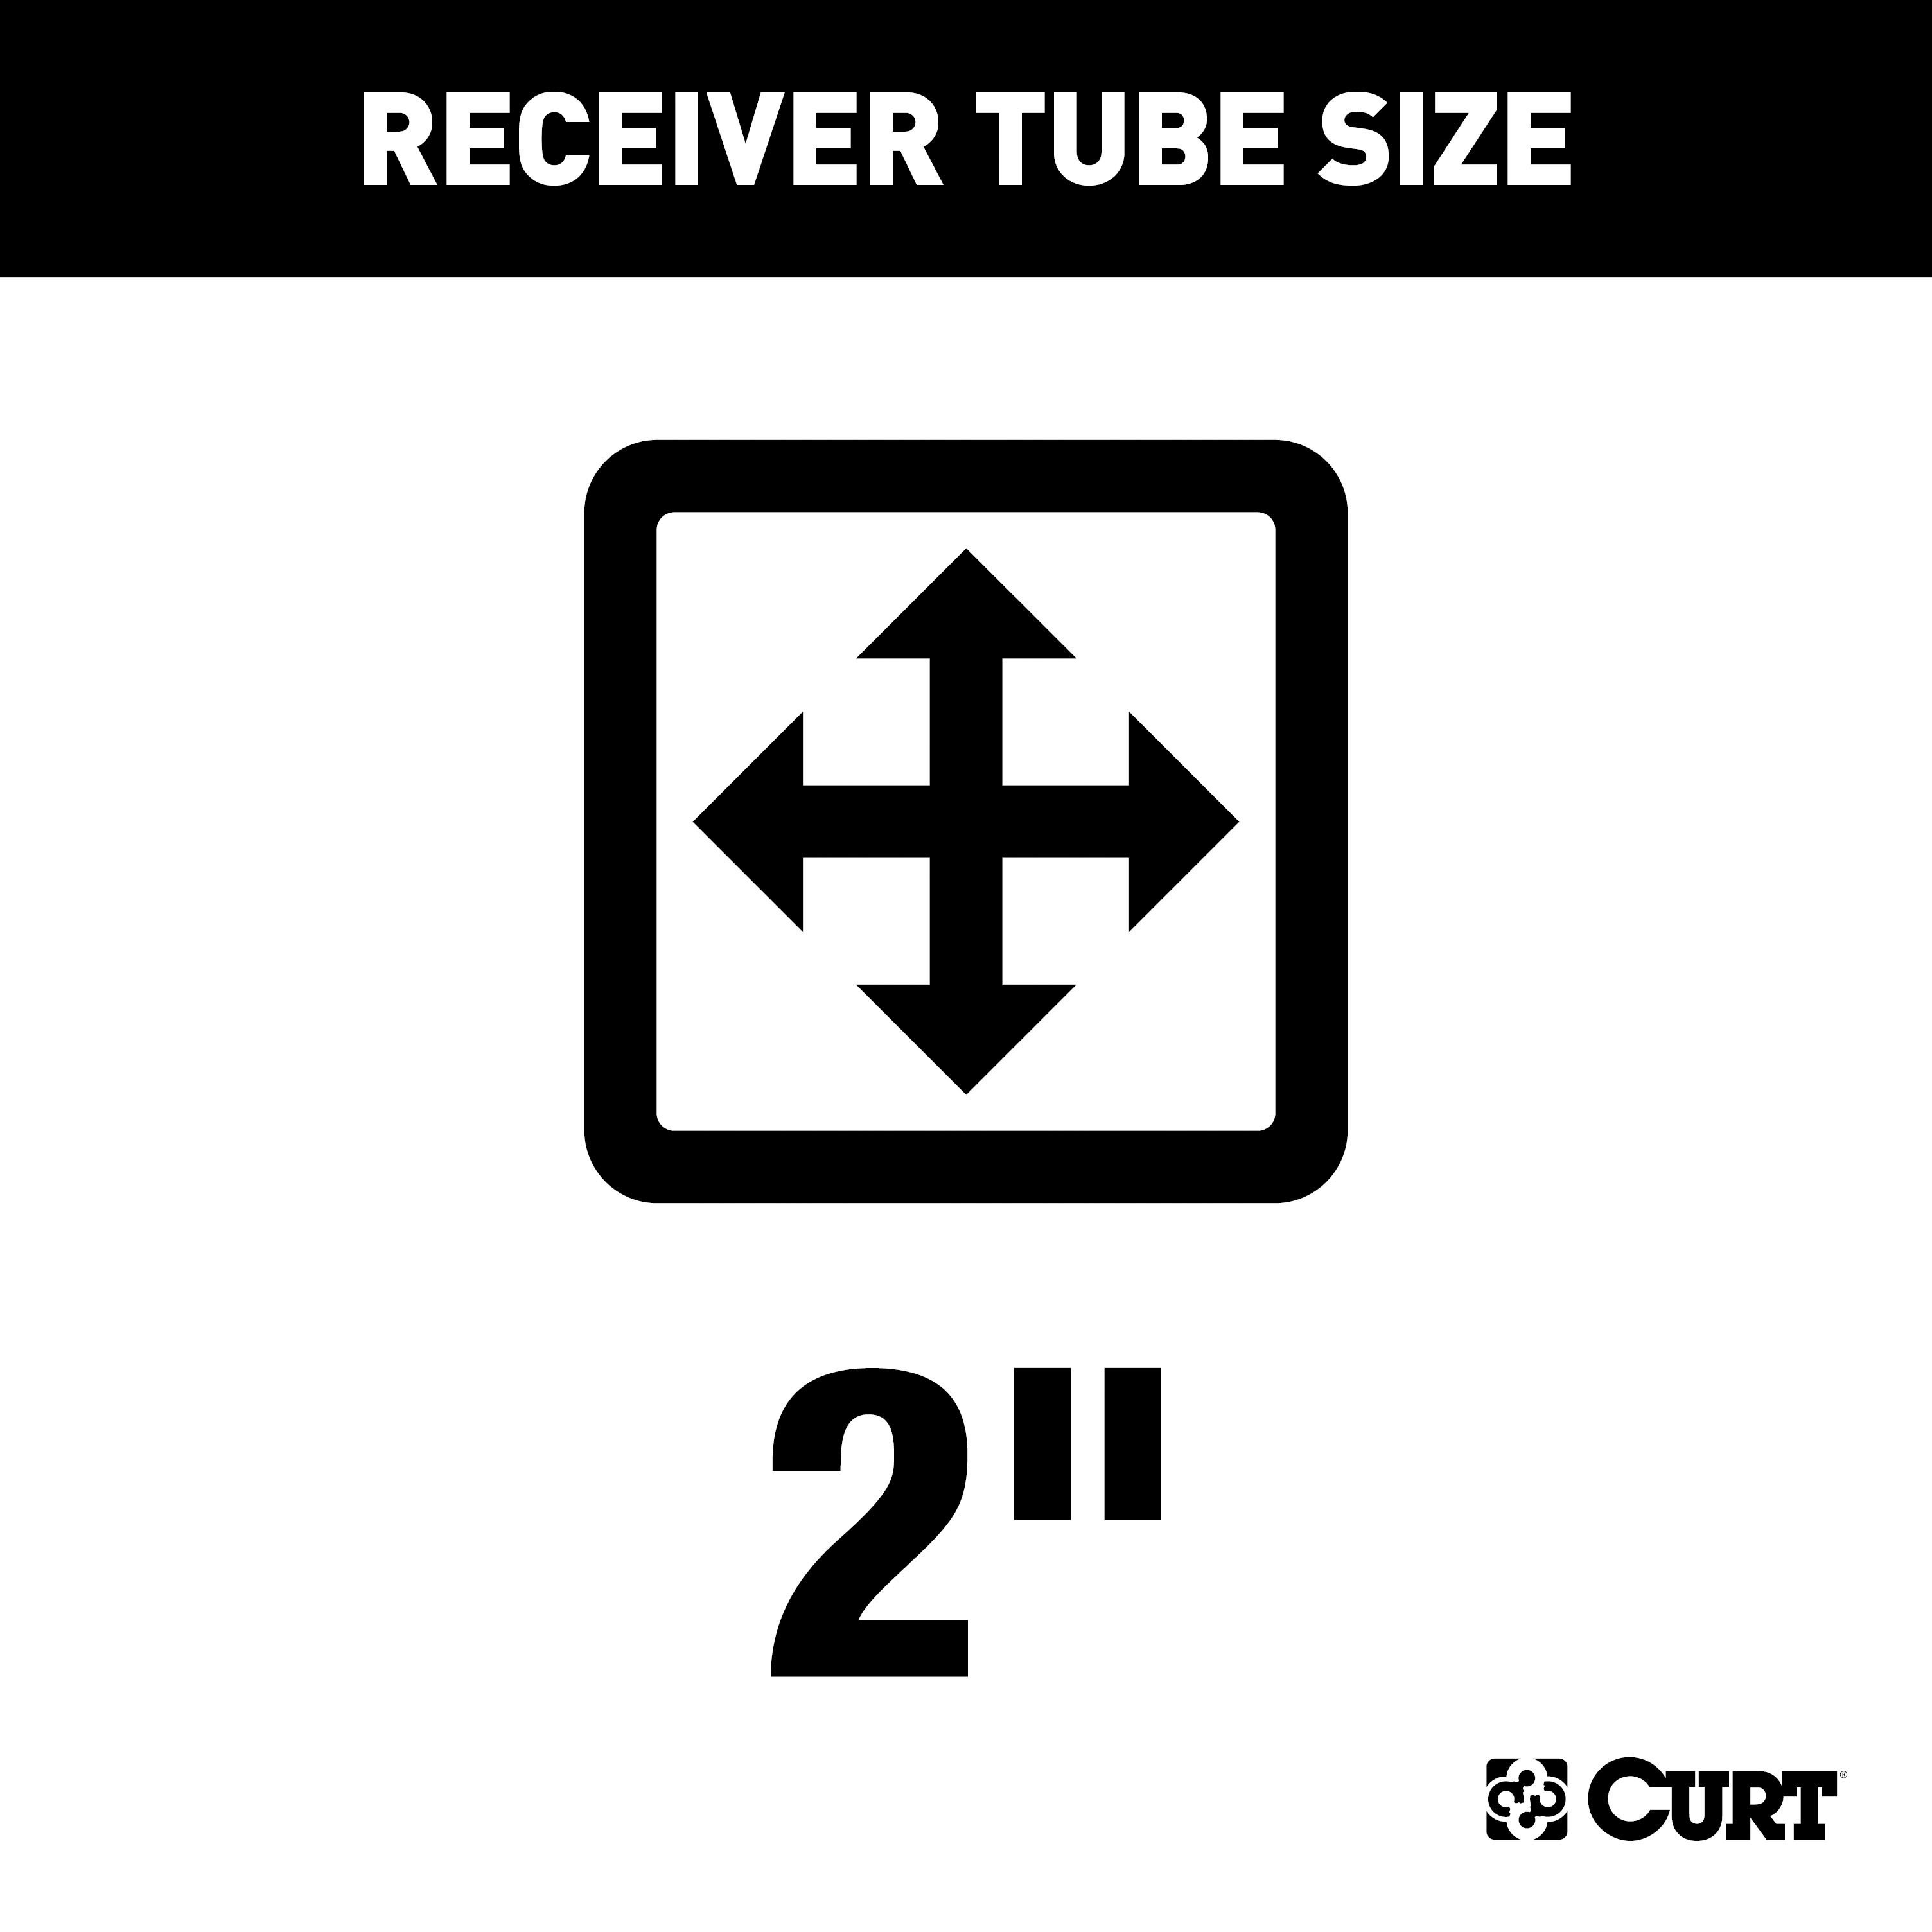
For 2009-2014 Ford F150 Trailer Hitch + Wiring 4 Pin Fits Models w/o Factory Connector Except factory receiver Curt 13371 58044 2 inch Tow Receiver Install Notes
Installation Instructions for Ford F-150
Part Numbers:
- 13371
Tools Required:
- Ratchet
- Torque Wrench
- 3/4" Socket
- 3/4" Wrench
Hardware List:
- Hex Bolt: 1/2-13 x 2", Grade 8, YZ (Qty: 4)
- Flat Washer: 1/2", YZ (Qty: 2)
- Flat Washer: 9/16", YZ (Qty: 2)
- Round Hole Spacer: 0.250 x 1.50 x 2.00" (CM-SP16) (Qty: 2)
- Hex Flange Nut: 1/2-13 UNC, Grade 8, YZ (Qty: 4)
Step-by-Step Instructions:
-
Raise the Hitch into Position:
- Lift the hitch into position and align it with the bumper brackets using the main body straps as shown in the diagram.
-
Install Fasteners:
- Attach the hitch to the bumper brackets using the supplied hardware:
- Place (2) 9/16" washers inside the access holes of the bumper brackets on both sides.
- Use the CM-SP16 round hole spacers to retain the washers.
- Attach the hitch to the bumper brackets using the supplied hardware:
-
Torque Fasteners:
- Torque all 1/2-13 hardware to 110 lb-ft using a torque wrench.
-
Reinstall Spare Tire:
- If the spare tire was removed for installation, reinstall it.
- Verify that the spare tire does not make contact with the hitch bolts.
Safety Notes:
- Periodically inspect the hitch to ensure all fasteners remain tight and all components are structurally sound.
- Warning: Do not exceed the vehicle manufacturer's recommended towing capacity.
Specifications:
- Gross Load Capacity (Weight Carrying Hitch):
- Trailer Weight: 6,000 lbs
- Tongue Weight: 600 lbs
- Gross Load Capacity (Weight Distribution Hitch):
- Trailer Weight: 11,000 lbs
- Tongue Weight: 1,000 lbs
- Hitch Weight: 33 lbs
Installation Time:
- Professional: 30 minutes
- Novice (DIY): 45 minutes
Manufacturer Notes:
- For installation questions, contact Technical Support at 1-877-287-8634.
- Warranty: Curt Manufacturing Inc. guarantees this product to be free from defects in material and workmanship.
Warning: Ensure all fasteners are torqued to the specified values to avoid structural failure. Regularly check all hitch components for integrity.
Installation Instructions for Ford F-150
Part Numbers:
- 13371
Tools Required:
- Ratchet
- Torque Wrench
- 3/4" Socket
- 3/4" Wrench
Hardware List:
- Hex Bolt: 1/2-13 x 2", Grade 8, YZ (Qty: 4)
- Flat Washer: 1/2", YZ (Qty: 2)
- Flat Washer: 9/16", YZ (Qty: 2)
- Round Hole Spacer: 0.250 x 1.50 x 2.00" (CM-SP16) (Qty: 2)
- Hex Flange Nut: 1/2-13 UNC, Grade 8, YZ (Qty: 4)
Step-by-Step Instructions:
-
Raise the Hitch into Position:
- Lift the hitch into position and align it with the bumper brackets using the main body straps as shown in the diagram.
-
Install Fasteners:
- Attach the hitch to the bumper brackets using the supplied hardware:
- Place (2) 9/16" washers inside the access holes of the bumper brackets on both sides.
- Use the CM-SP16 round hole spacers to retain the washers.
- Attention: This is a summary of the installation procedure. For complete installation instructions, including diagrams and detailed information from the manufacturer, please download the full installation PDF.
- Attach the hitch to the bumper brackets using the supplied hardware:
-
Torque Fasteners:
- Torque all 1/2-13 hardware to 110 lb-ft using a torque wrench.
-
Reinstall Spare Tire:
- If the spare tire was removed for installation, reinstall it.
- Verify that the spare tire does not make contact with the hitch bolts.
Safety Notes:
- Periodically inspect the hitch to ensure all fasteners remain tight and all components are structurally sound.
- Warning: Do not exceed the vehicle manufacturer's recommended towing capacity.
Specifications:
- Gross Load Capacity (Weight Carrying Hitch):
- Trailer Weight: 6,000 lbs
- Tongue Weight: 600 lbs
- Gross Load Capacity (Weight Distribution Hitch):
- Trailer Weight: 11,000 lbs
- Tongue Weight: 1,000 lbs
- Hitch Weight: 33 lbs
Installation Time:
- Professional: 30 minutes
- Novice (DIY): 45 minutes
Additional Information:
- For technical support and assistance, our team of experts is available to help. You can reach our tech support by visiting www.trailerjacks.com or calling 877-869-6690.
Warranty Information:
- The warranty duration and coverage details are outlined in the full installation PDF.
- For complete warranty instructions, please download the full installation PDF.
End of Instructions
Installation Instructions for Taillight Wiring Converter
Part Numbers:
- 58044
Wiring Access Locations:
- S1: Behind driver’s side taillight housing
- S2: Behind passenger’s side taillight housing
- S3: Behind driver’s side rear access panel
- S4: Behind passenger’s side rear access panel
- T1: Behind driver’s side taillight housing
- T2: Behind passenger’s side taillight housing
- T3: Behind driver’s side rear bumper
- T5: Behind passenger’s side rear bumper
Tools Required:
- Test light
Step-by-Step Instructions:
- Locate the vehicle's taillight wiring using the typical locations based on the vehicle type.
- Using a test light, identify the corresponding wires for:
- Left turn signal
- Right turn signal
- Tail lights
- Brake lights
- Temporarily disconnect the vehicle's negative battery cable.
- Using wire taps, connect the converter input wires to the vehicle harness wires:
- Brown Wire: Tail Light Circuit
- Yellow Wire: Left Turn/Brake Circuit
- Green Wire: Right Turn/Brake Circuit
- Locate a system ground wire:
- Use a terminal ring or tap into an existing ground wire.
- Test the installation:
- If testing with a test light:
- Attach the test light ground lead to the exposed ground terminal of the 4-flat end.
- Activate the left turn, right turn, tail, and brake lights on the vehicle one at a time.
- Probe the 4-flat end receptacles to confirm functionality.
- If testing with a trailer:
- Mate the 4-flat with the trailer and repeat the same tests.
- If any trailer light functions fail, recheck the vehicle wiring with a circuit tester.
- If testing with a test light:
Hardware List:
- 4-flat connector (60” car end):
- White Wire: To Ground
- Green Wire: To Right Turn Signal
- Yellow Wire: To Left Turn Signal
- Brown Wire: To Taillight Signal
Safety Notes:
- Ensure the product is only used on 2-wire, 12-volt negative ground systems.
- Double-check all connections and secure wires to avoid potential hazards.
Specifications:
- Compliance: Designed for 2-wire 12V systems with a negative ground.
- Ensure proper alignment and secure attachment to avoid wiring faults.
Additional Information:
- Attention: This is a summary of the installation procedure. For complete installation instructions, including diagrams and detailed information from the manufacturer, please download the full installation PDF.
Technical Support:
- For technical support and assistance, our team of experts is available to help. You can reach our tech support by visiting www.trailerjacks.com or calling 877-869-6690.
Warranty:
- Warranty Duration: [Insert warranty period]
- Coverage Details: [Insert coverage details]
- For complete warranty information, please download the full installation PDF.


