Product Details
- Brand: Curt
- Model: 11487 56030-CH3422
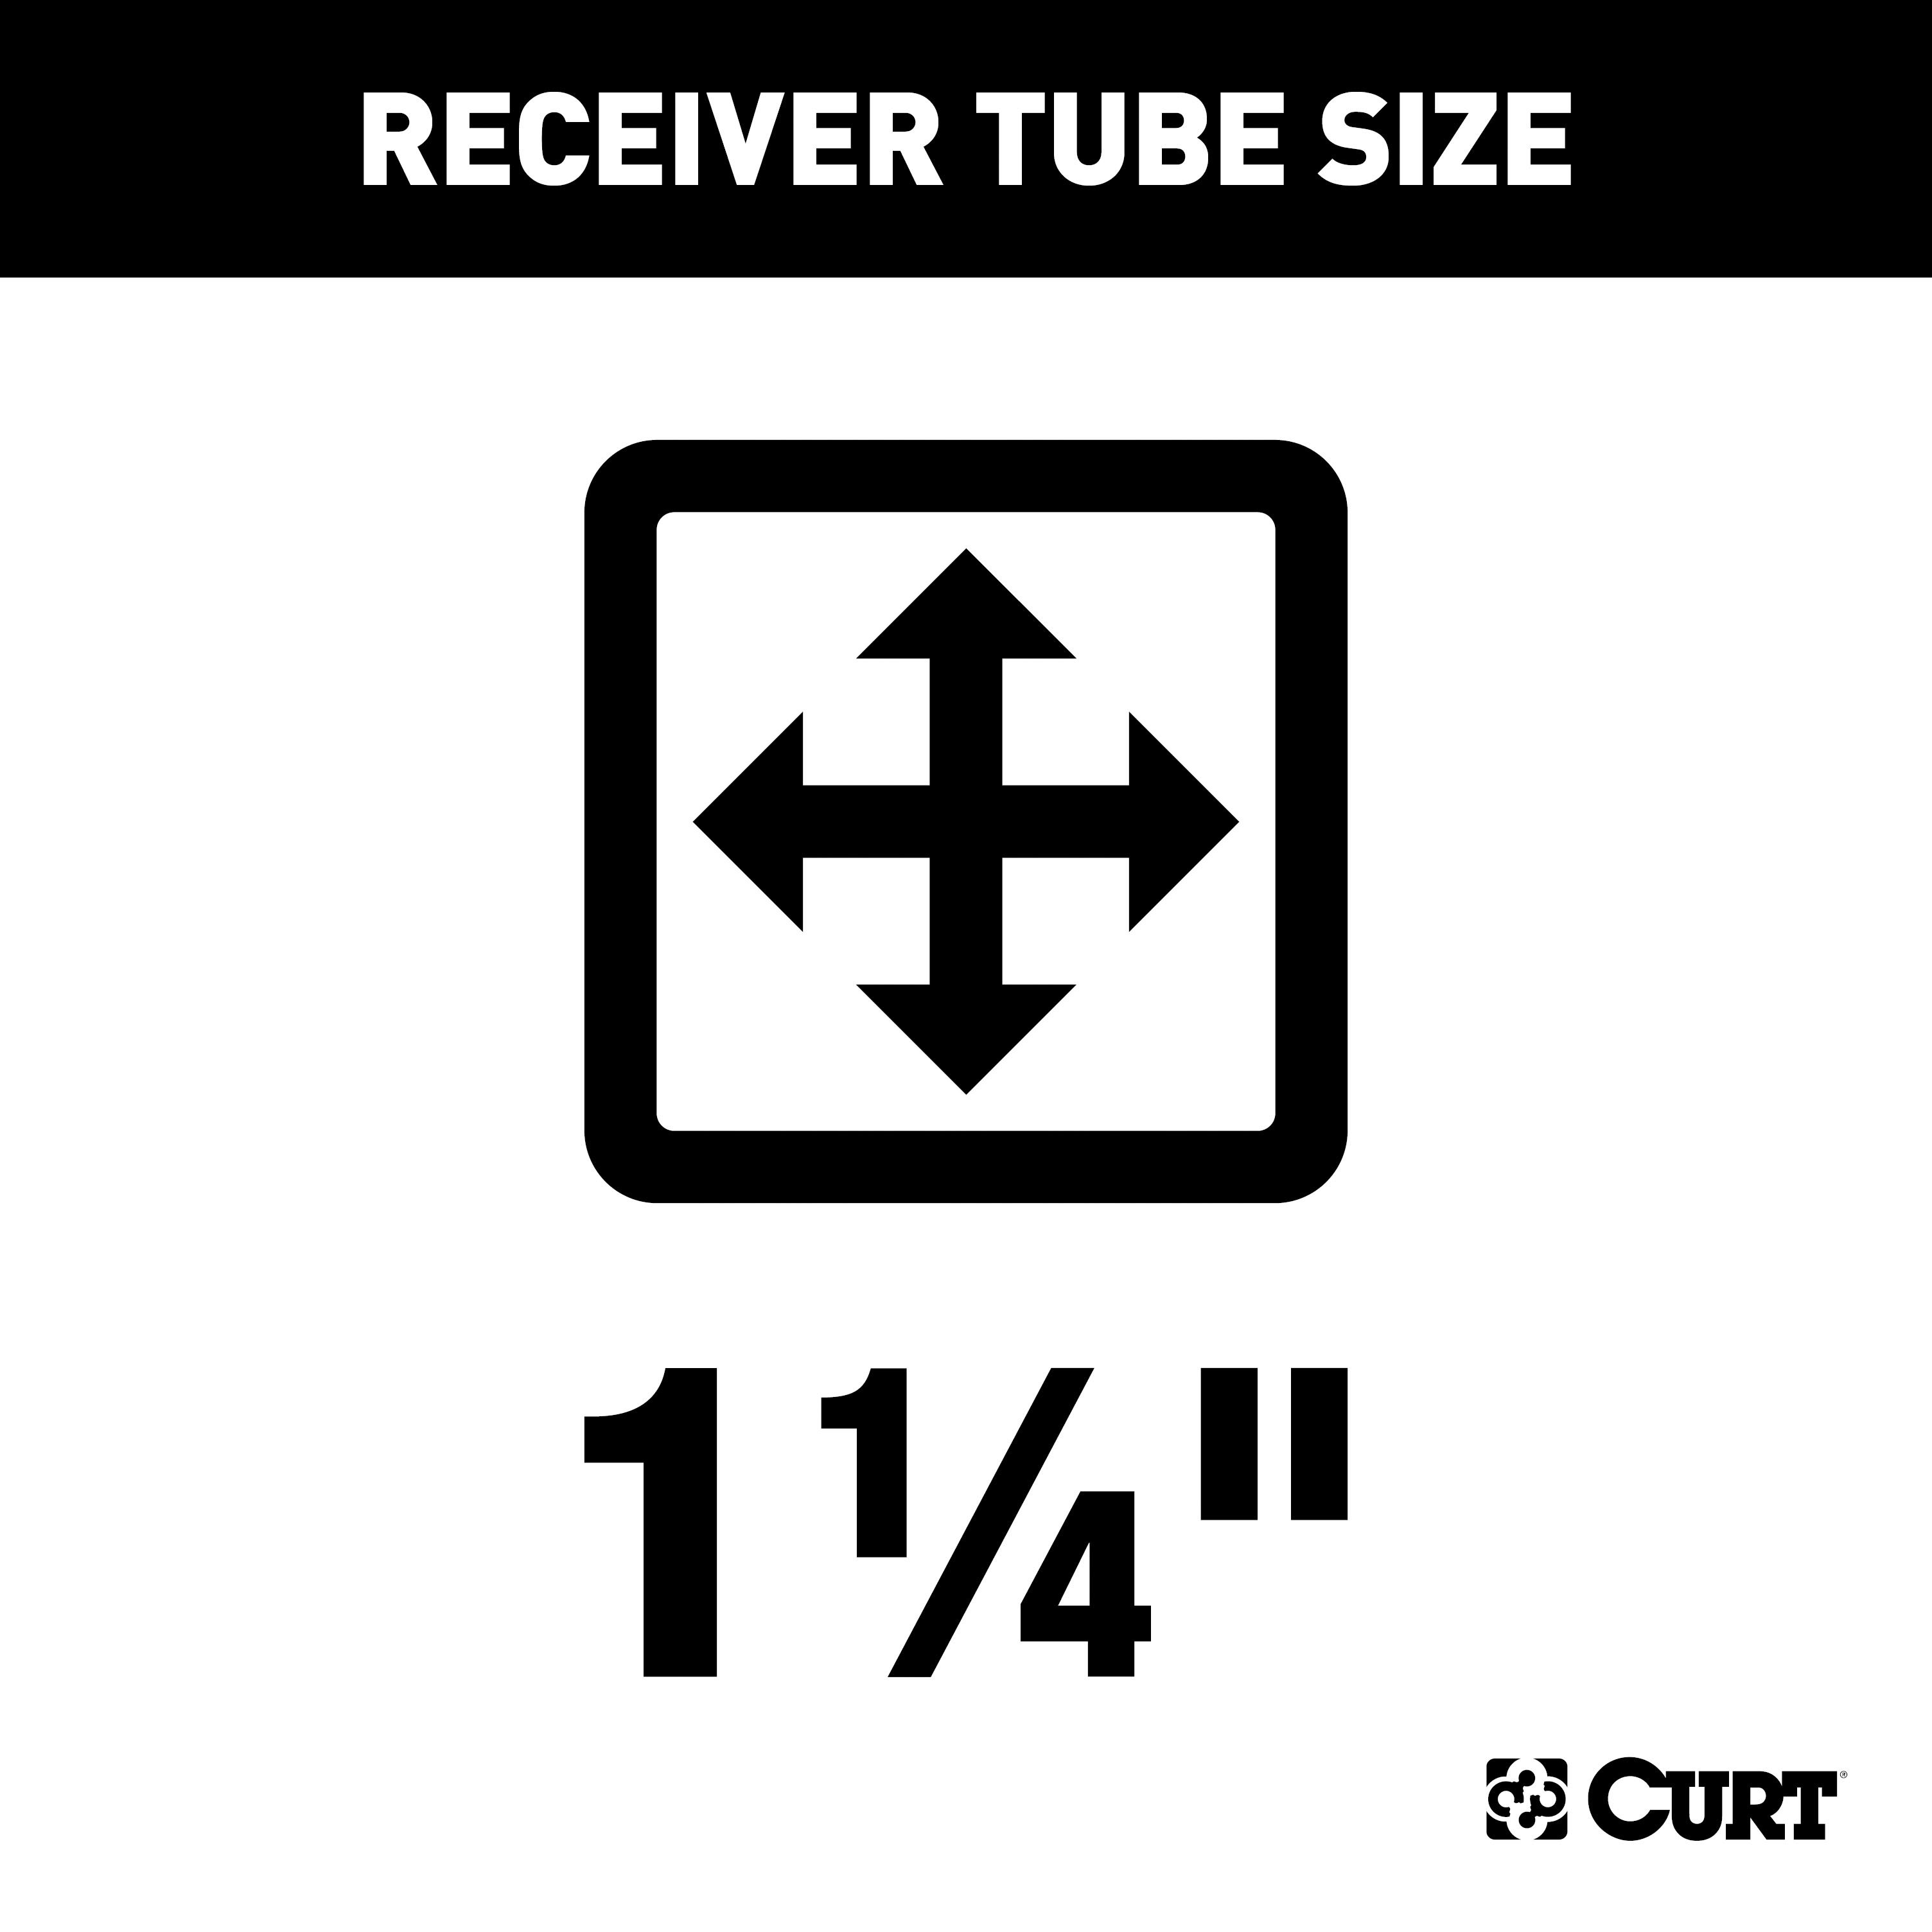
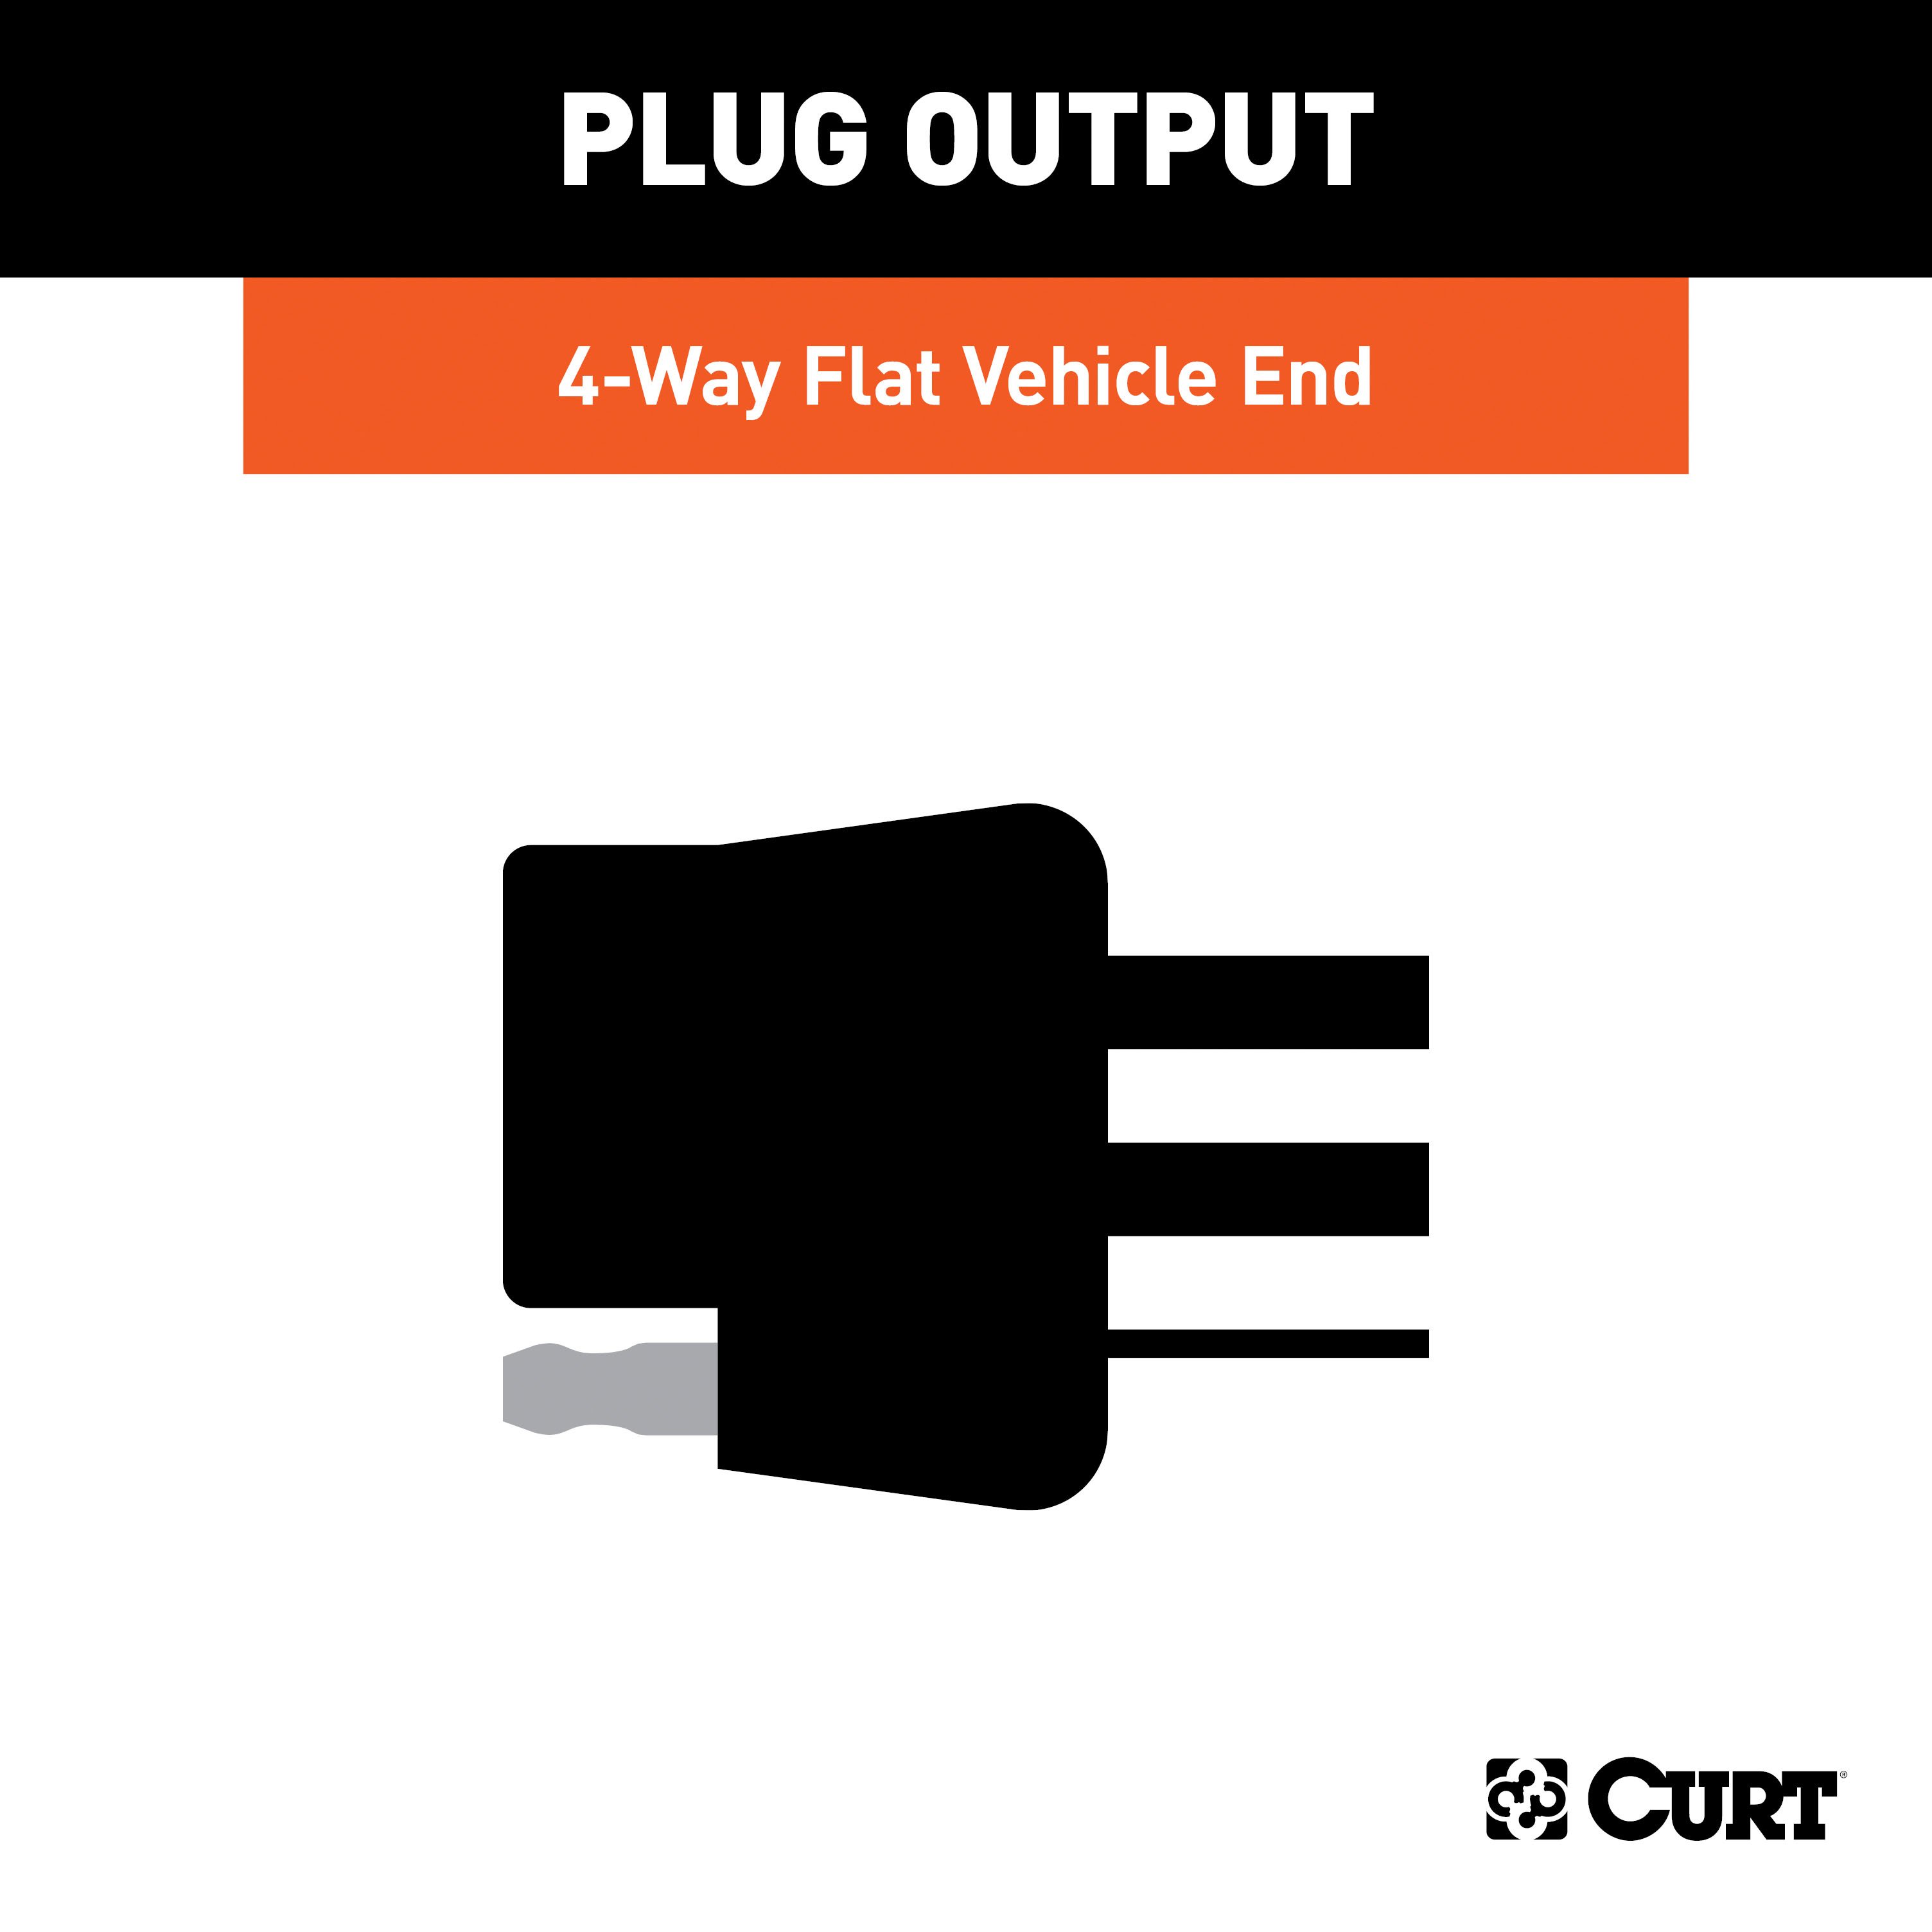
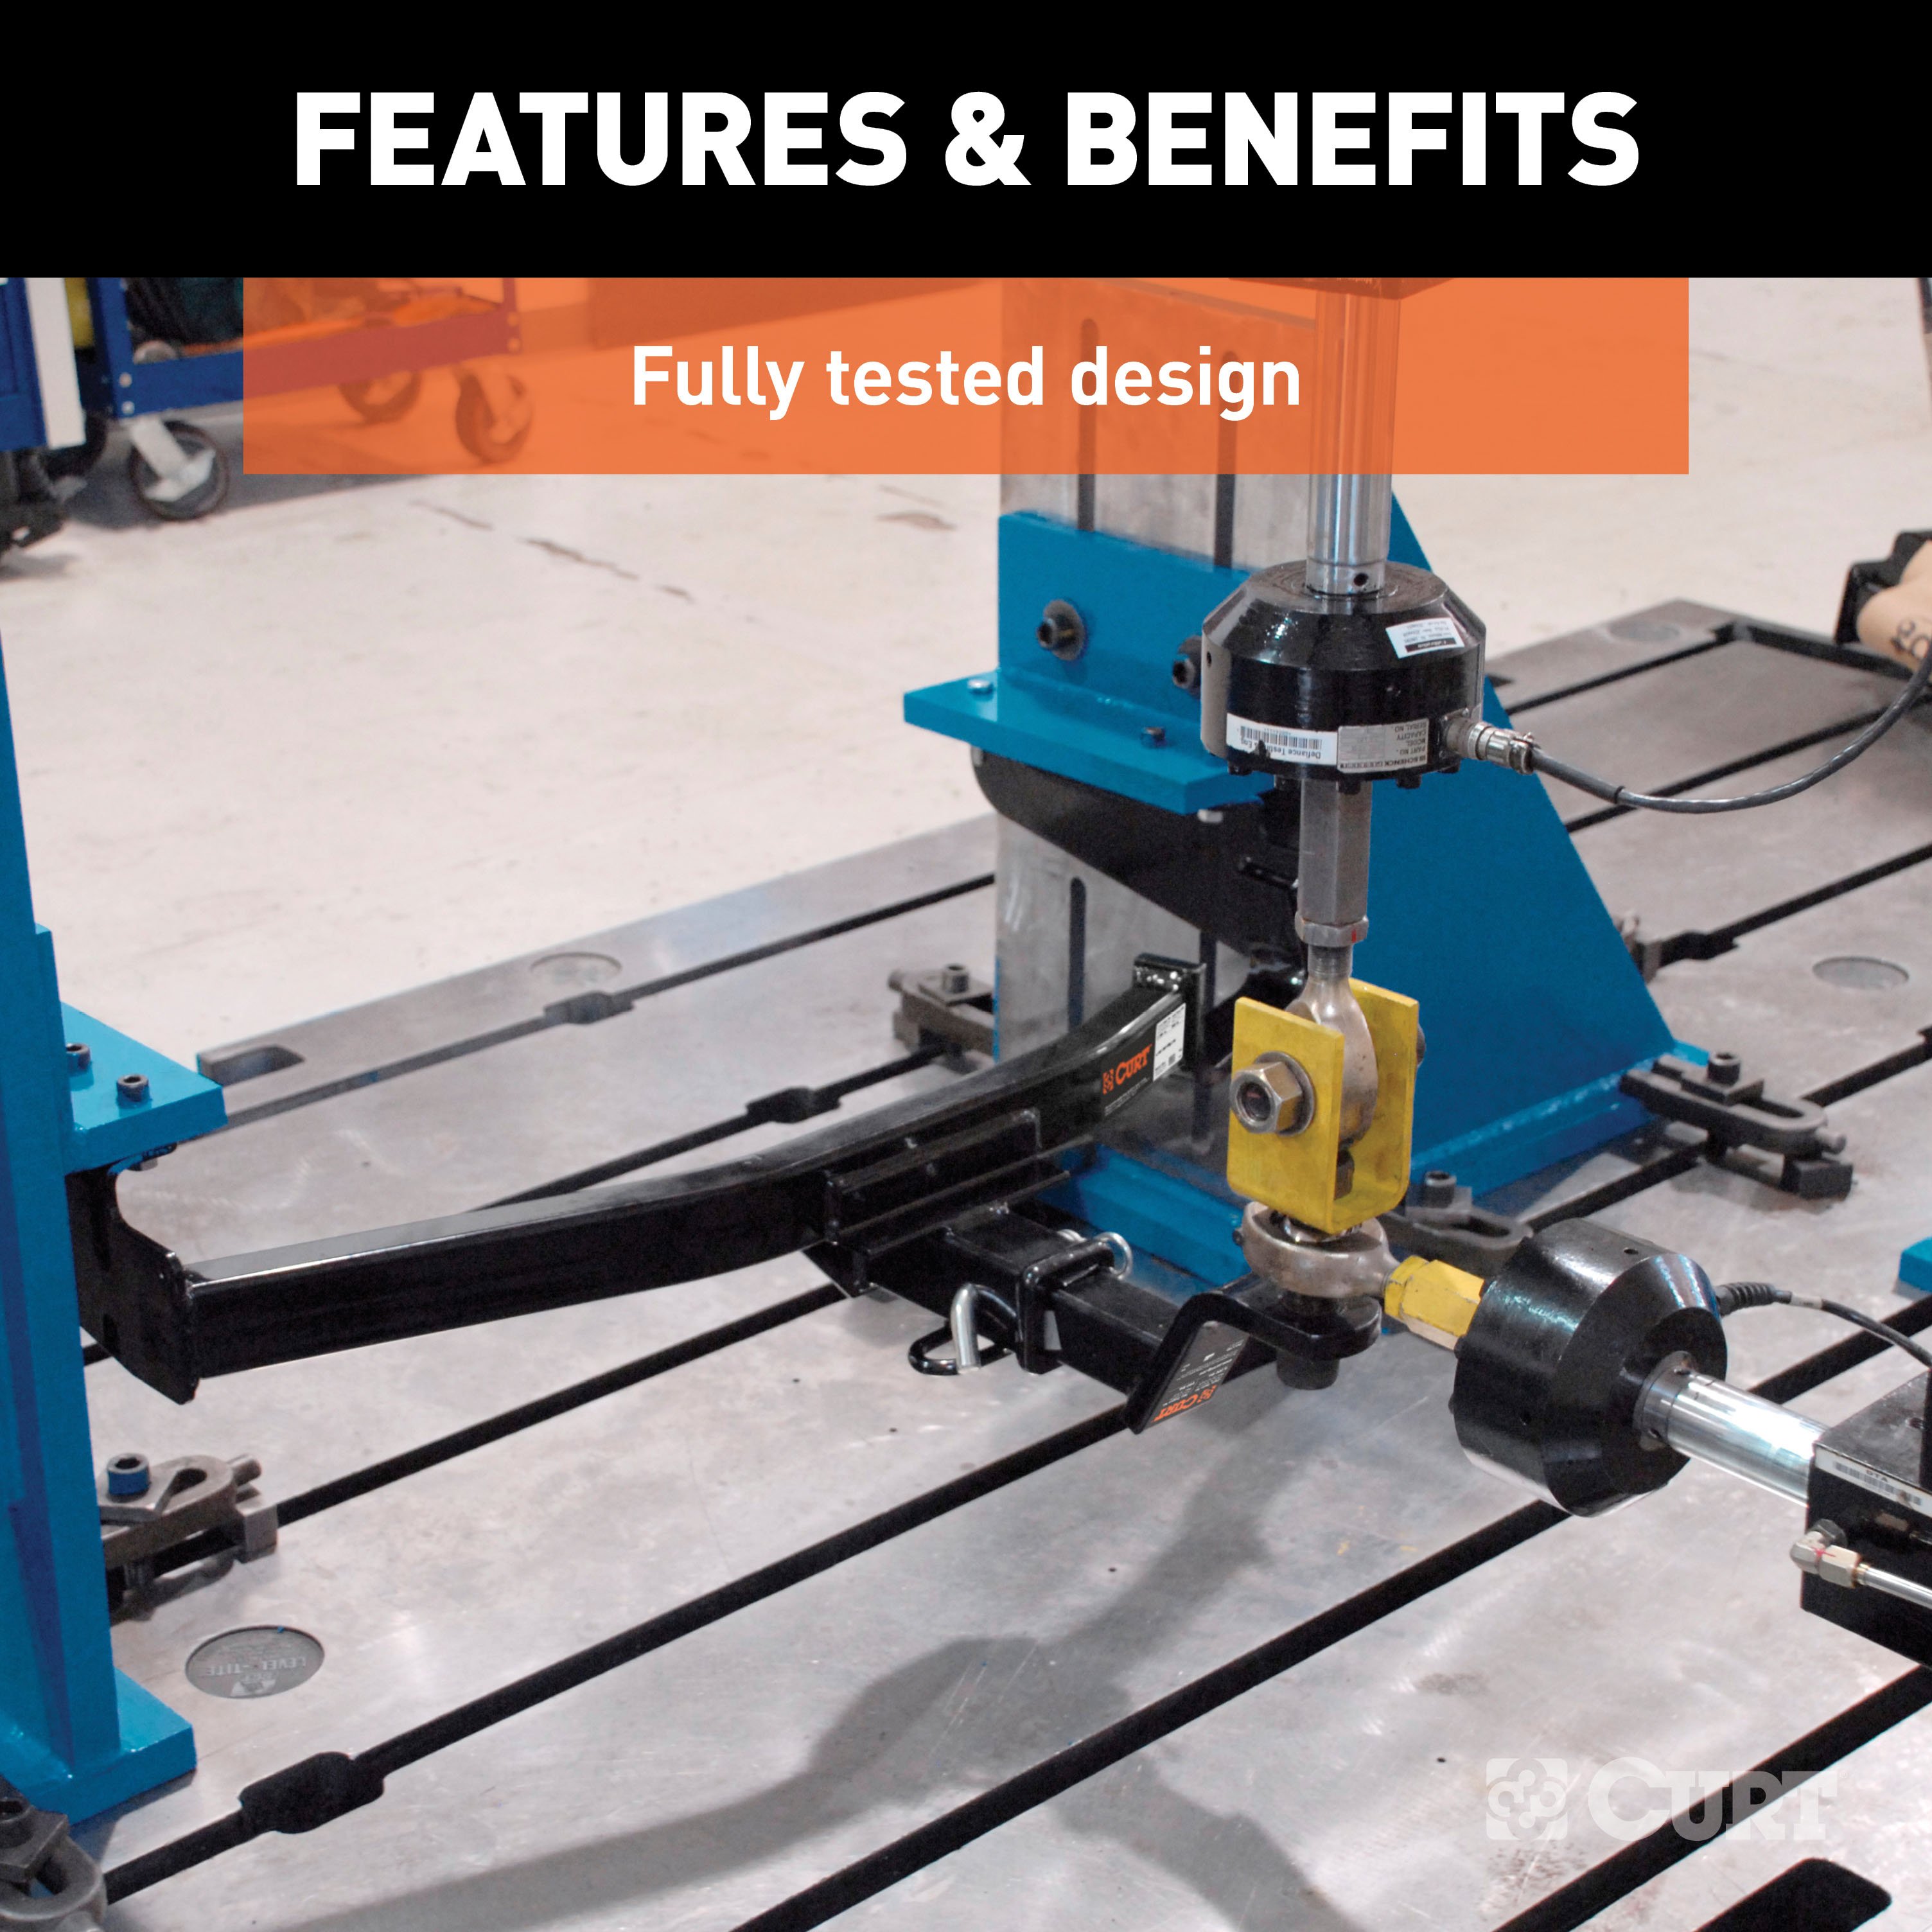
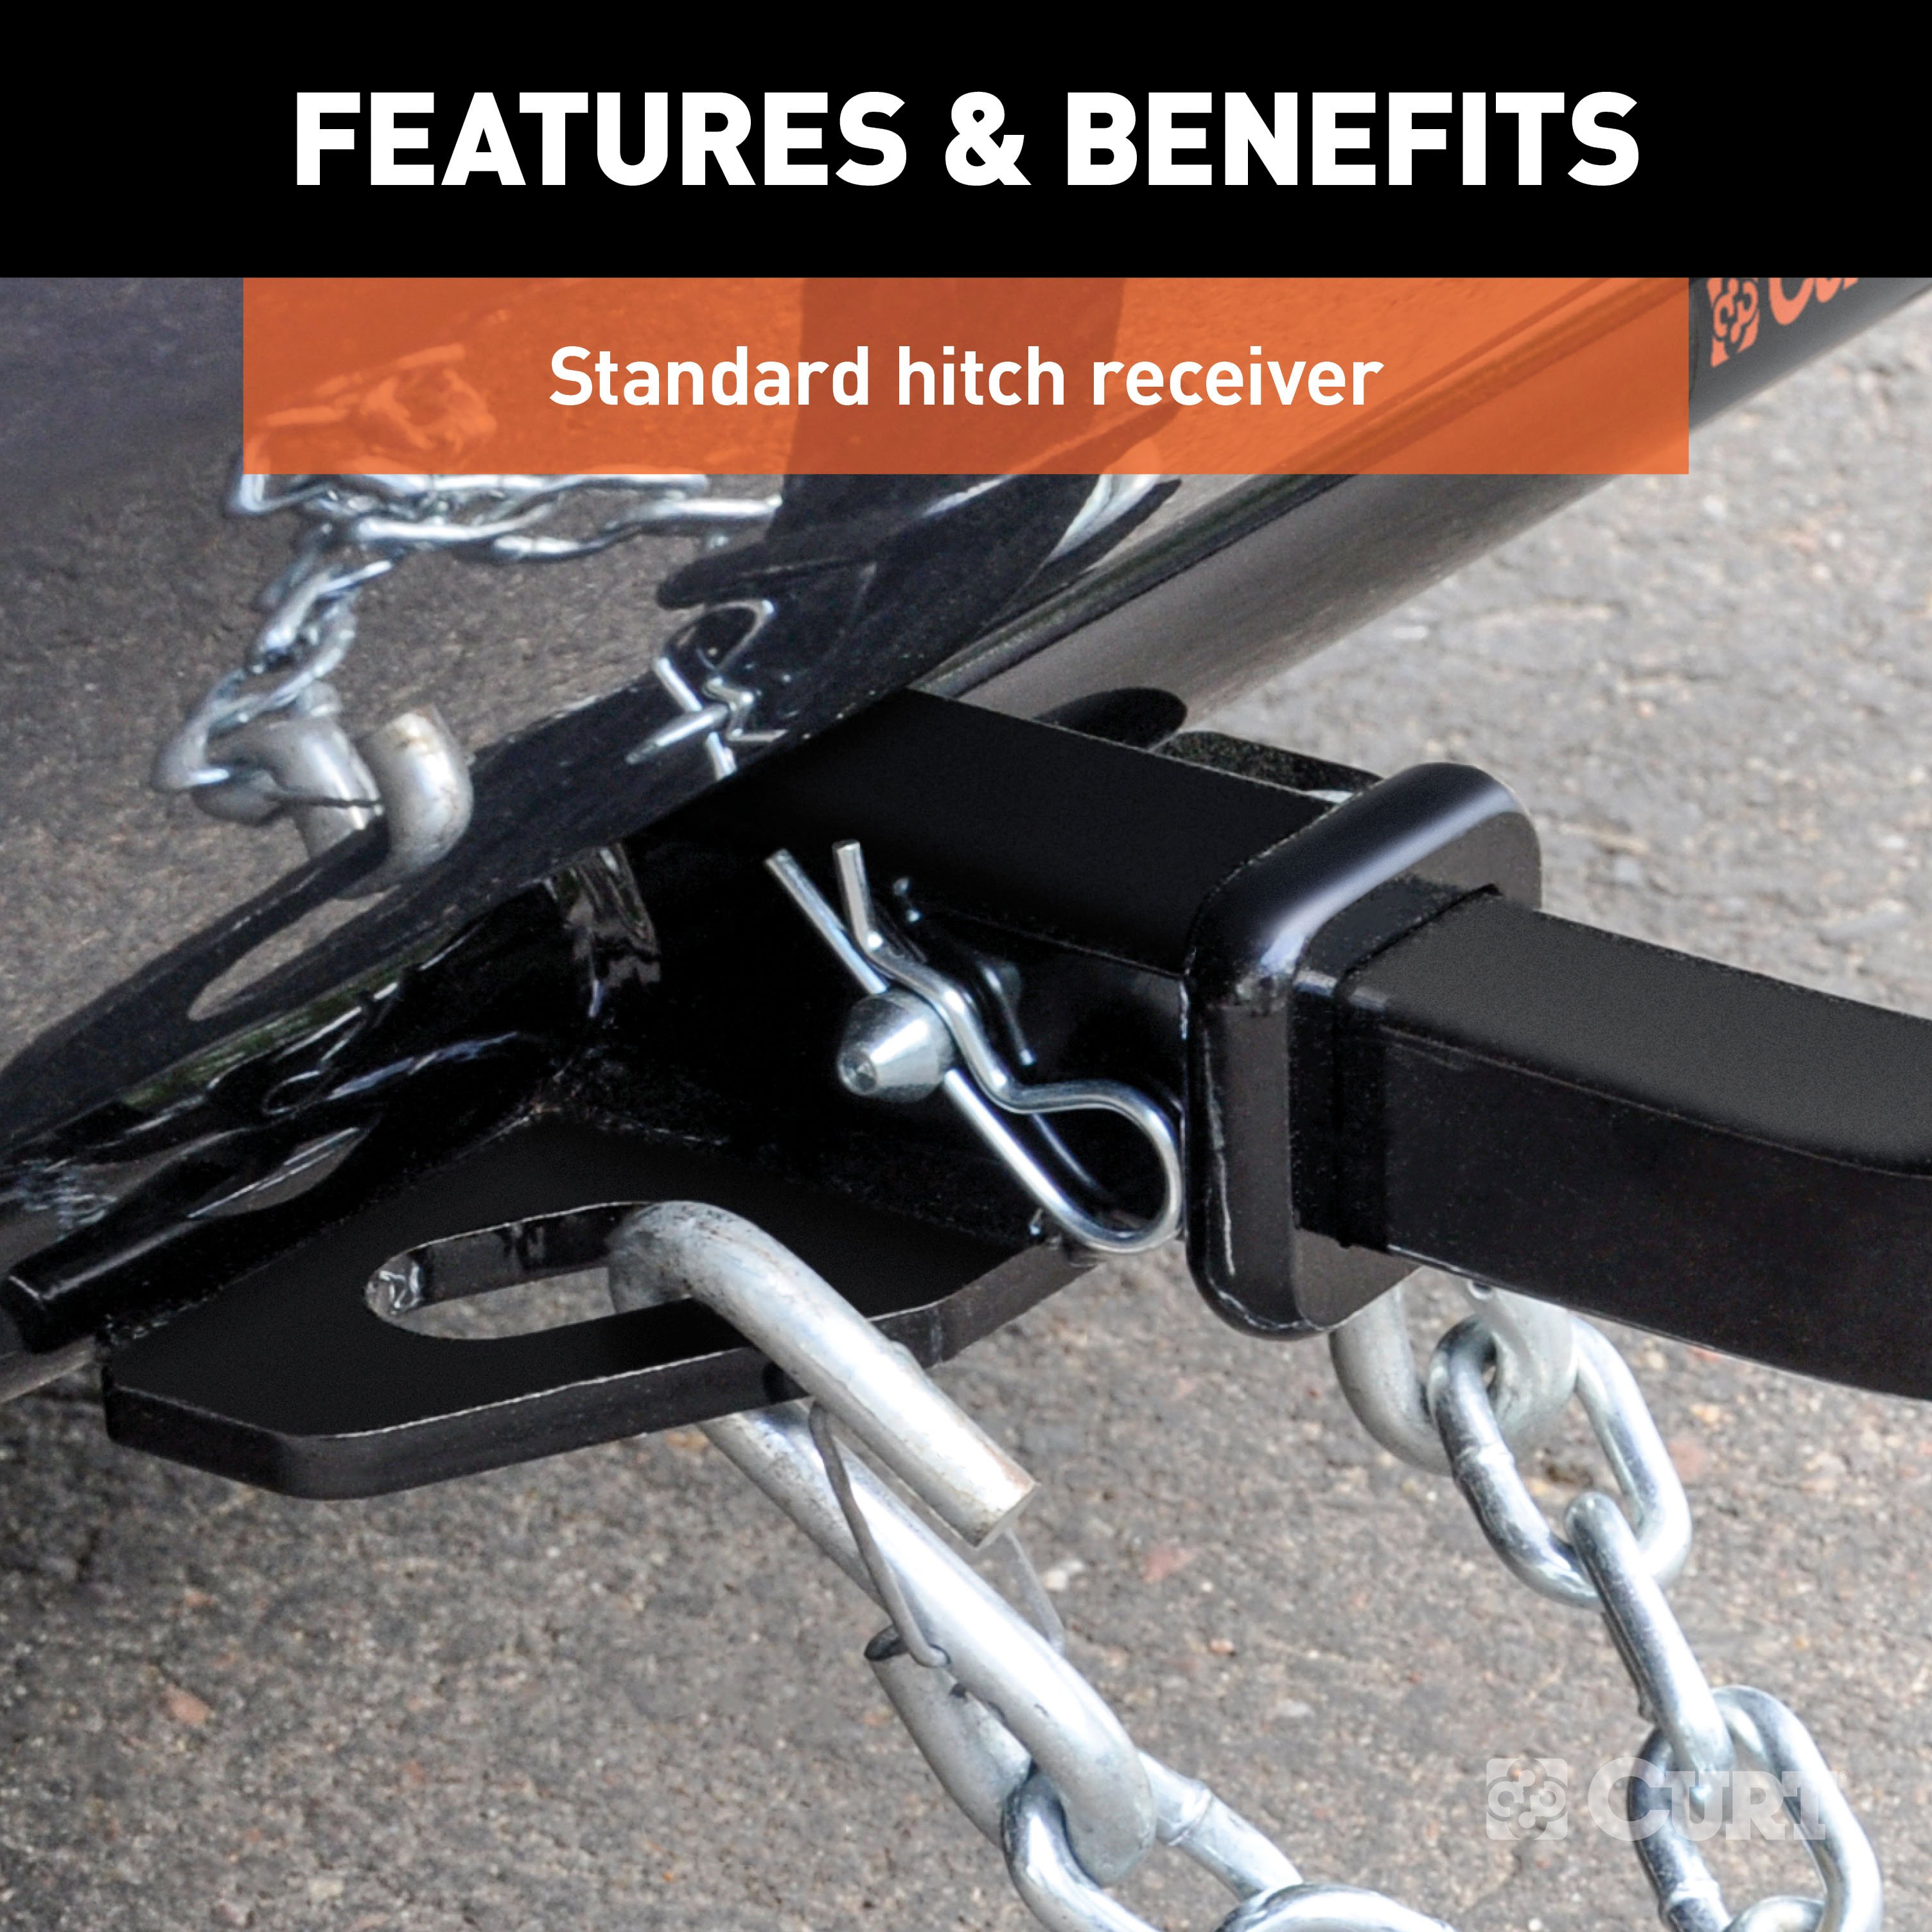
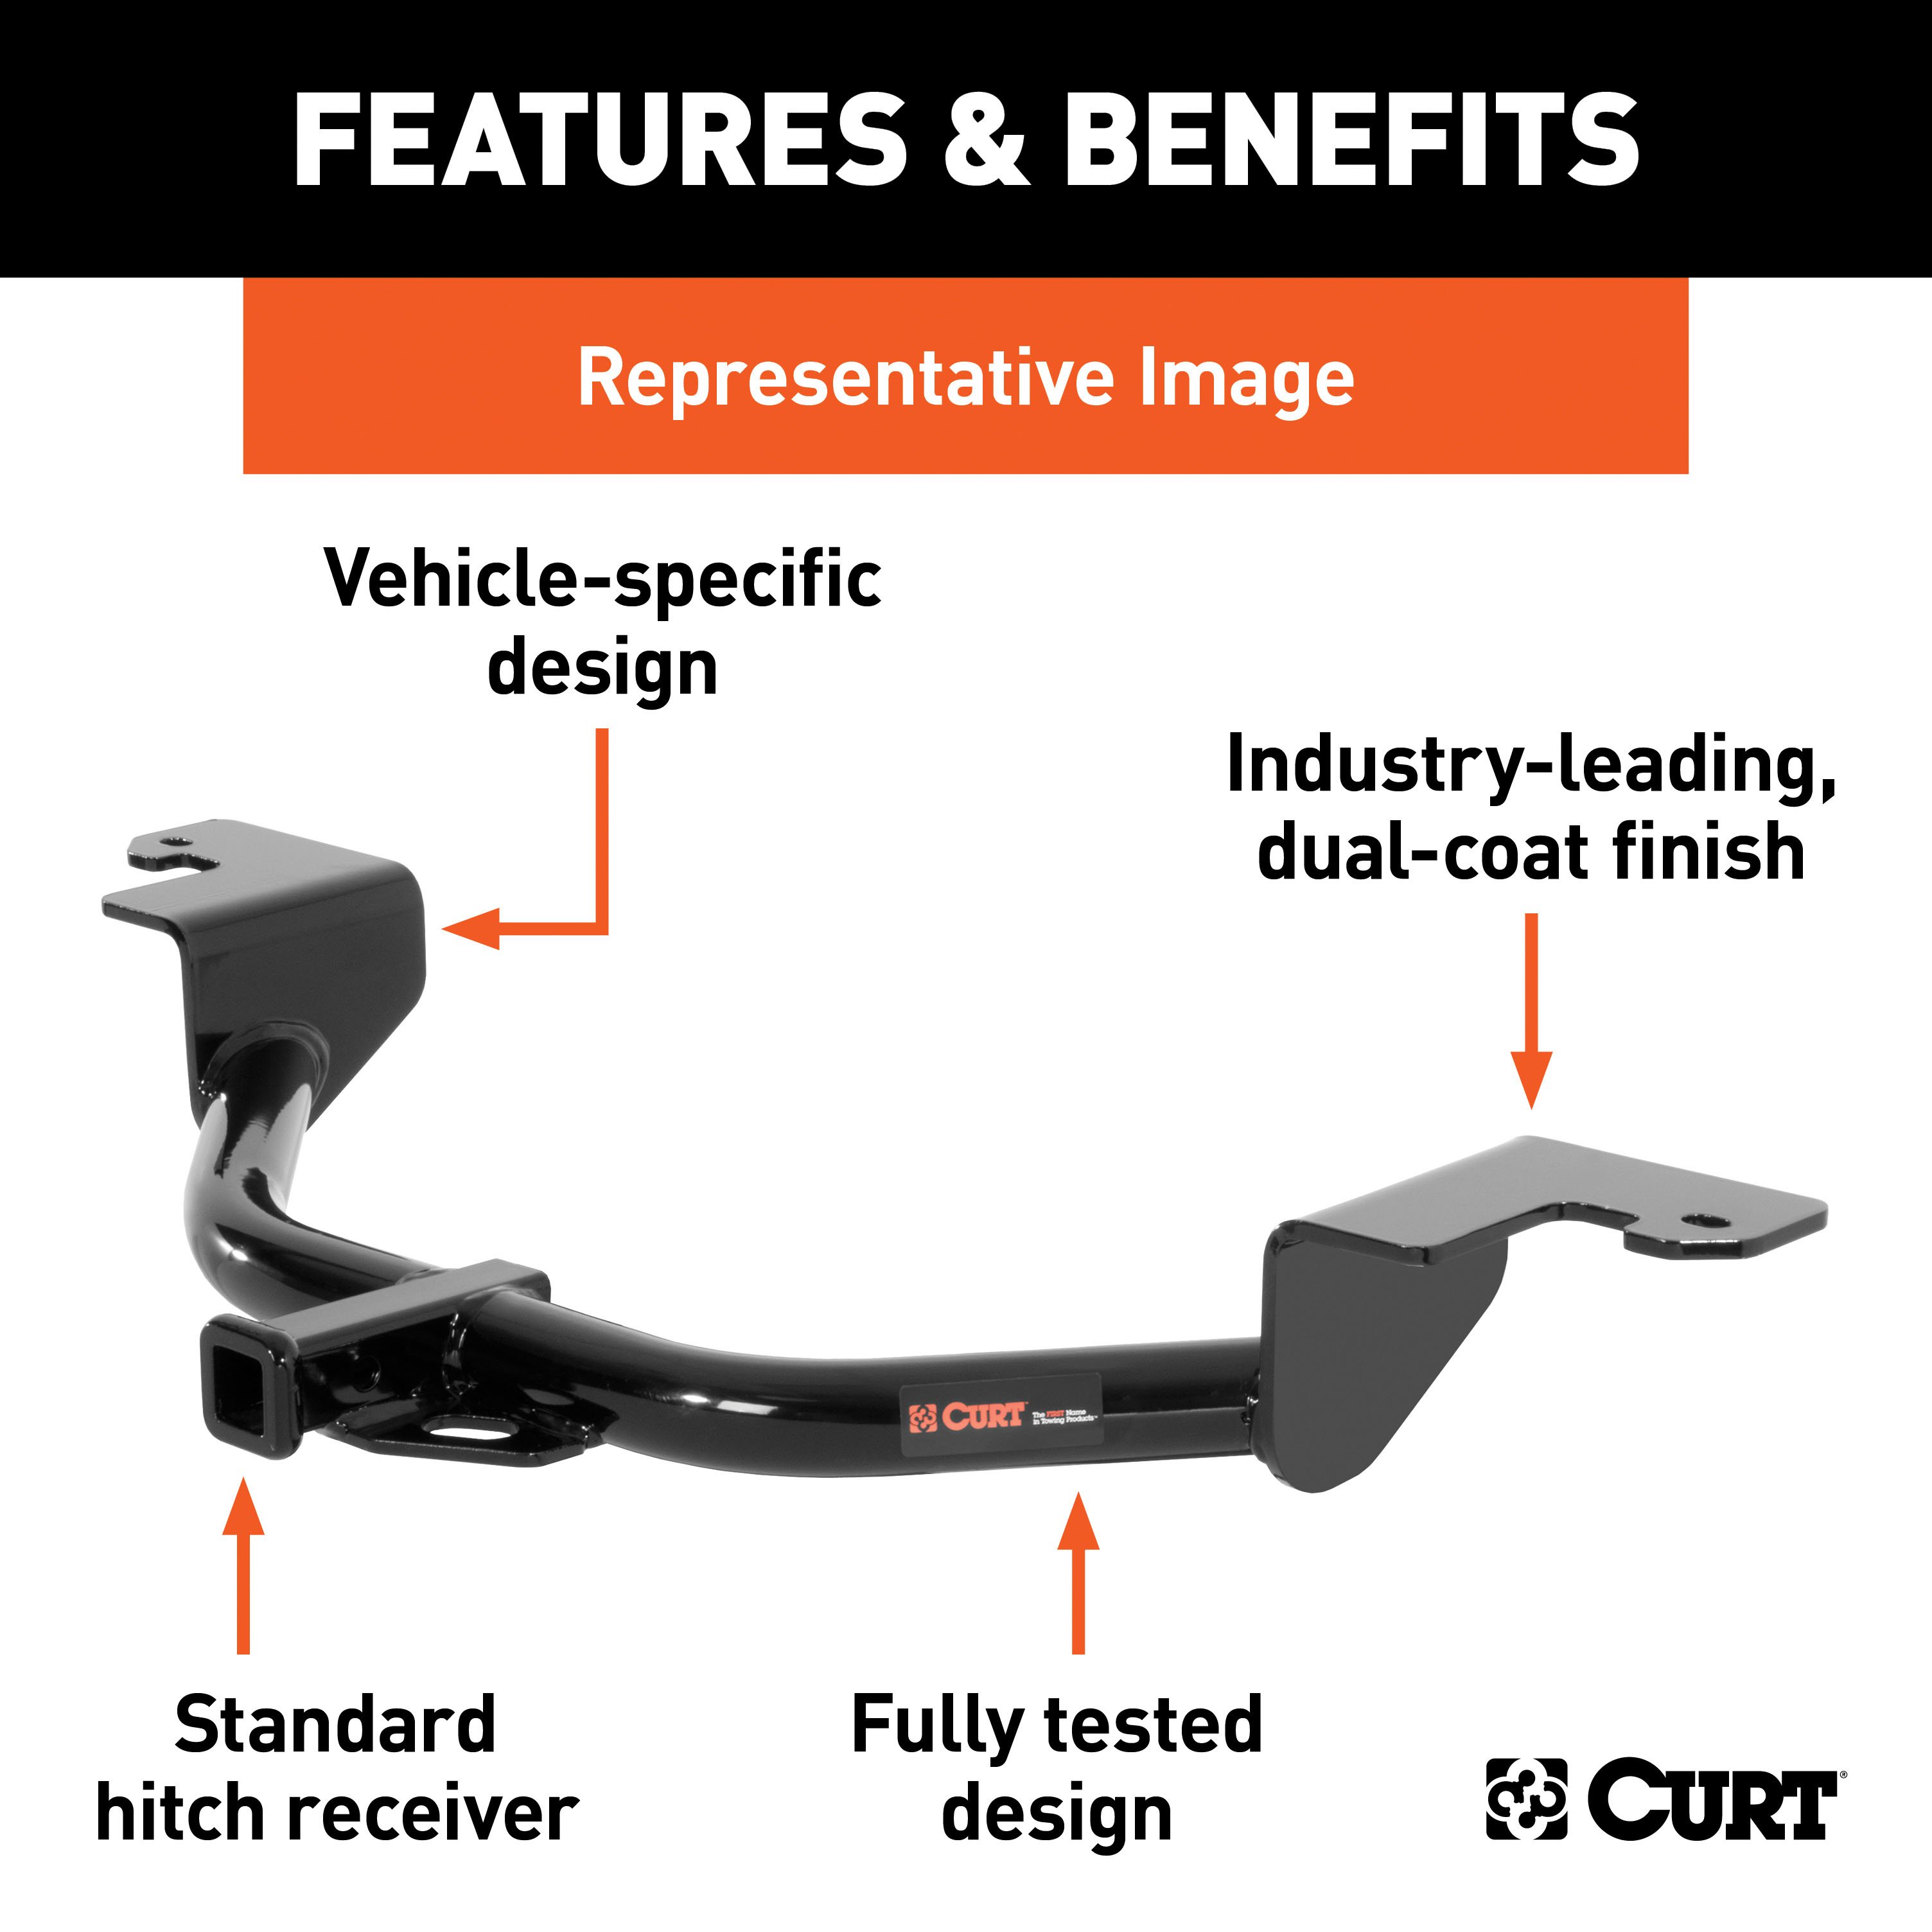
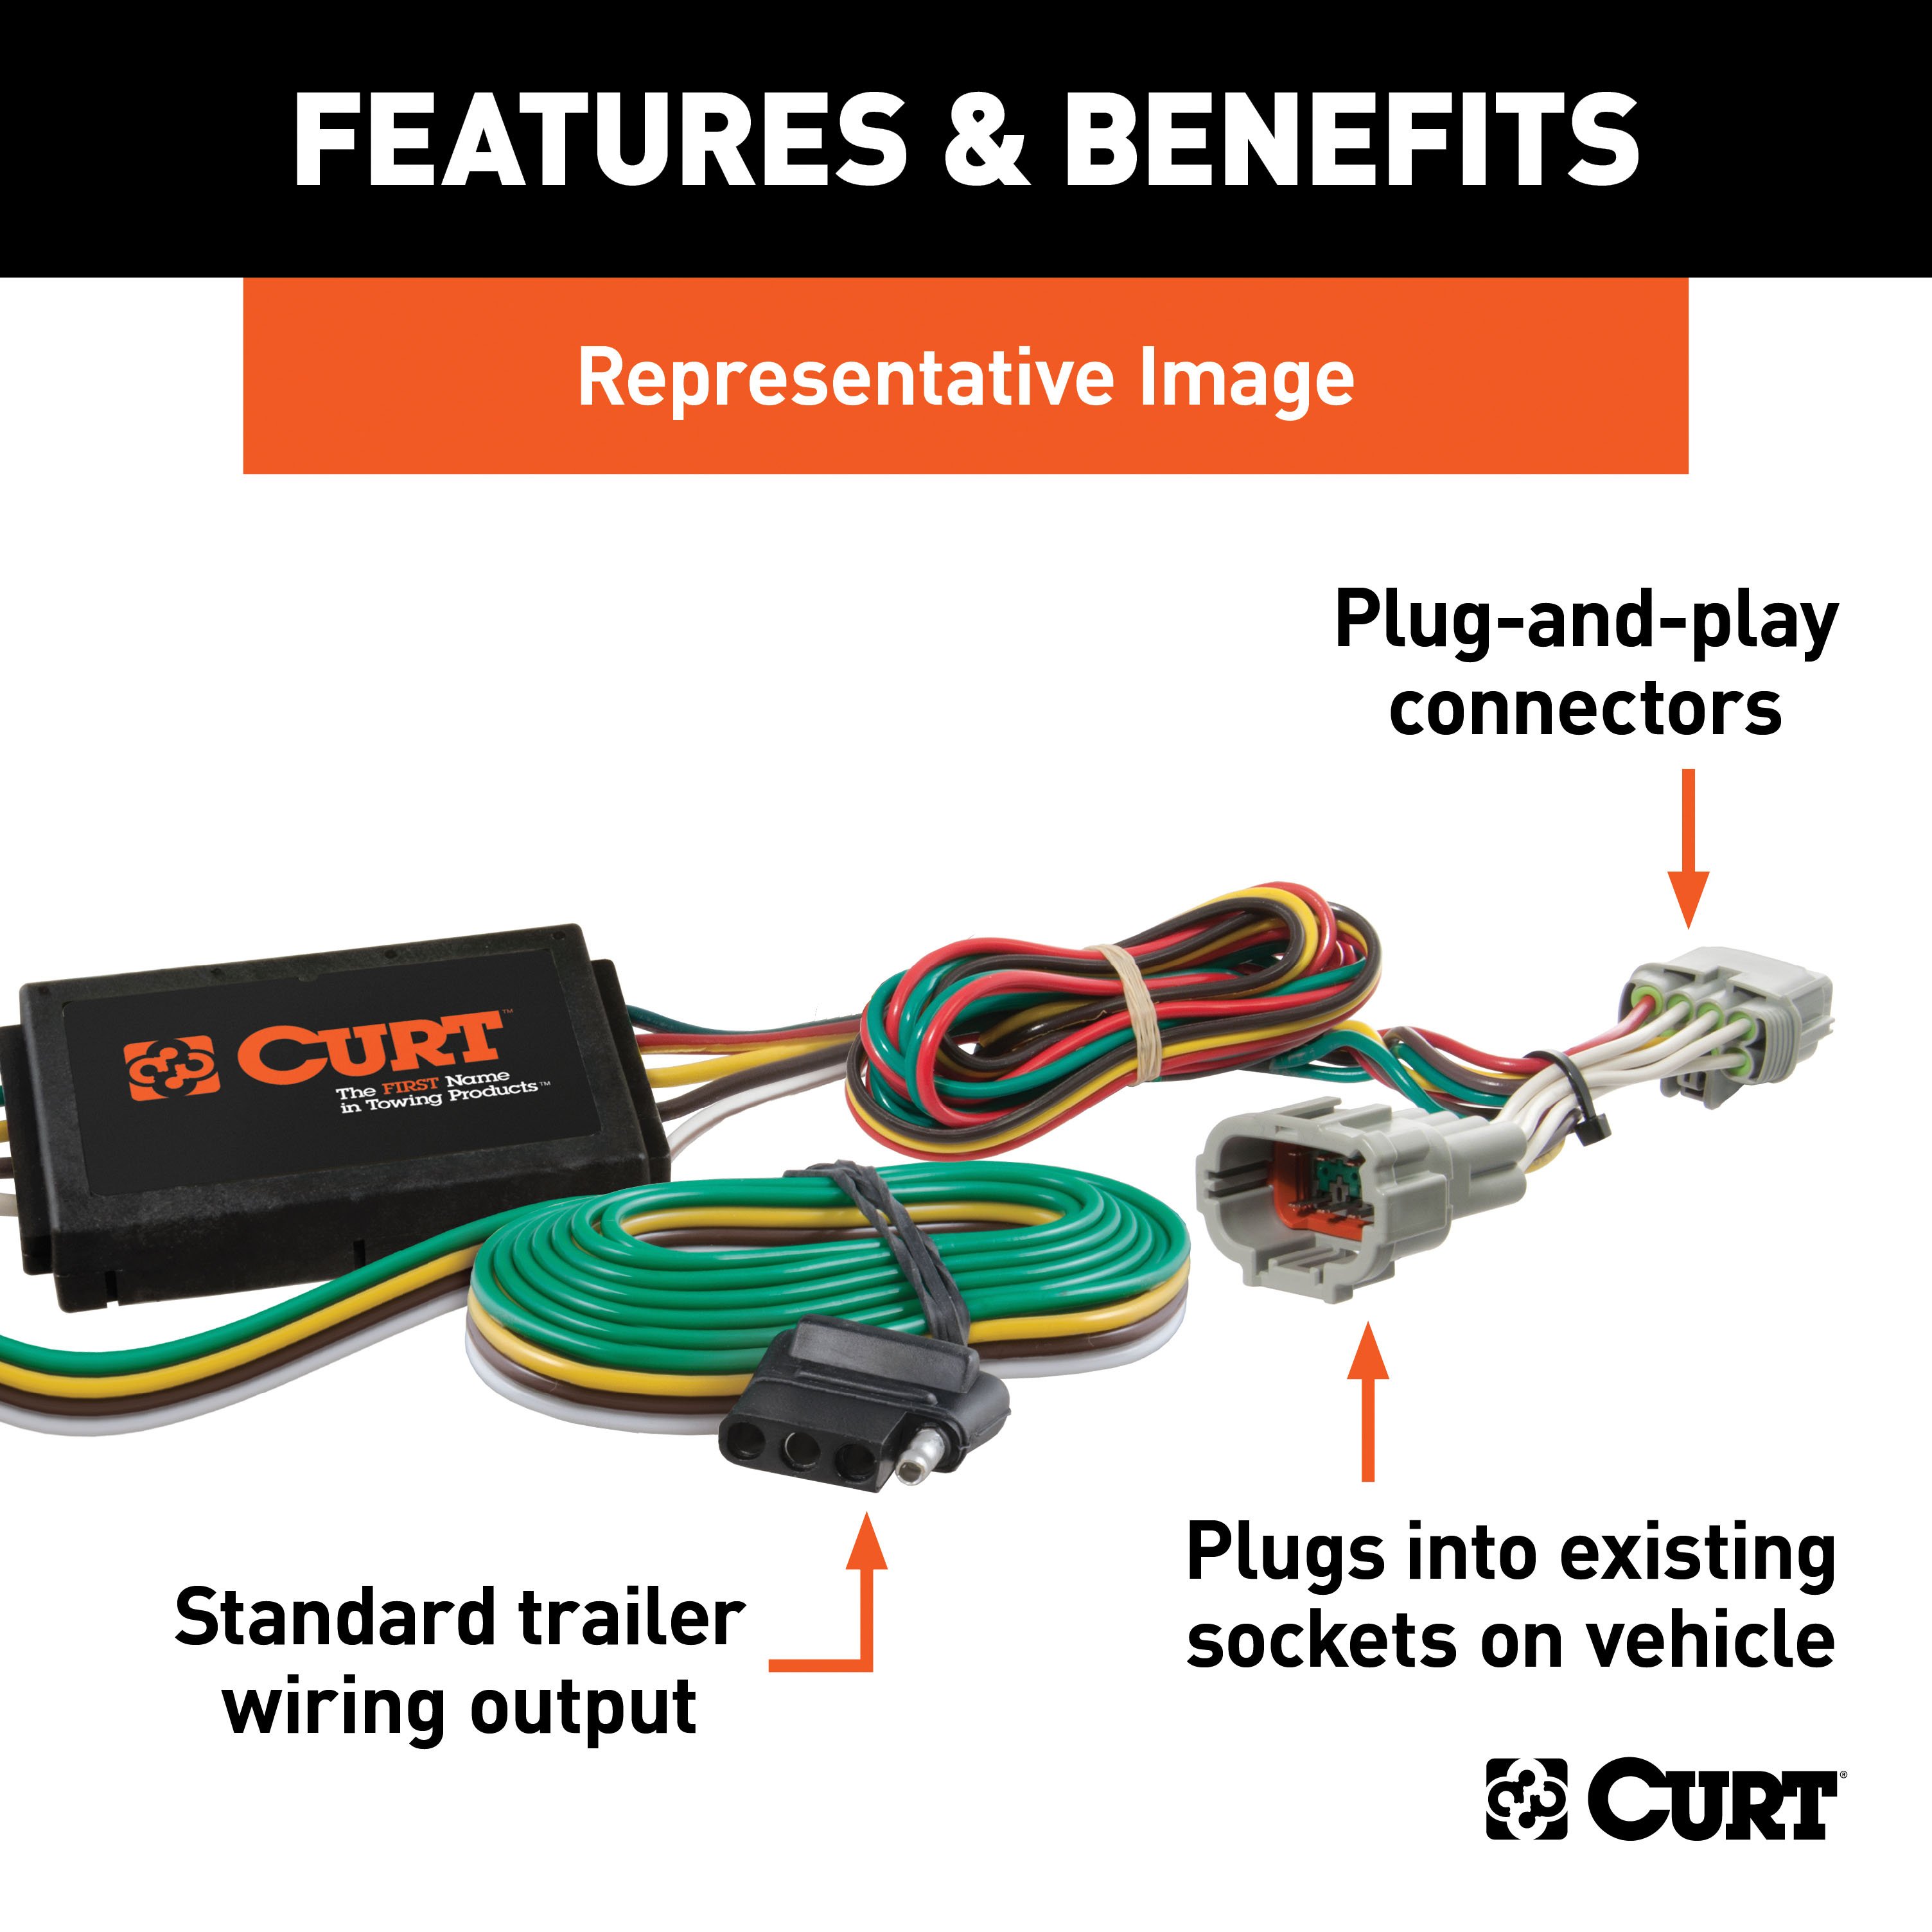
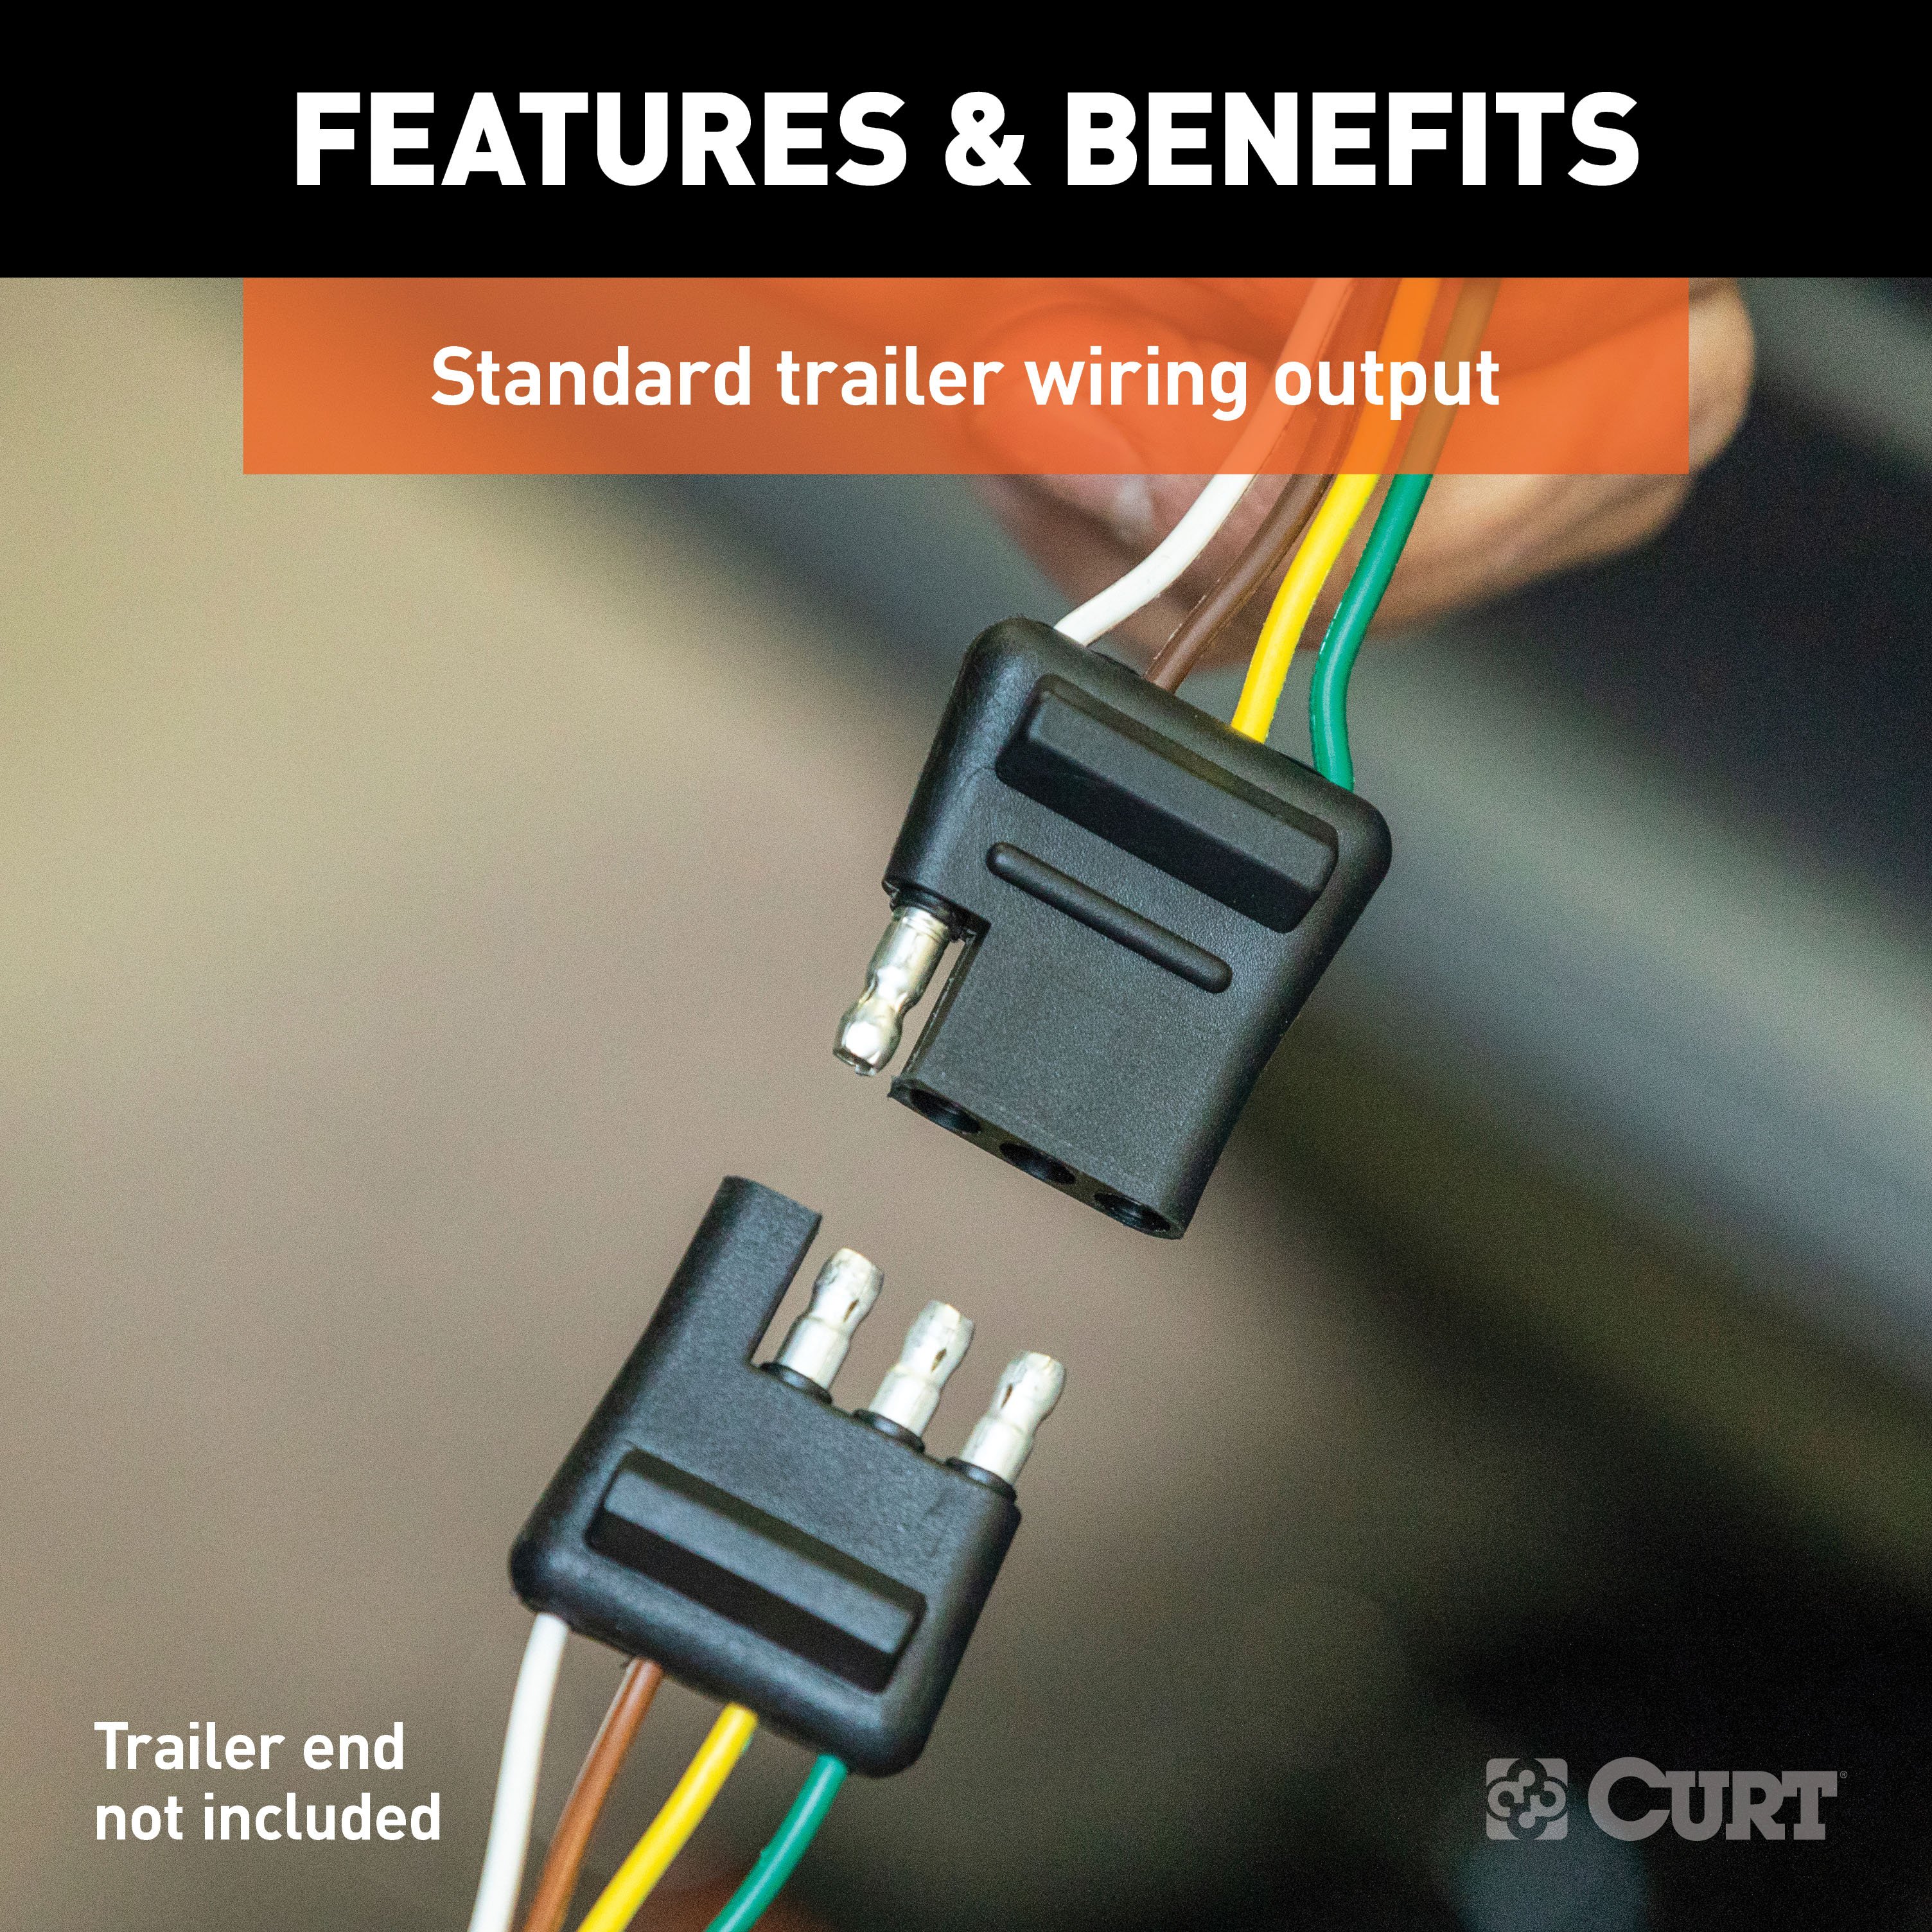
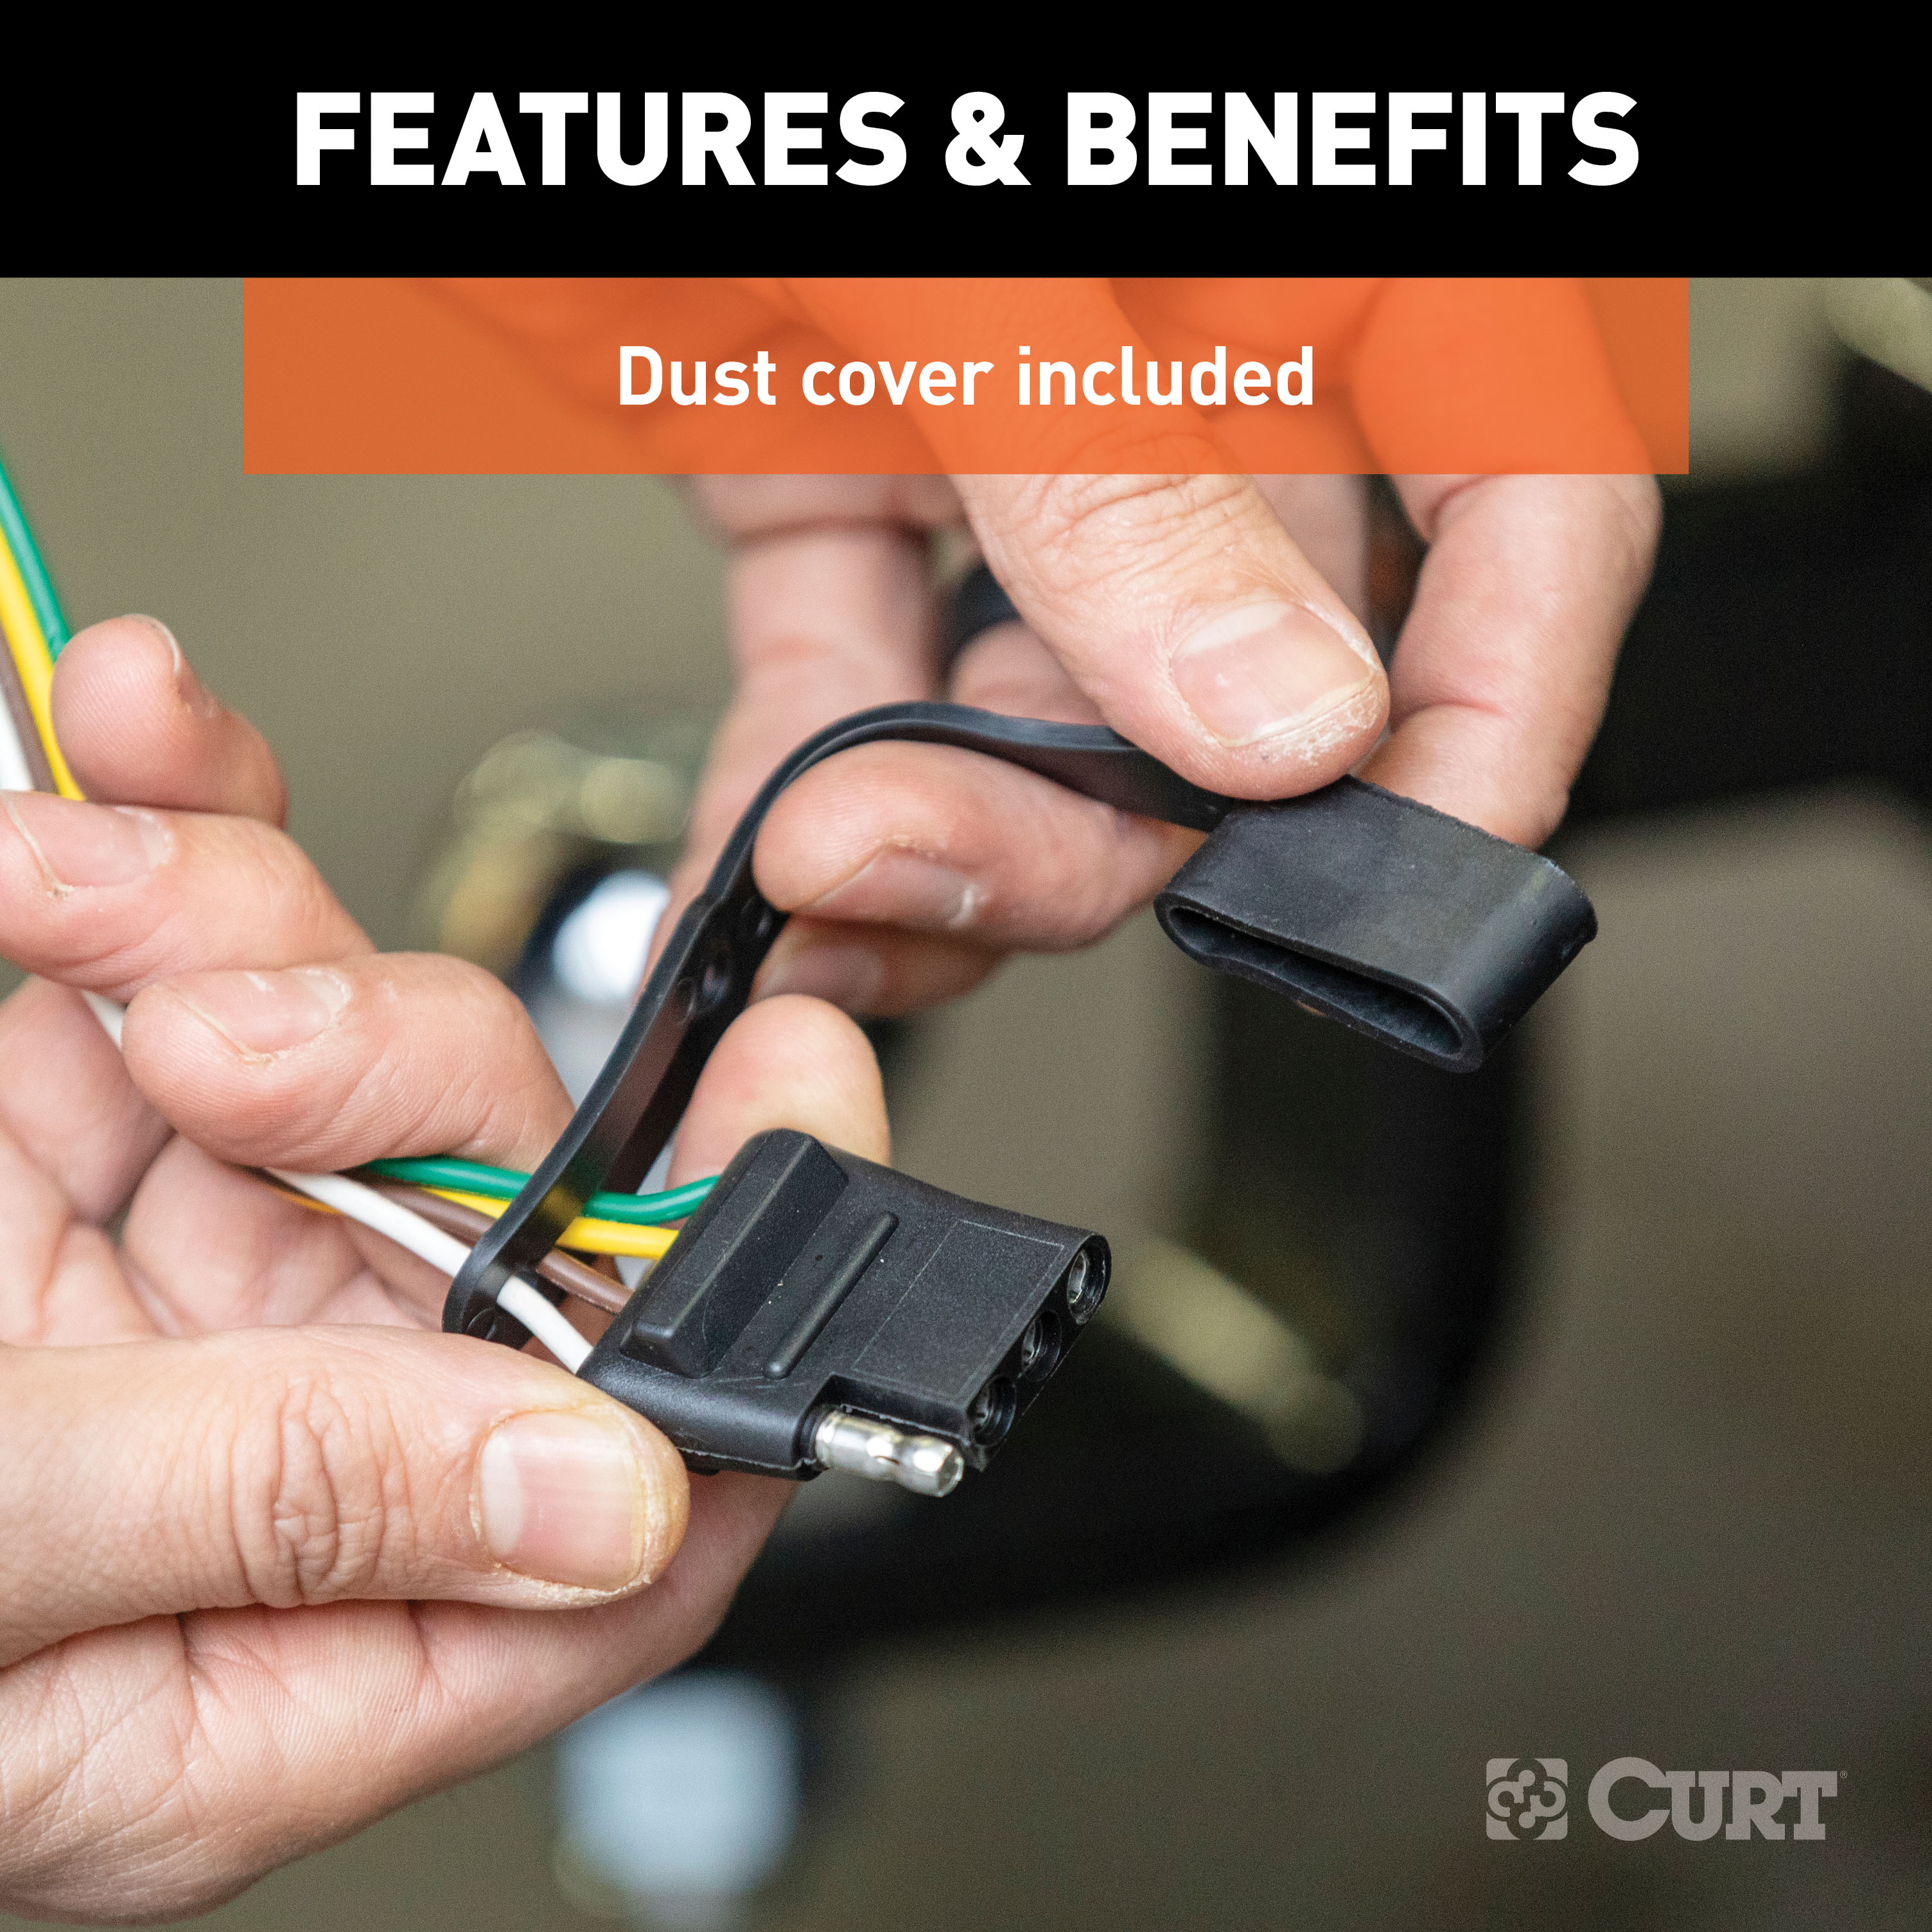
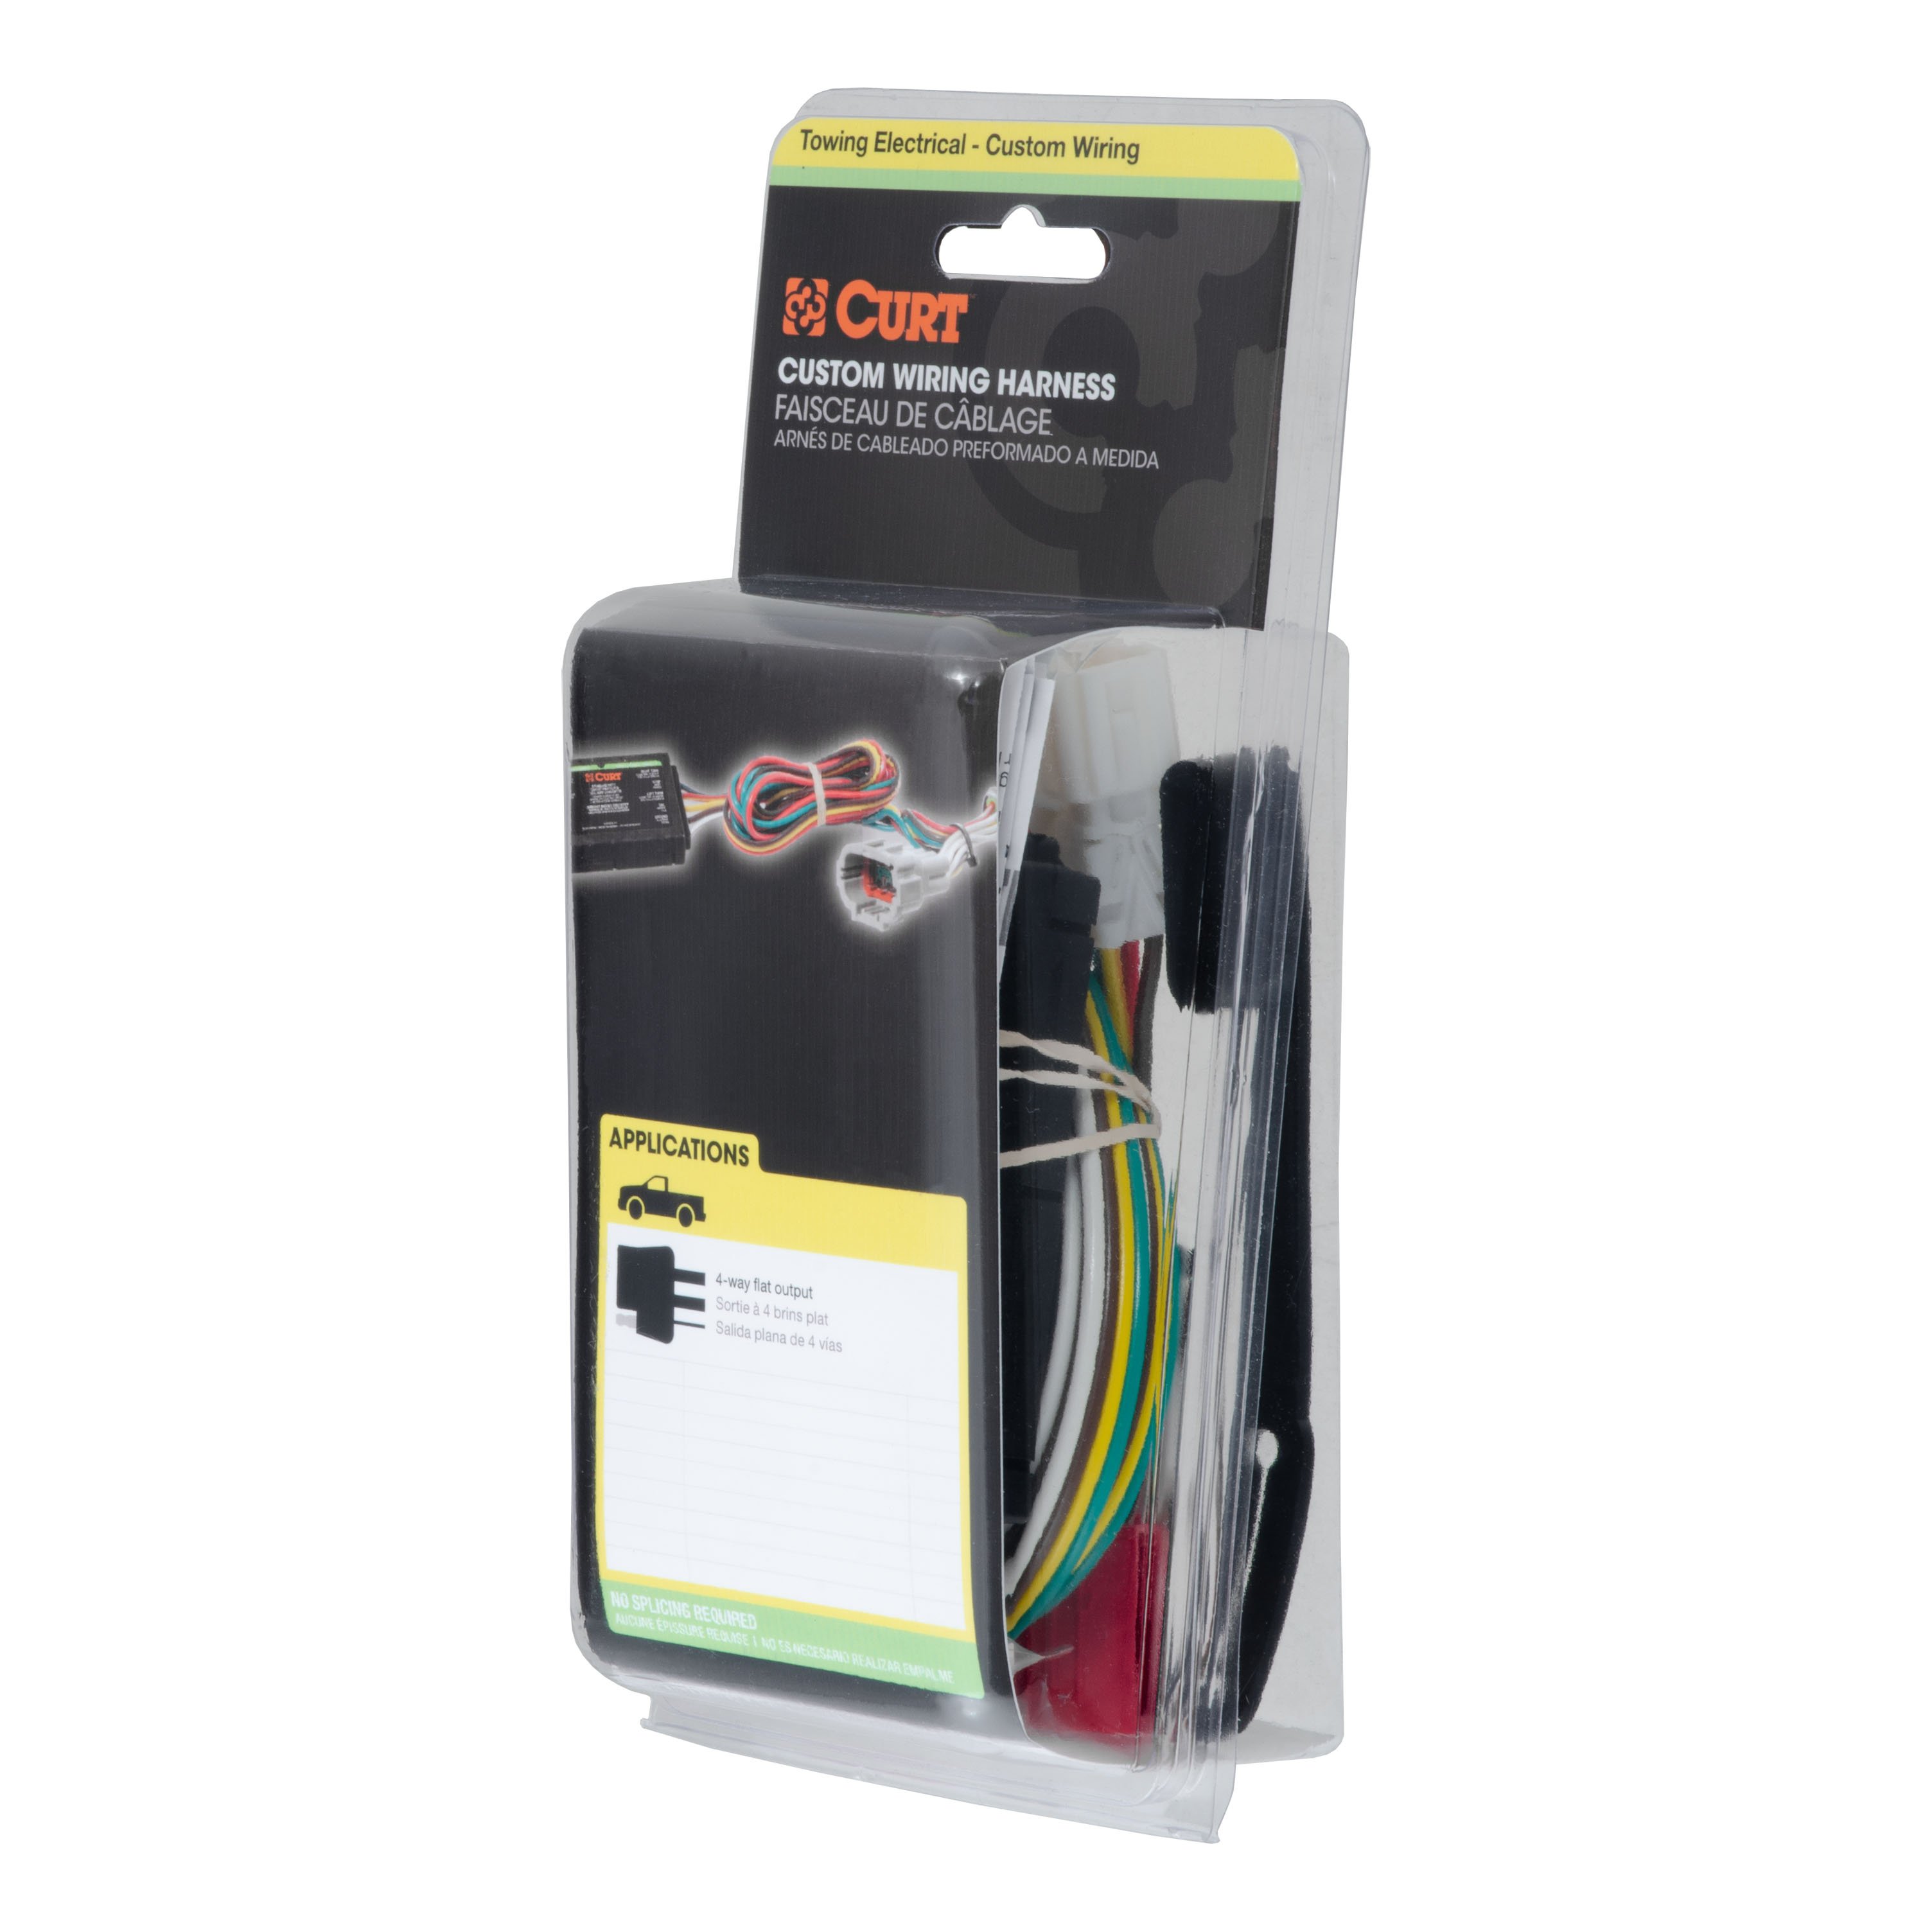
- Includes: Class 1 Trailer Tow Hitch, Custom Wiring Harness
Compatibility Chart
Get Expert Help
For 2004-2006 Scion xB Trailer Hitch + Wiring 4 Pin Fits All Models Curt 11487 56030 1-1/4 Tow Receiver Install Notes
Installation Instructions for 2004-2007 Scion xB
Part Numbers:
-
11487
Tools Required:
- Torque wrench
- Ratchet
- 17mm socket
- 10mm socket
Step-by-Step Instructions:
-
Lower Exhaust:
- Lower the exhaust system to provide clearance for installation.
-
Remove Tow Hooks:
- Remove the tow hooks from both the driver and passenger-side frame rails (if equipped).
- Return the tow hooks to the vehicle owner.
-
Remove Fascia Strap Fastener:
- Remove the plastic push fastener from the driver-side fascia strap and discard it.
-
Raise Hitch into Position:
- Position the hitch under the vehicle frame.
- Secure the hitch using the provided M10 hex bolts and 7/16" conical washers through the existing weld nuts in the frame rails.
-
Reinstall Fascia Strap:
- Reattach the driver-side fascia strap using the provided 1/4" hex bolt, 1/4" washer, and 1/4" nylon lock nut.
-
Torque Fasteners:
- Torque all M10 fasteners to 48 lb-ft.
- Torque all 1/4" fasteners to 12 lb-ft.
Hardware List:
- Hex Bolt, M10 x 1.25 x 35, Class 10.9, YZ: Qty 4 (Part No. 10-10298)
- Conical Washer, 7/16", YZ: Qty 4 (Part No. 30-00163)
- Hex Bolt, 1/4-20 x 1.00, Grade 8, YZ: Qty 1 (Part No. 10-10424)
- Flat Washer, 1/4", YZ: Qty 1 (Part No. 30-00188)
- Nylon Lock Nut, 1/4-20, Grade 8, YZ: Qty 1 (Part No. 20-00148)
Safety Notes:
- Gross Load Capacity (Weight Carrying Hitch): 2,000 lbs (trailer weight), 200 lbs (tongue weight).
- Warning: Non-trailer loads must be supported with auxiliary stabilizing straps to prevent damage.
- Failure to properly support non-trailer loads will void the product warranty.
- Do not exceed the vehicle manufacturer's recommended towing capacity.
- Periodically inspect the hitch to ensure all fasteners remain tight and structural components remain sound.
Specifications:
- Hitch Weight: Not specified
- Installation Time:
- Professional: 30 minutes
- Novice (DIY): 45 minutes
- Drilling Required: No
- Tow Hook Removal Required: Yes
- Lower Exhaust Required: Yes
Manufacturer Notes:
- Designed for use with Ball Mount #D-21 / 45520.
- Warranty covers defects in material and workmanship at the time of purchase.
- For technical support, call Curt Manufacturing at 1-877-287-8634.
Vehicle Applications:
- Fits 2004-2007 Scion xB
Revision History:
- 6/29/2007: Generic instruction sheet.
- 8/10/2020: Updated hardware descriptions/numbers.
Installation Instructions for 2004-2007 Scion xB
Part Numbers:
-
11487
Tools Required:
- Torque wrench
- Ratchet
- 17mm socket
- 10mm socket
Step-by-Step Instructions:
-
Lower Exhaust:
- Lower the exhaust system to provide clearance for installation.
-
Remove Tow Hooks:
- Remove the tow hooks from both the driver and passenger-side frame rails (if equipped).
- Return the tow hooks to the vehicle owner.
-
Remove Fascia Strap Fastener:
- Remove the plastic push fastener from the driver-side fascia strap and discard it.
-
Raise Hitch into Position:
- Position the hitch under the vehicle frame.
- Secure the hitch using the provided M10 hex bolts and 7/16" conical washers through the existing weld nuts in the frame rails.
-
Reinstall Fascia Strap:
- Reattach the driver-side fascia strap using the provided 1/4" hex bolt, 1/4" washer, and 1/4" nylon lock nut.
-
Torque Fasteners:
- Torque all M10 fasteners to 48 lb-ft.
- Torque all 1/4" fasteners to 12 lb-ft.
Hardware List:
- Hex Bolt, M10 x 1.25 x 35, Class 10.9, YZ: Qty 4
- Conical Washer, 7/16", YZ: Qty 4
- Hex Bolt, 1/4-20 x 1.00, Grade 8, YZ: Qty 1
- Flat Washer, 1/4", YZ: Qty 1
- Nylon Lock Nut, 1/4-20, Grade 8, YZ: Qty 1
Safety Notes:
- Gross Load Capacity (Weight Carrying Hitch): 2,000 lbs (trailer weight), 200 lbs (tongue weight).
- Warning: Non-trailer loads must be supported with auxiliary stabilizing straps to prevent damage.
- Failure to properly support non-trailer loads will void the product warranty.
- Do not exceed the vehicle manufacturer's recommended towing capacity.
- Periodically inspect the hitch to ensure all fasteners remain tight and structural components remain sound.
Specifications:
- Hitch Weight: Not specified
- Installation Time:
- Professional: 30 minutes
- Novice (DIY): 45 minutes
- Drilling Required: No
- Tow Hook Removal Required: Yes
- Lower Exhaust Required: Yes
Notes:
- Designed for use with Ball Mount #D-21 / 45520.
- Warranty covers defects in material and workmanship at the time of purchase.
- For technical support and assistance, our team of experts is available to help. You can reach our tech support by visiting www.trailerjacks.com or calling 877-869-6690.
Vehicle Applications:
- Fits 2004-2007 Scion xB
Revision History:
- 6/29/2007: Generic instruction sheet.
- 8/10/2020: Updated hardware descriptions/numbers.
Attention: This is a summary of the installation procedure. For complete installation instructions, including diagrams and detailed information from the manufacturer, please download the full installation PDF.
Installation Instructions for Scion xB
Part Number:
- 56030
Tools Required:
- Drill with 3/32" drill bit (if grounding point is not available)
- Phillips screwdriver
- Flat blade screwdriver
- Panel trim removal tool
- Cable ties
Wiring Access Locations:
- S1: Behind driver side interior trim panel
- S2: Behind passenger side interior trim panel
Step-by-Step Instructions:
-
Prepare the Vehicle Interior:
- Open the rear hatch.
- Temporarily remove the rear threshold plate, storage covers, and floor covering.
- Partially remove the rear interior trim panels on both the driver and passenger sides.
- Several trim panel fasteners will need to be removed to detach the panels.
-
Access Taillight Wiring Harnesses:
- On both sides of the vehicle, locate the taillight wiring harnesses.
- These harnesses have connection points matching the ends of the T-Connector.
- Separate each connector carefully, ensuring not to break the locking tabs.
- All connector surfaces should be clean and free of dirt.
- On both sides of the vehicle, locate the taillight wiring harnesses.
-
Connect the T-Connector (Passenger Side):
- On the passenger side, insert the T-Connector end with the green wire between the separated vehicle wiring connectors.
- Ensure connectors are fully inserted with locking tabs in place.
-
Route and Connect the T-Connector (Driver Side):
- Route the T-Connector end with the yellow wire to the driver’s side, behind the panels and along the threshold.
- Repeat the connection process on the driver side using the T-Connector containing the yellow wire.
-
Establish Ground Connection:
- Locate a suitable grounding point near the connector.
- If no existing ground stud is available, drill a 3/32" hole and secure the white wire with the eyelet using the provided screw.
- Alternatively, on the passenger side, locate an existing ground stud, loosen the bolt, place the screw eyelet on the stud, and re-tighten the bolt.
- Locate a suitable grounding point near the connector.
-
Mount the Converter Box:
- On the passenger side, mount the T-Connector's black converter box in an out-of-the-way location using the provided double-sided tape.
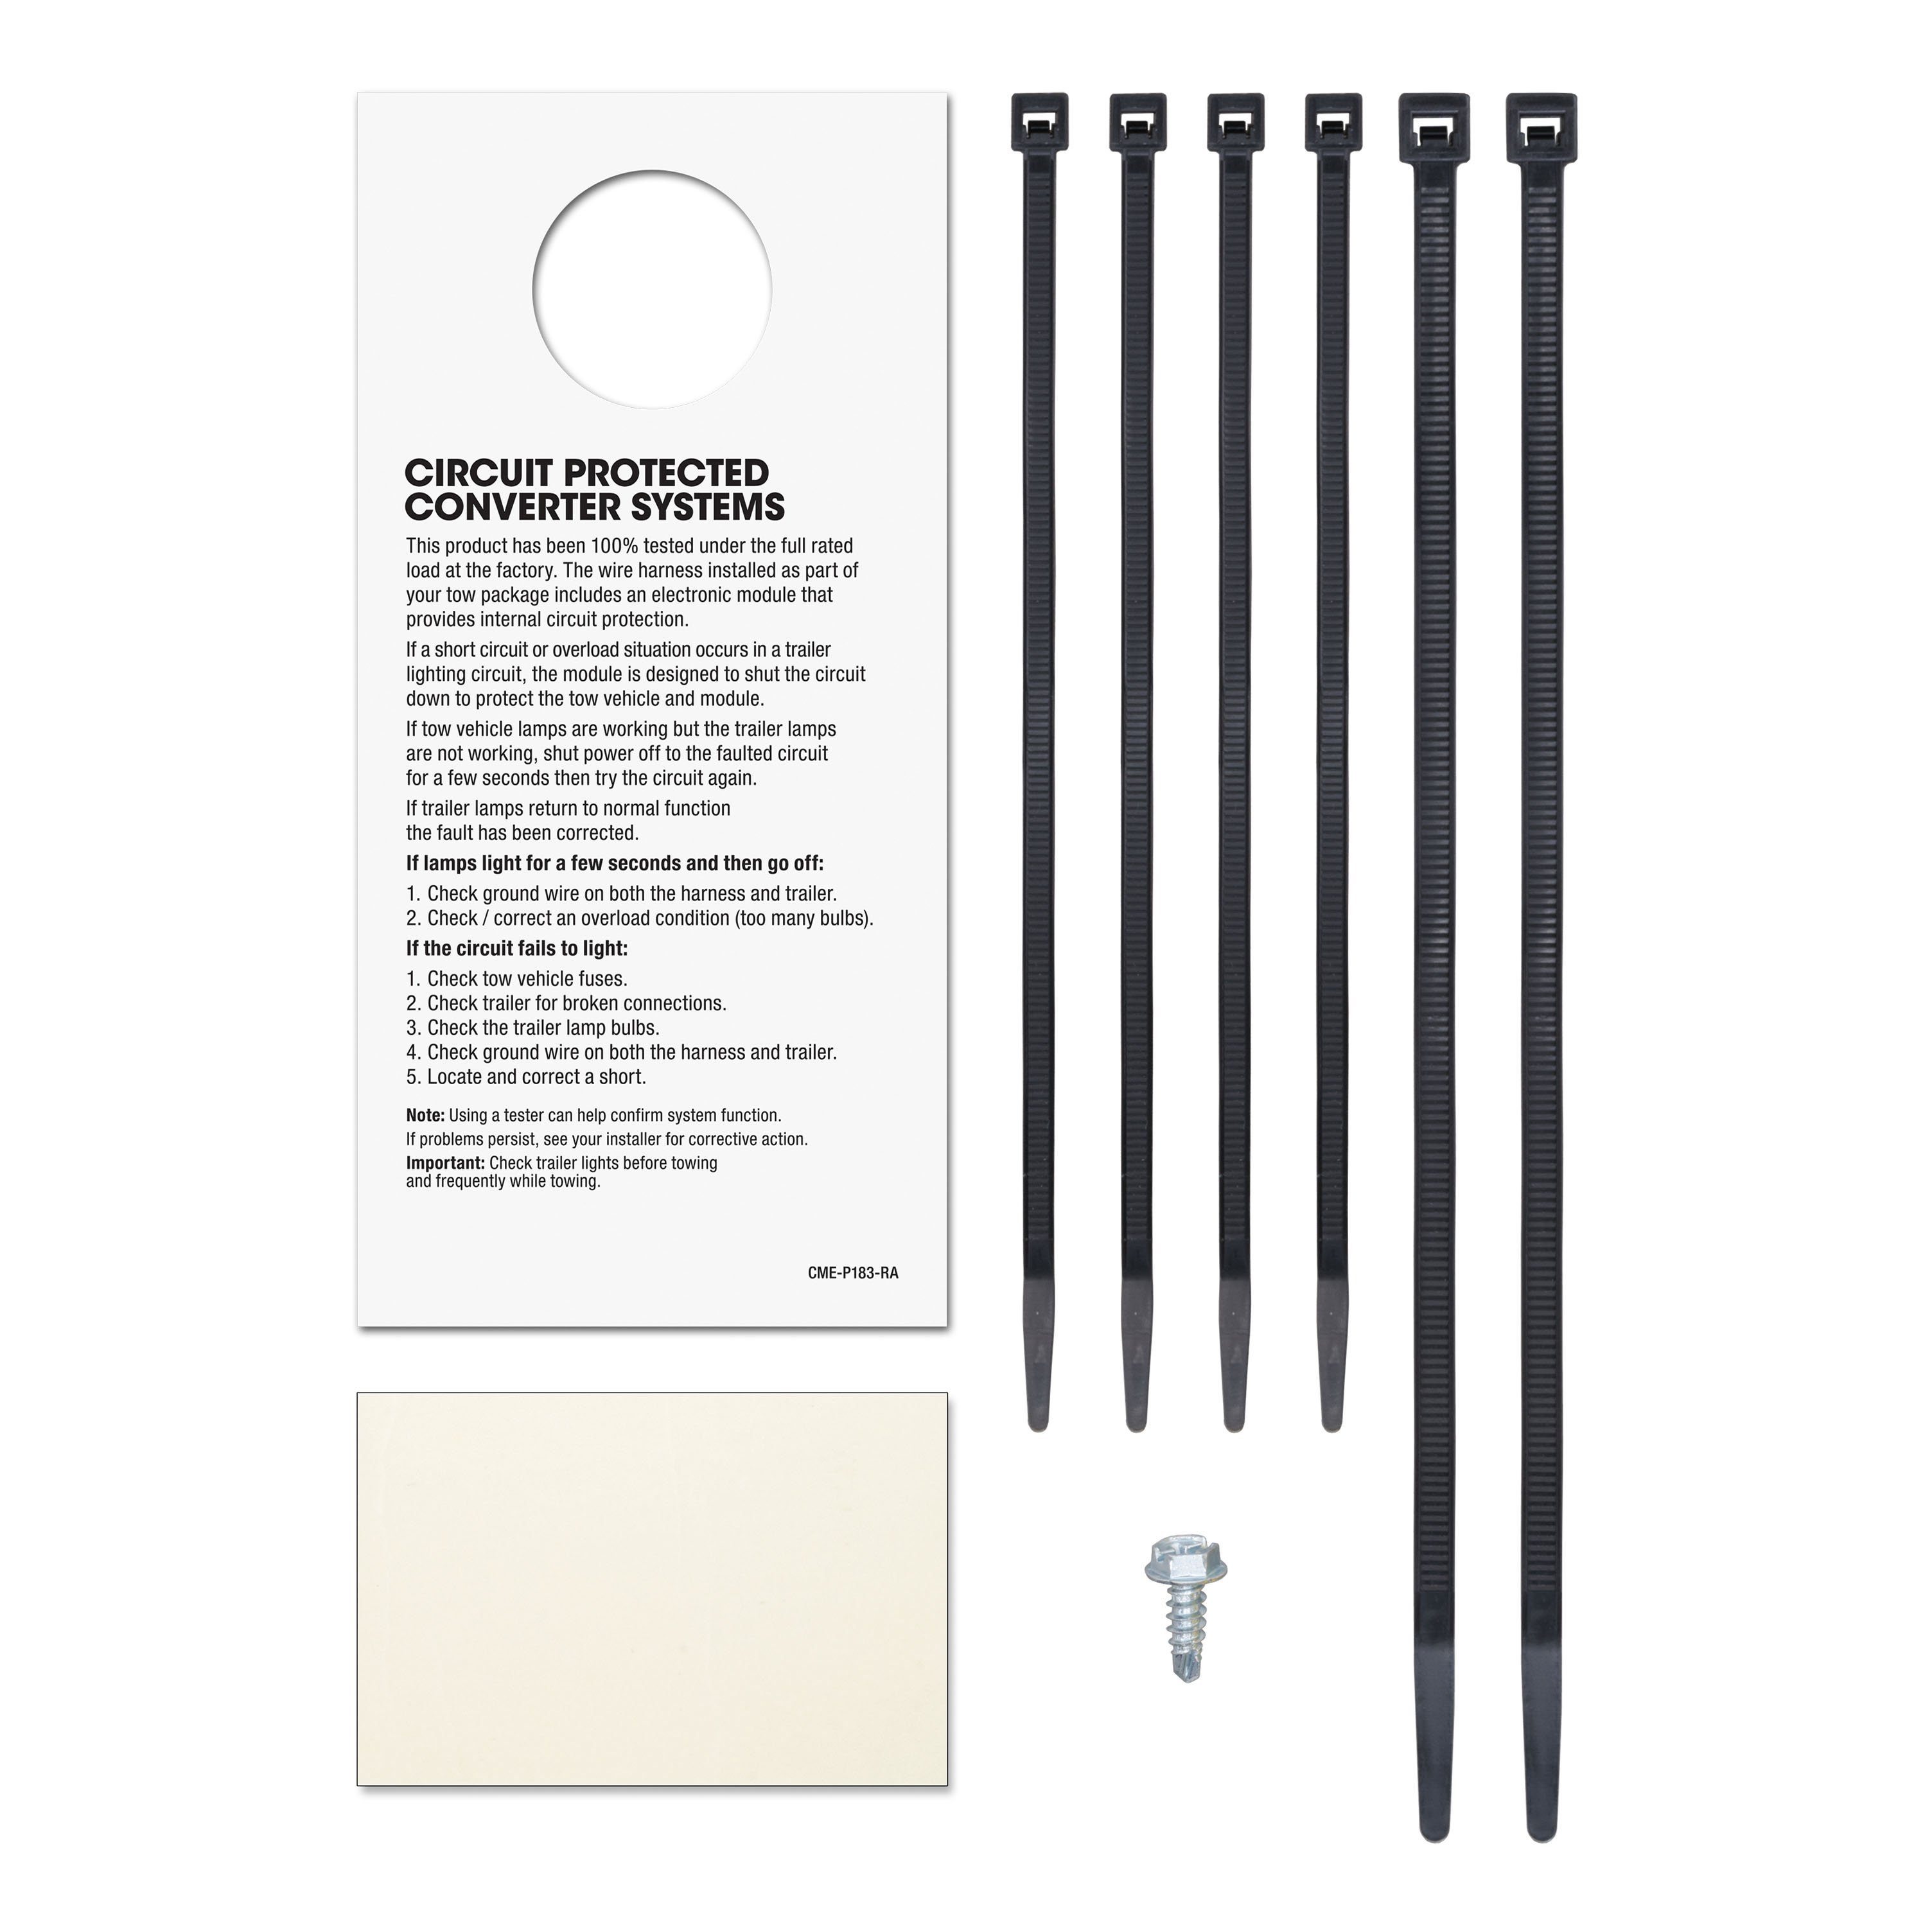
- Secure all loose wires with the provided cable ties, avoiding any areas that could cut or pinch the wires.
-
Reassemble Vehicle Interior:
- Reinstall the plastic trim panels, threshold, storage covers, floor covering, and any other items removed during installation.
- Ensure that the wires are not pinched or cut during reassembly.
Safety Notes:
- Before drilling, verify that there are no hidden items behind or under any surface to avoid damage or personal injury.
- Ensure all connectors are fully inserted with locking tabs in place to prevent disconnection.
- Secure loose wires to prevent contact with moving parts or hot surfaces.
- Avoid routing wires through areas that may cut or pinch them.
Warning: Do not exceed the product rating or the tow vehicle's lamp load rating, whichever is lower. Exceeding these ratings can lead to loss of warranty, overheating, and potential fire.
Note: For more information, refer to the vehicle owner's manual or contact the vehicle manufacturer.
Installation Instructions
Part Number:
- 56030
Tools Required:
- Drill with 3/32" drill bit (if grounding point is not available)
- Phillips screwdriver
- Flat blade screwdriver
- Panel trim removal tool
- Cable ties
Wiring Access Locations:
- S1: Behind driver side interior trim panel
- S2: Behind passenger side interior trim panel
Step-by-Step Instructions:
-
Prepare the Vehicle Interior:
- Open the rear hatch.
- Temporarily remove the rear threshold plate, storage covers, and floor covering.
- Partially remove the rear interior trim panels on both the driver and passenger sides.
- Several trim panel fasteners will need to be removed to detach the panels.
-
Access Taillight Wiring Harnesses:
- On both sides of the vehicle, locate the taillight wiring harnesses.
- These harnesses have connection points matching the ends of the T-Connector.
- Separate each connector carefully, ensuring not to break the locking tabs.
- All connector surfaces should be clean and free of dirt.
- On both sides of the vehicle, locate the taillight wiring harnesses.
-
Connect the T-Connector (Passenger Side):
- On the passenger side, insert the T-Connector end with the green wire between the separated vehicle wiring connectors.
- Ensure connectors are fully inserted with locking tabs in place.
-
Route and Connect the T-Connector (Driver Side):
- Route the T-Connector end with the yellow wire to the driver’s side, behind the panels and along the threshold.
- Repeat the connection process on the driver side using the T-Connector containing the yellow wire.
-
Establish Ground Connection:
- Locate a suitable grounding point near the connector.
- If no existing ground stud is available, drill a 3/32" hole and secure the white wire with the eyelet using the provided screw.
- Alternatively, on the passenger side, locate an existing ground stud, loosen the bolt, place the screw eyelet on the stud, and re-tighten the bolt.
- Locate a suitable grounding point near the connector.
-
Mount the Converter Box:
- On the passenger side, mount the T-Connector's black converter box in an out-of-the-way location using the provided double-sided tape.
- Secure all loose wires with the provided cable ties, avoiding any areas that could cut or pinch the wires.
-
Reassemble Vehicle Interior:
- Reinstall the plastic trim panels, threshold, storage covers, floor covering, and any other items removed during installation.
- Ensure that the wires are not pinched or cut during reassembly.
Safety Notes:
- Before drilling, verify that there are no hidden items behind or under any surface to avoid damage or personal injury.
- Ensure all connectors are fully inserted with locking tabs in place to prevent disconnection.
- Secure loose wires to prevent contact with moving parts or hot surfaces.
- Avoid routing wires through areas that may cut or pinch them.
Warning: Do not exceed the product rating or the tow vehicle's lamp load rating, whichever is lower. Exceeding these ratings can lead to loss of warranty, overheating, and potential fire.
Note: This is a summary of the installation procedure. For complete installation instructions, including diagrams and detailed information from the manufacturer, please download the full installation PDF.
Warranty Information:
- For complete warranty instructions, please download the full installation PDF.
For Technical Support:
- For technical support and assistance, our team of experts is available to help. You can reach our tech support by visiting www.trailerjacks.com or calling 877-869-6690.


