Product Details
- Brand: Curt
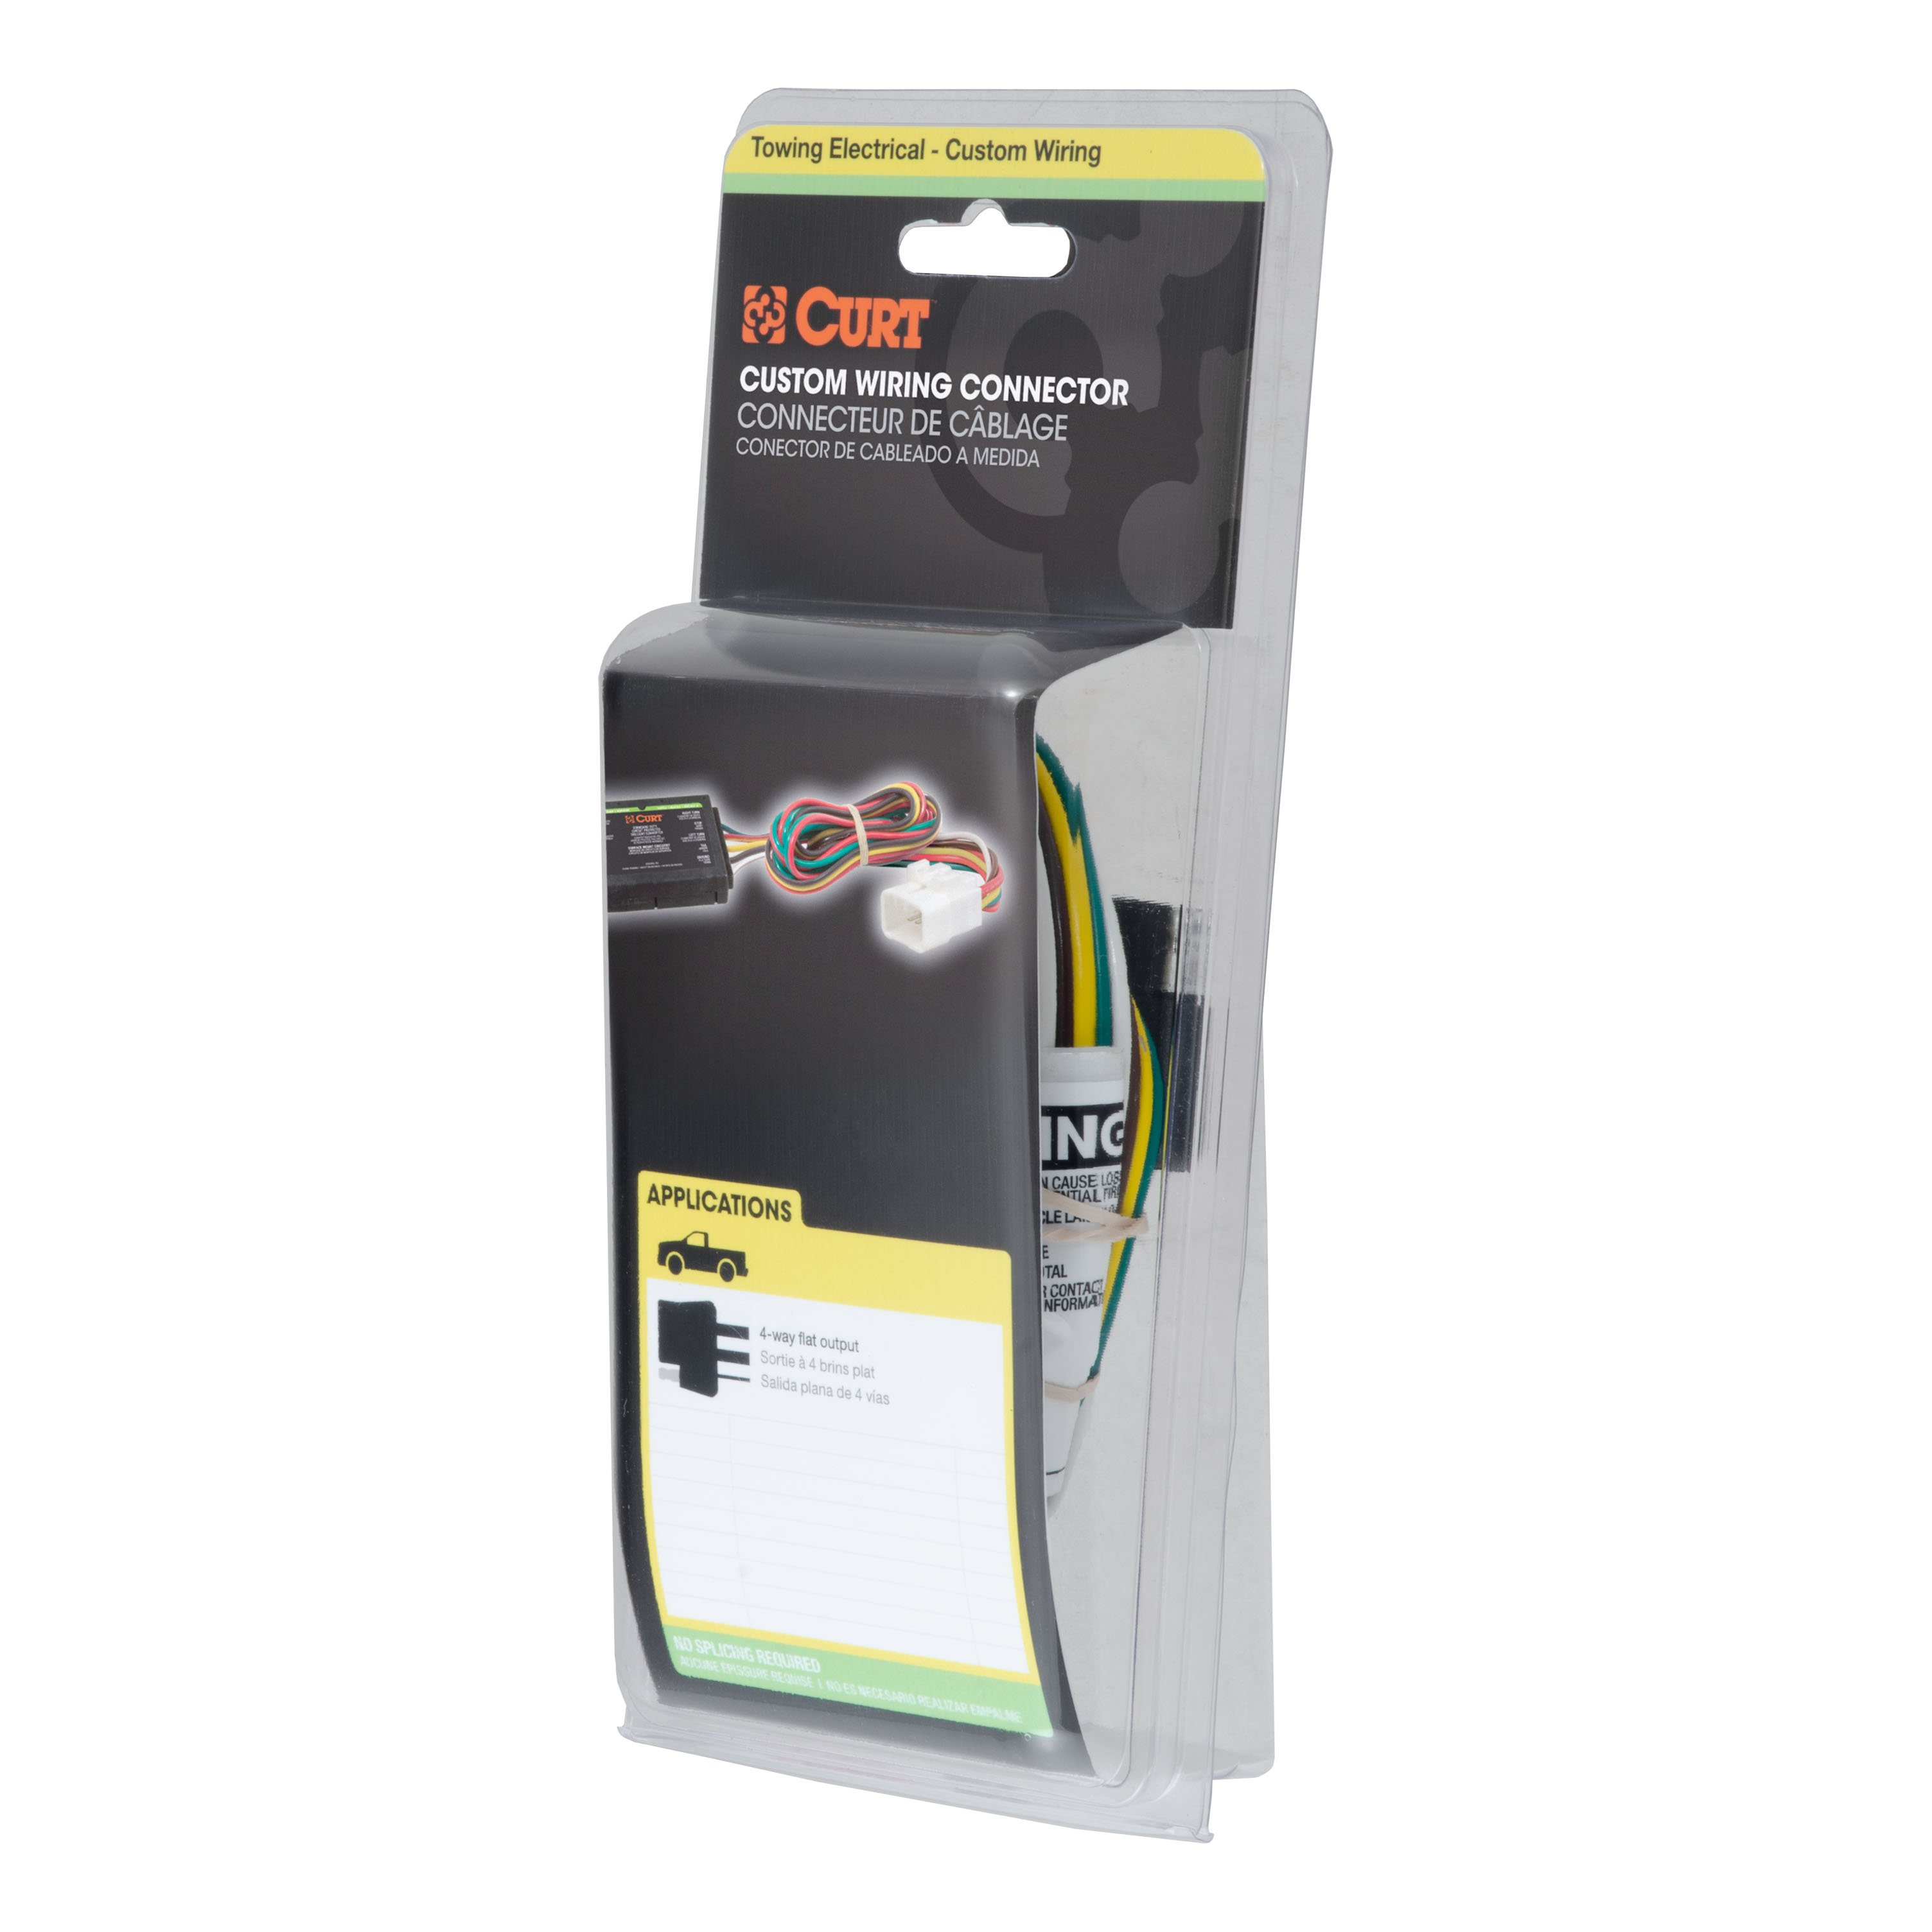
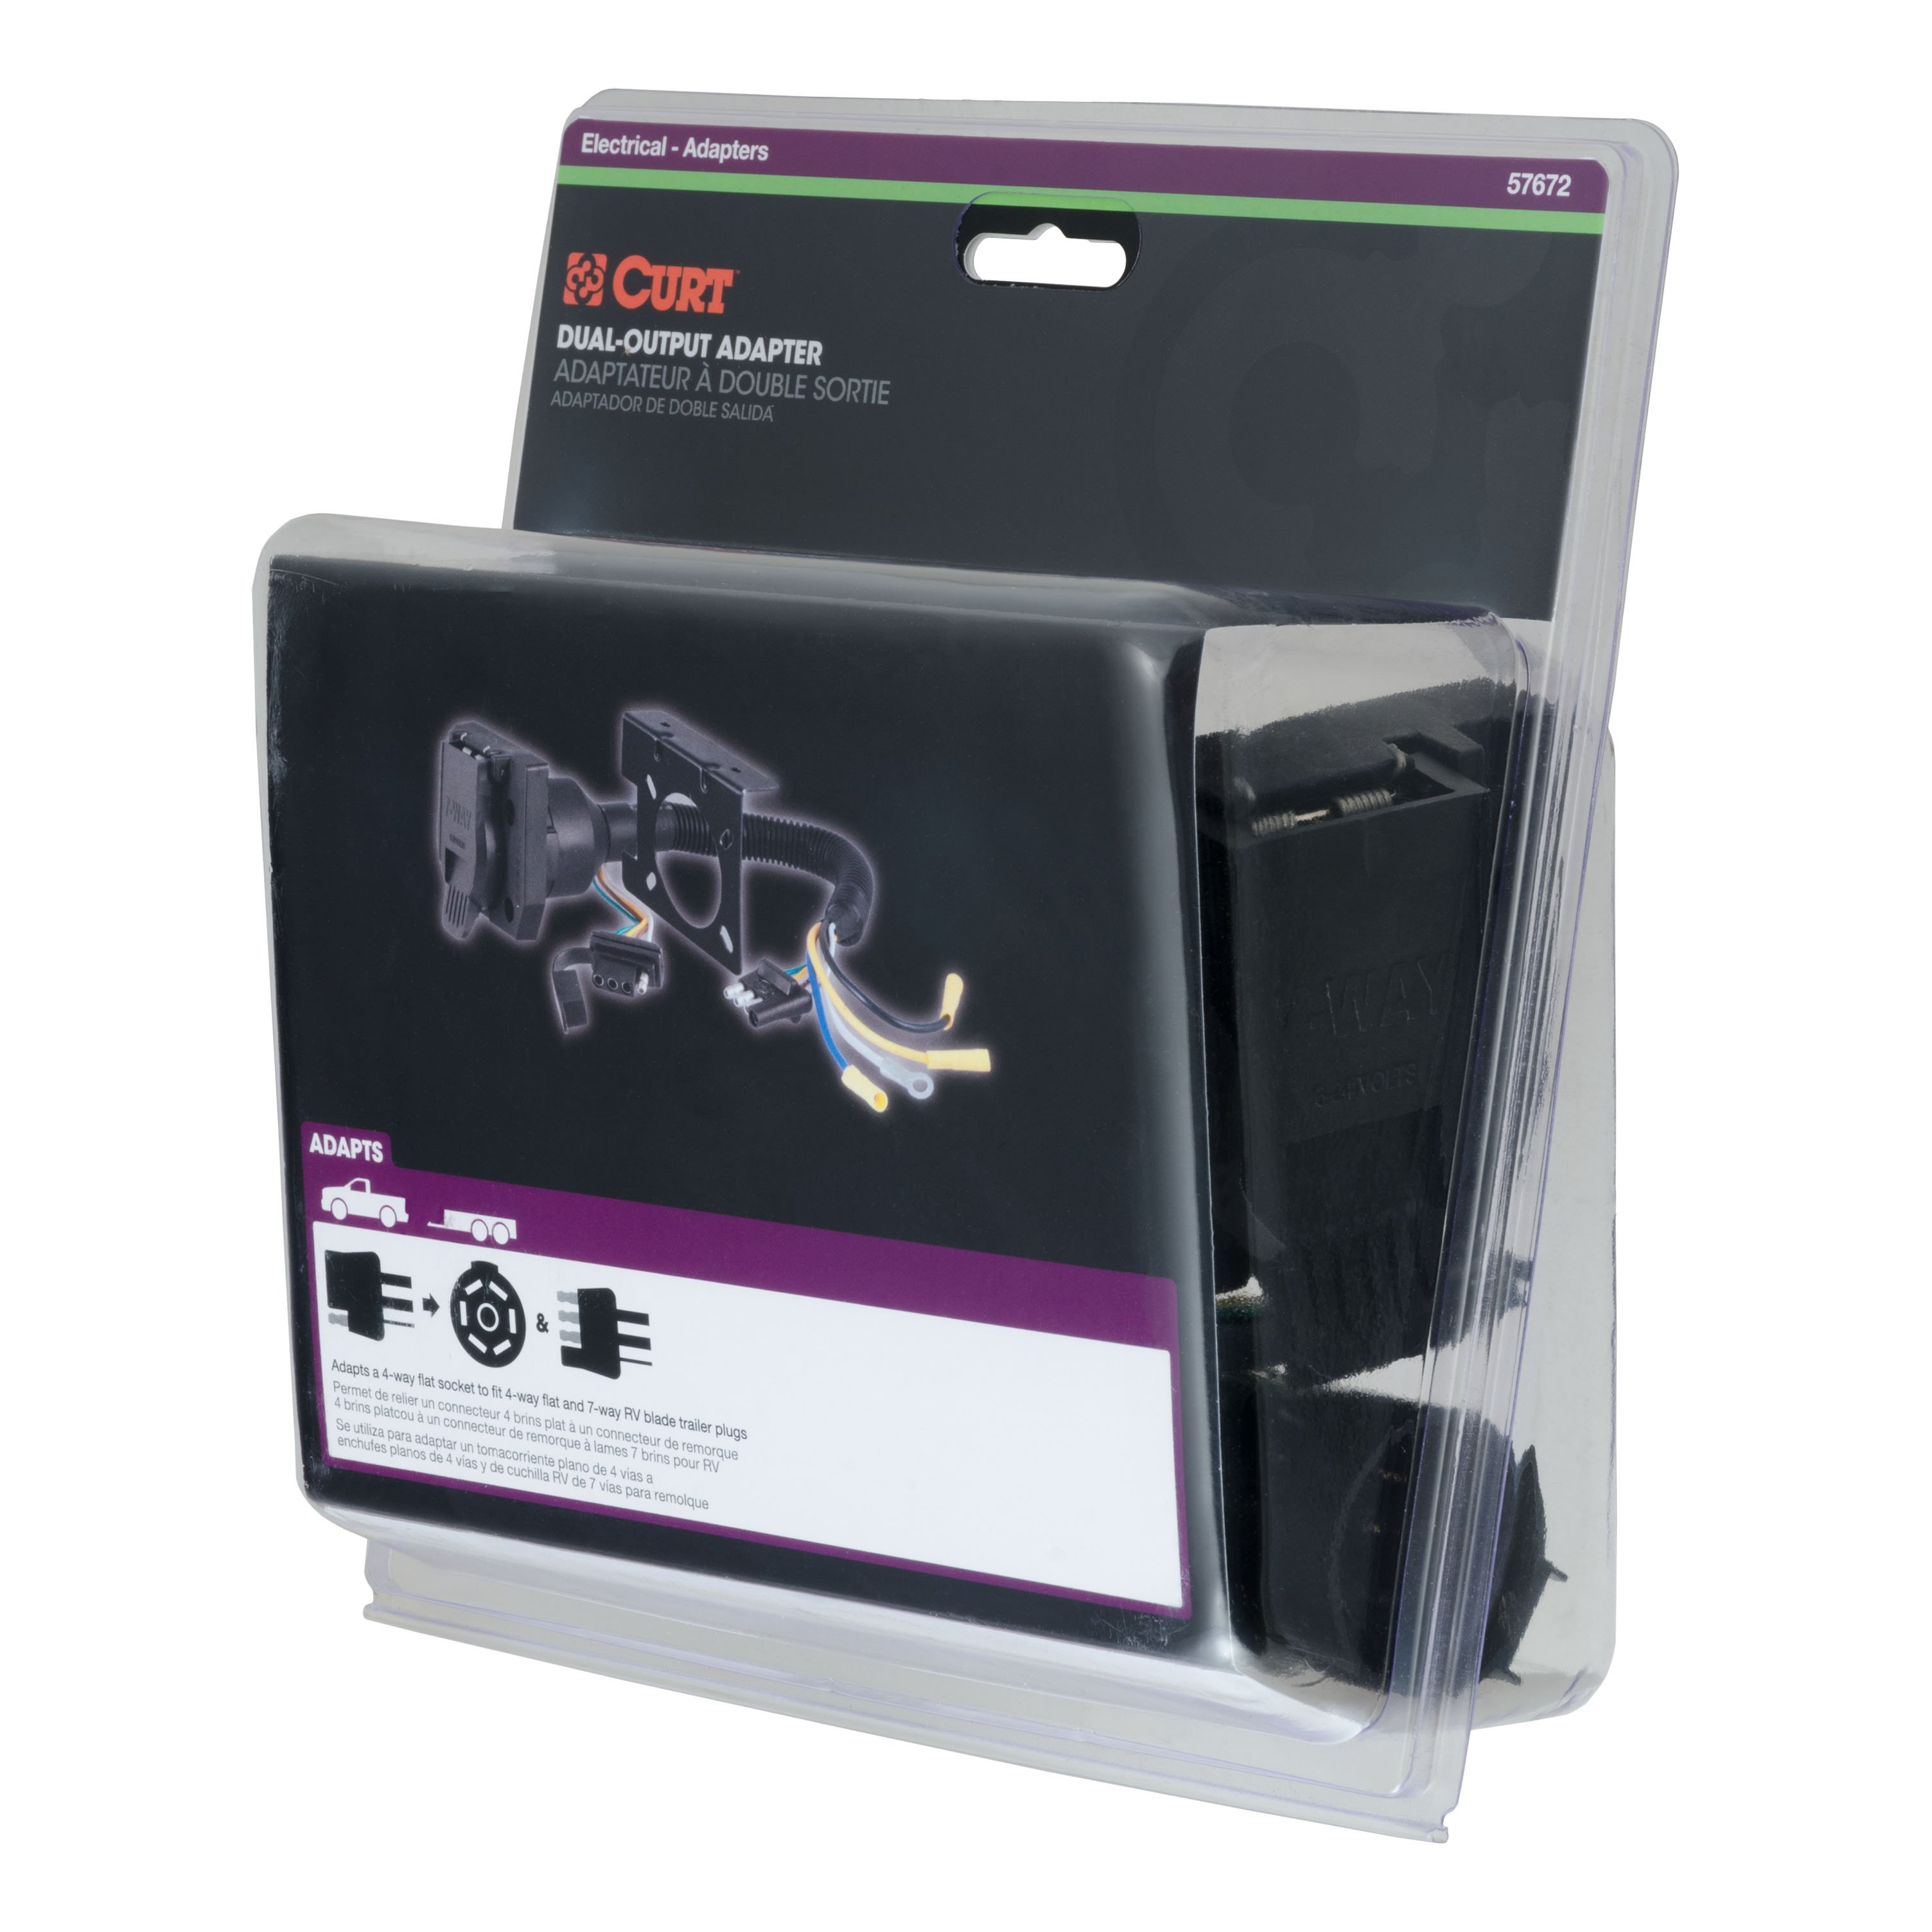
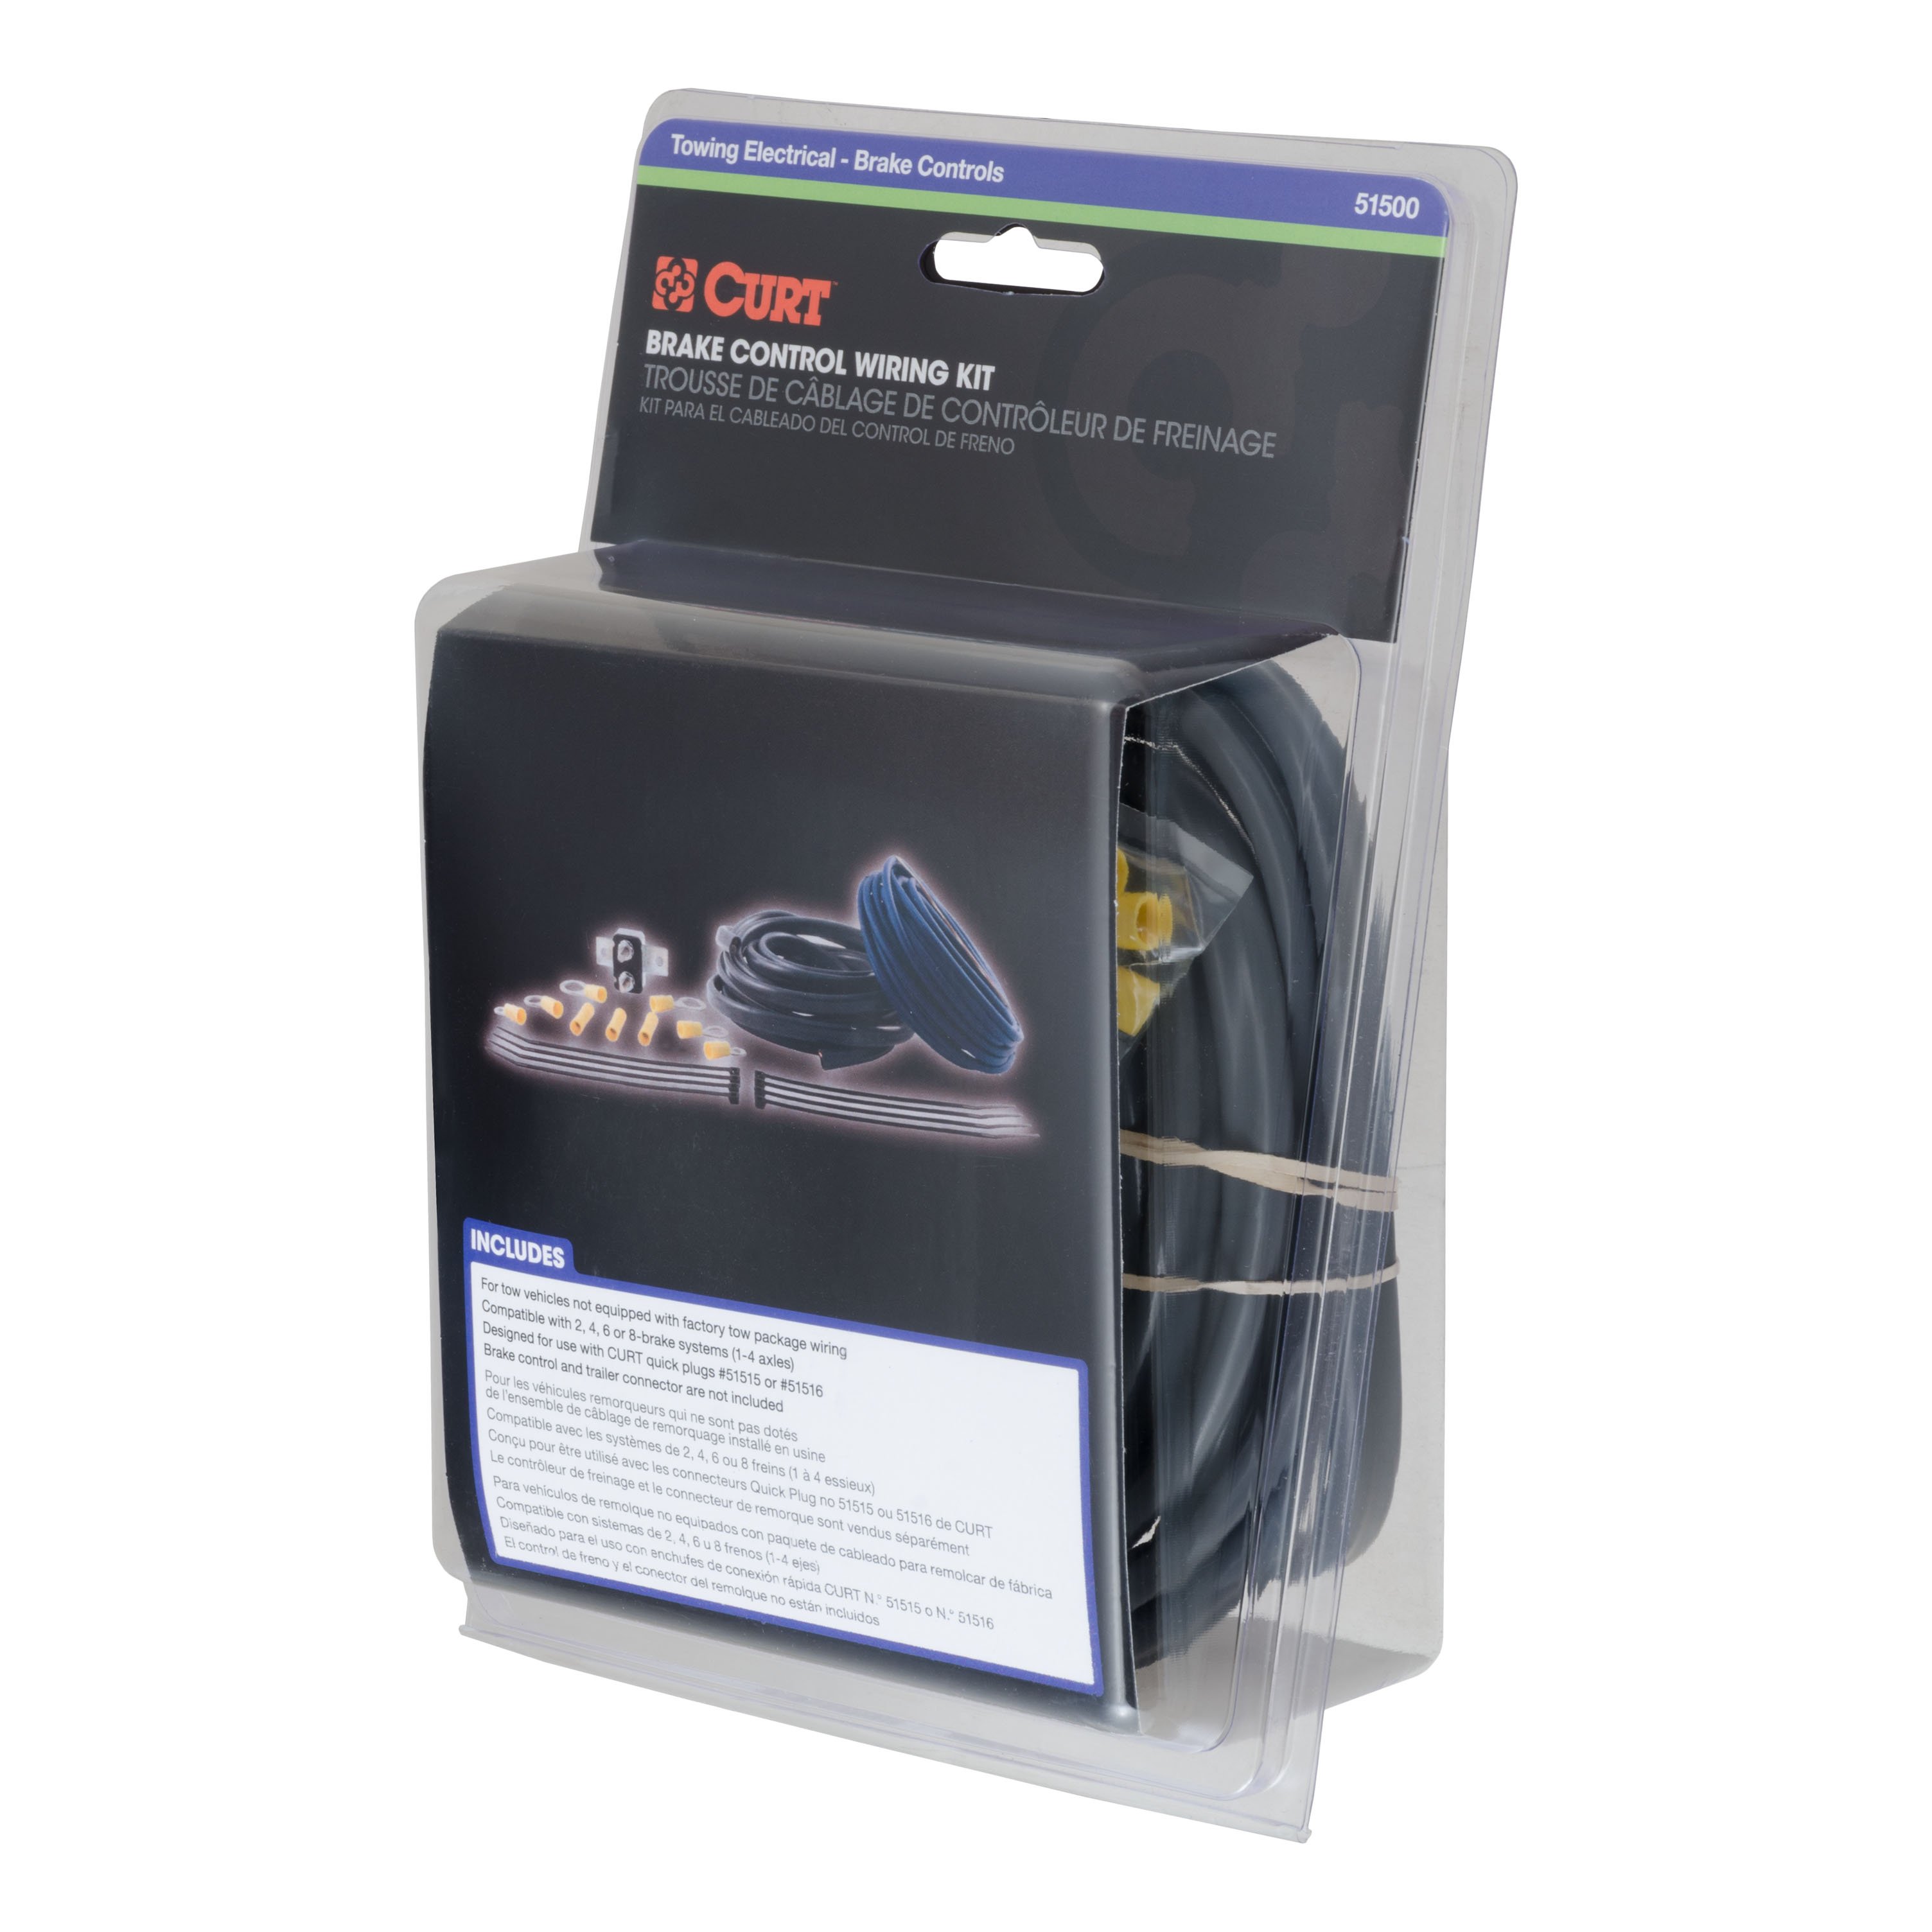
- Model: 56210 57672 51500 58361-CW347
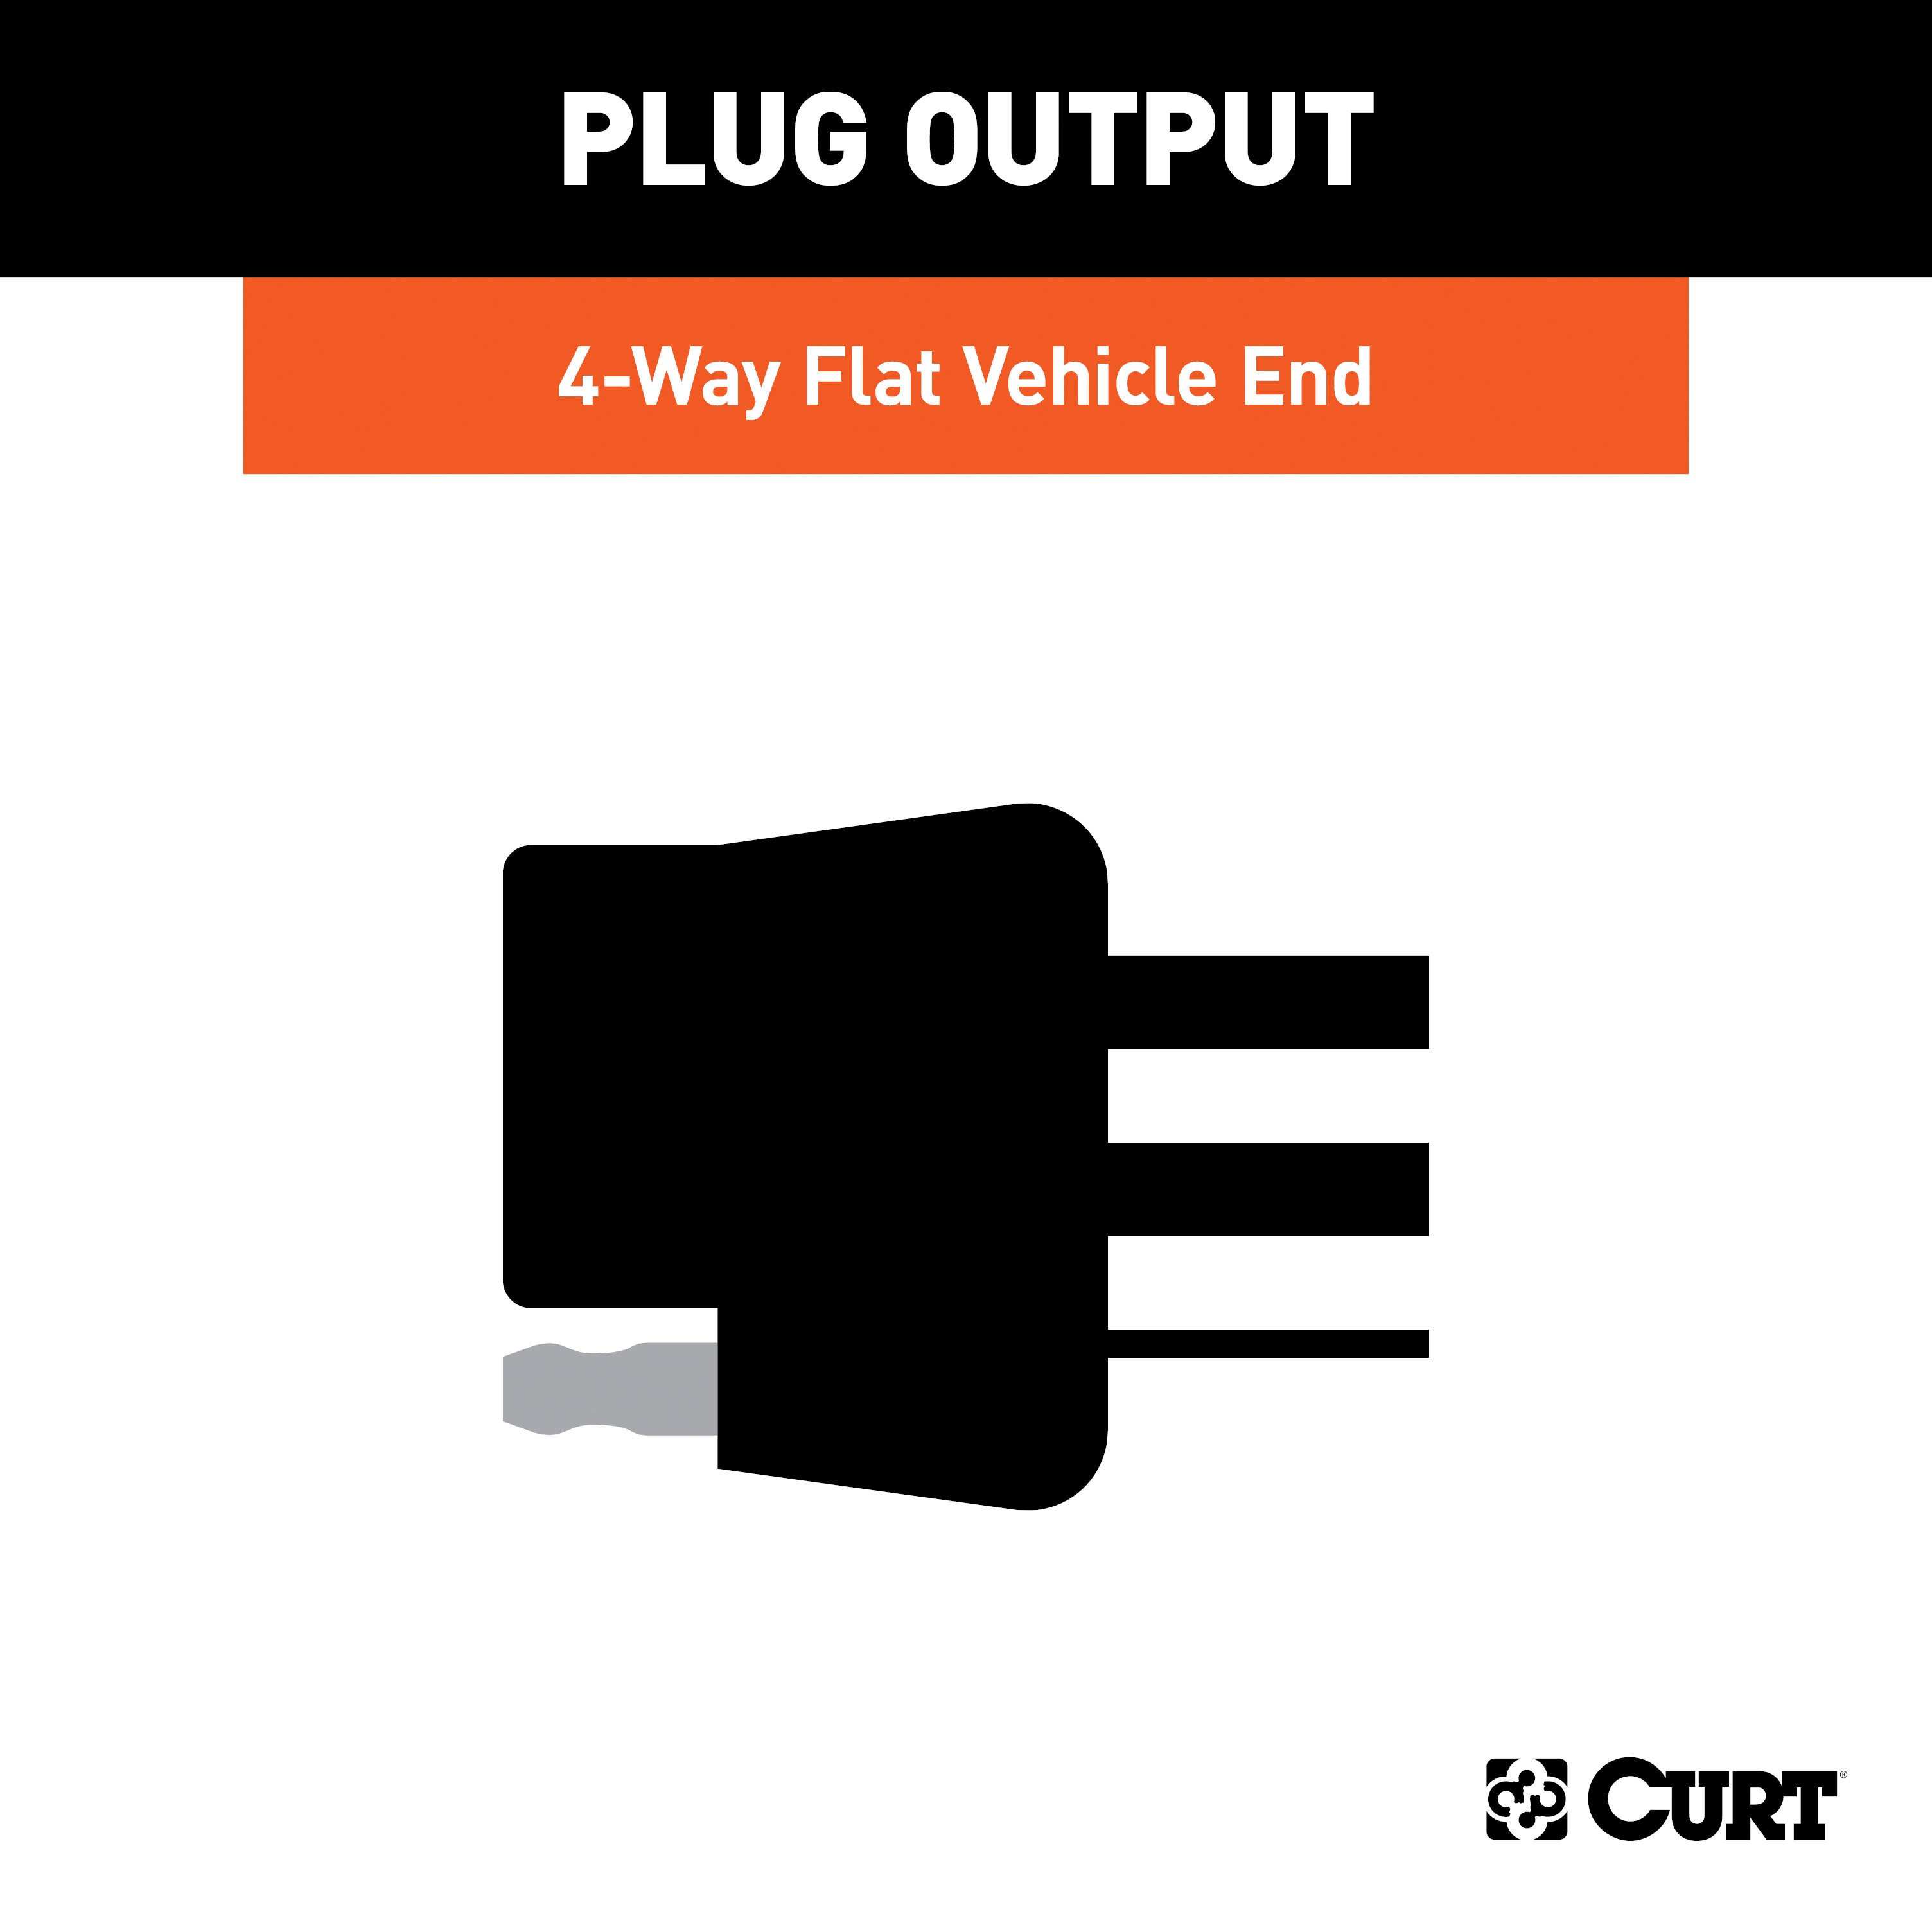
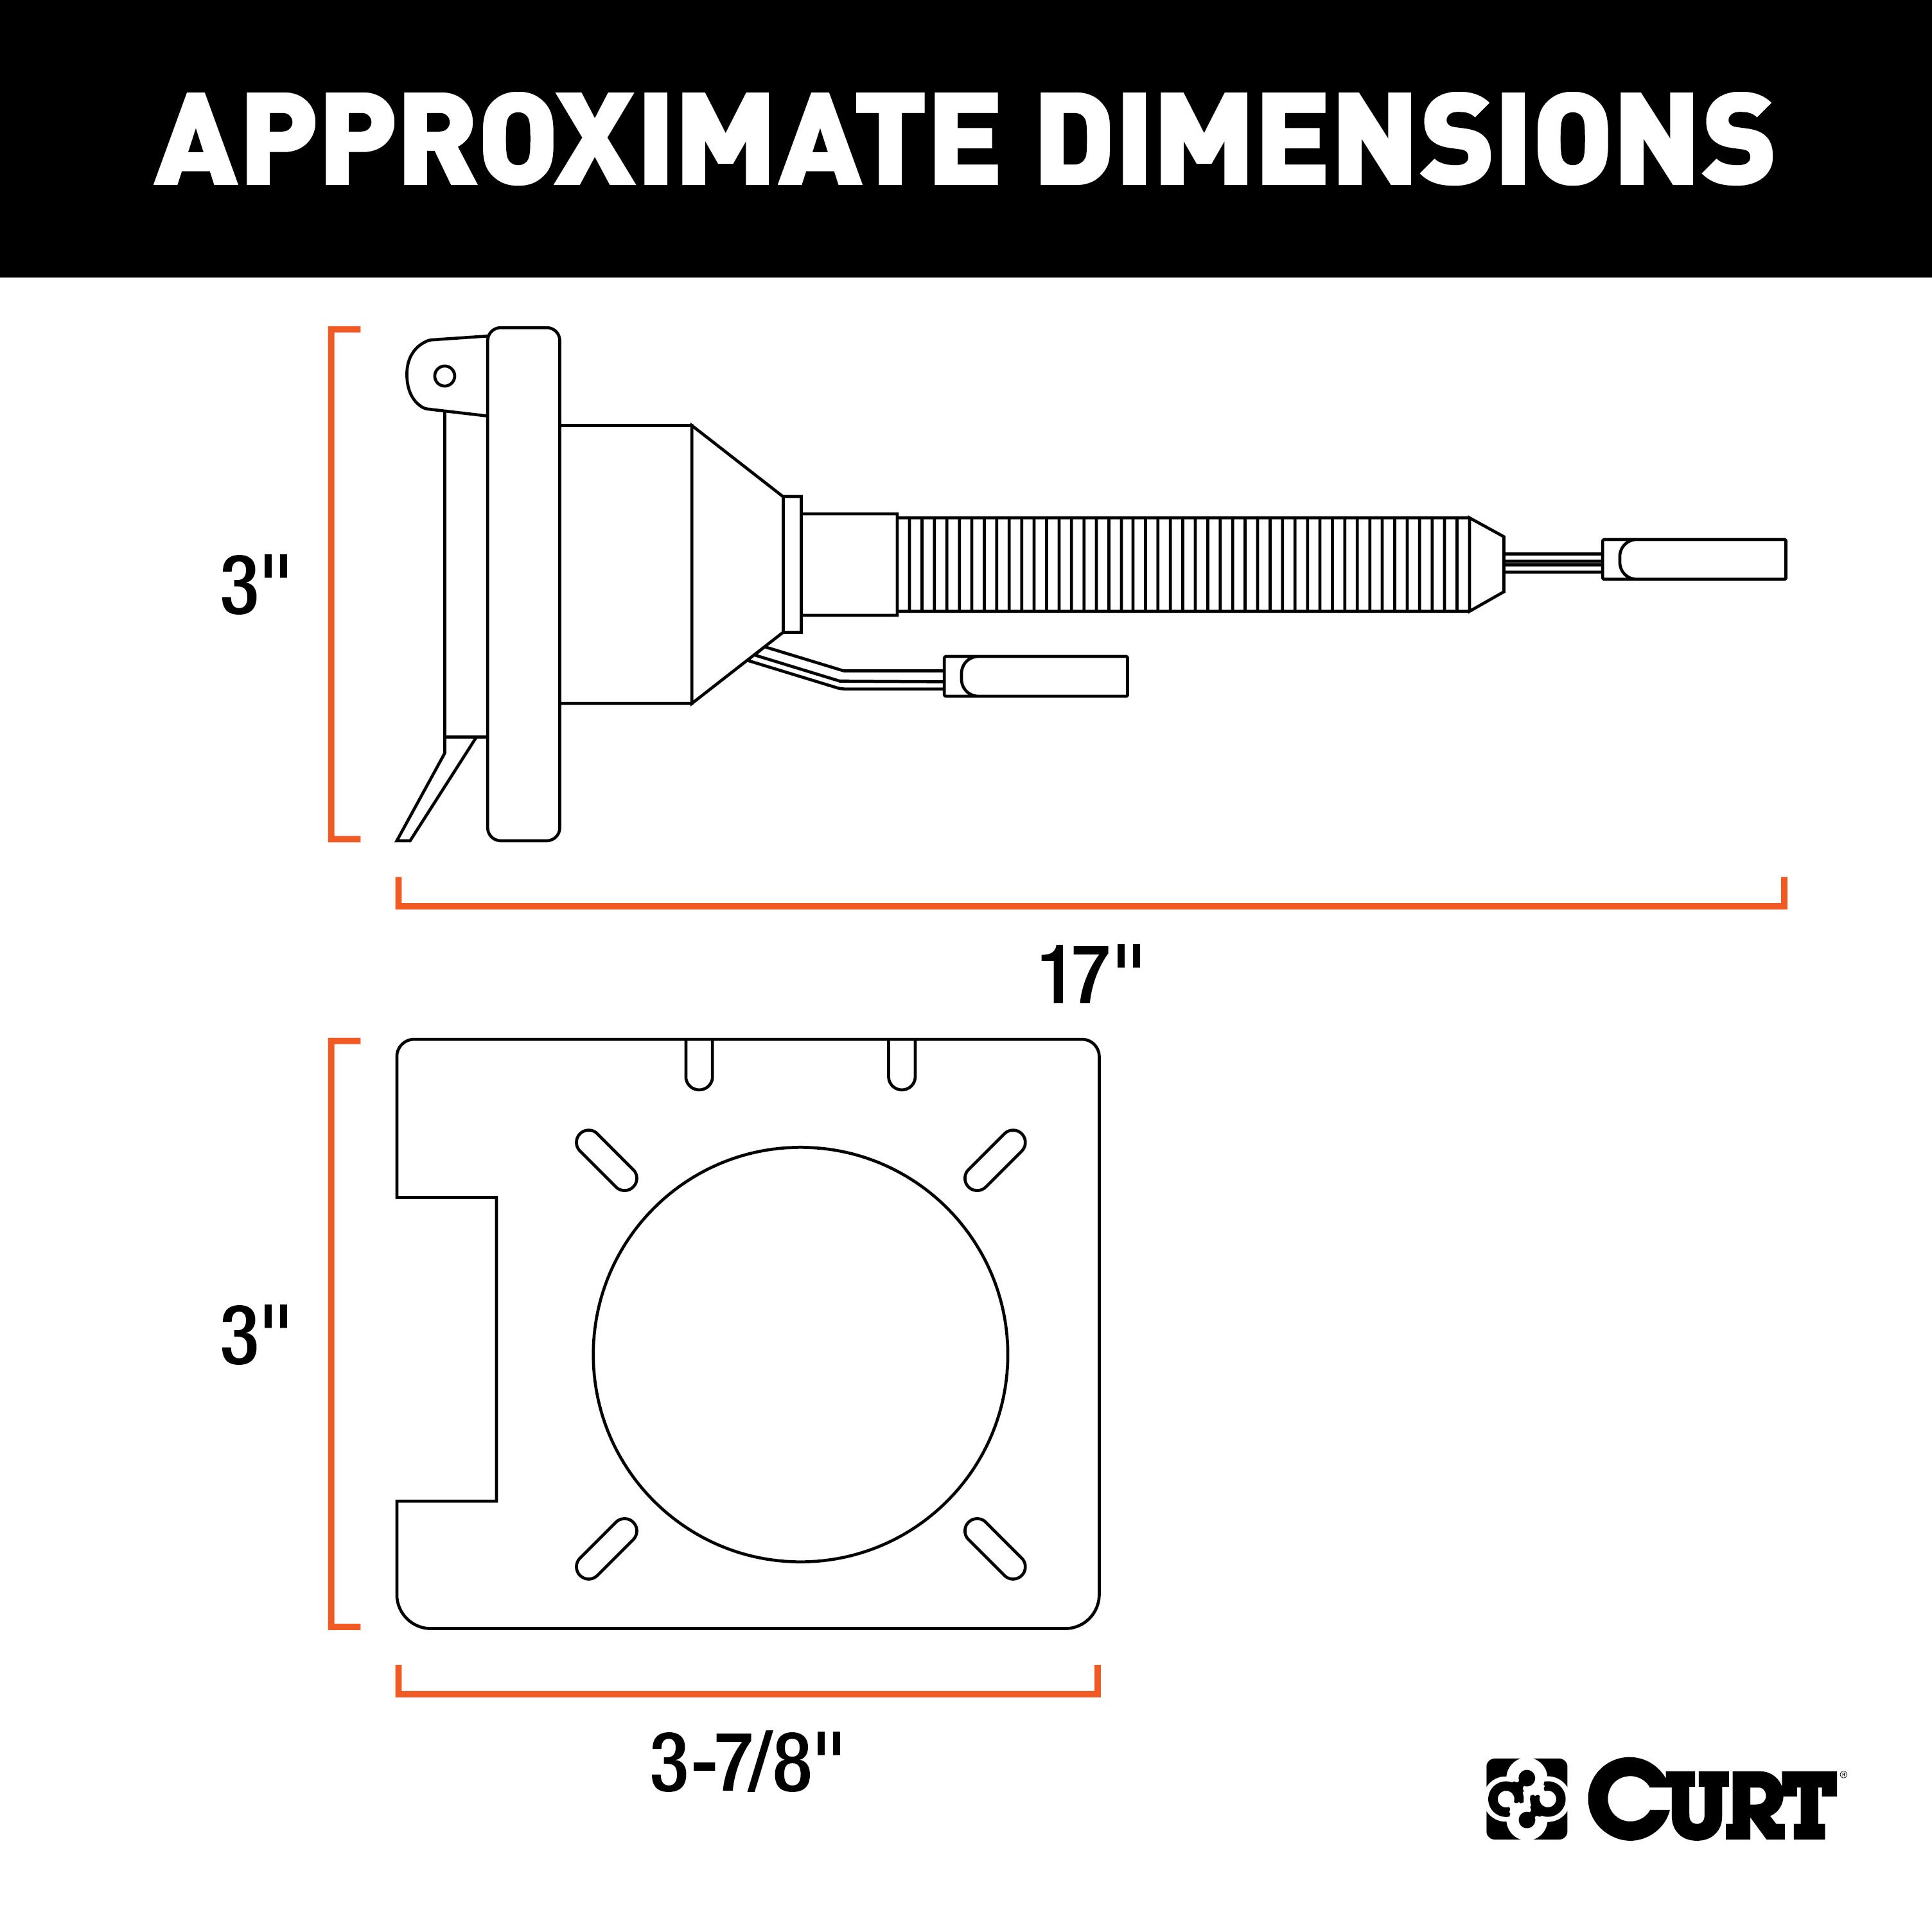
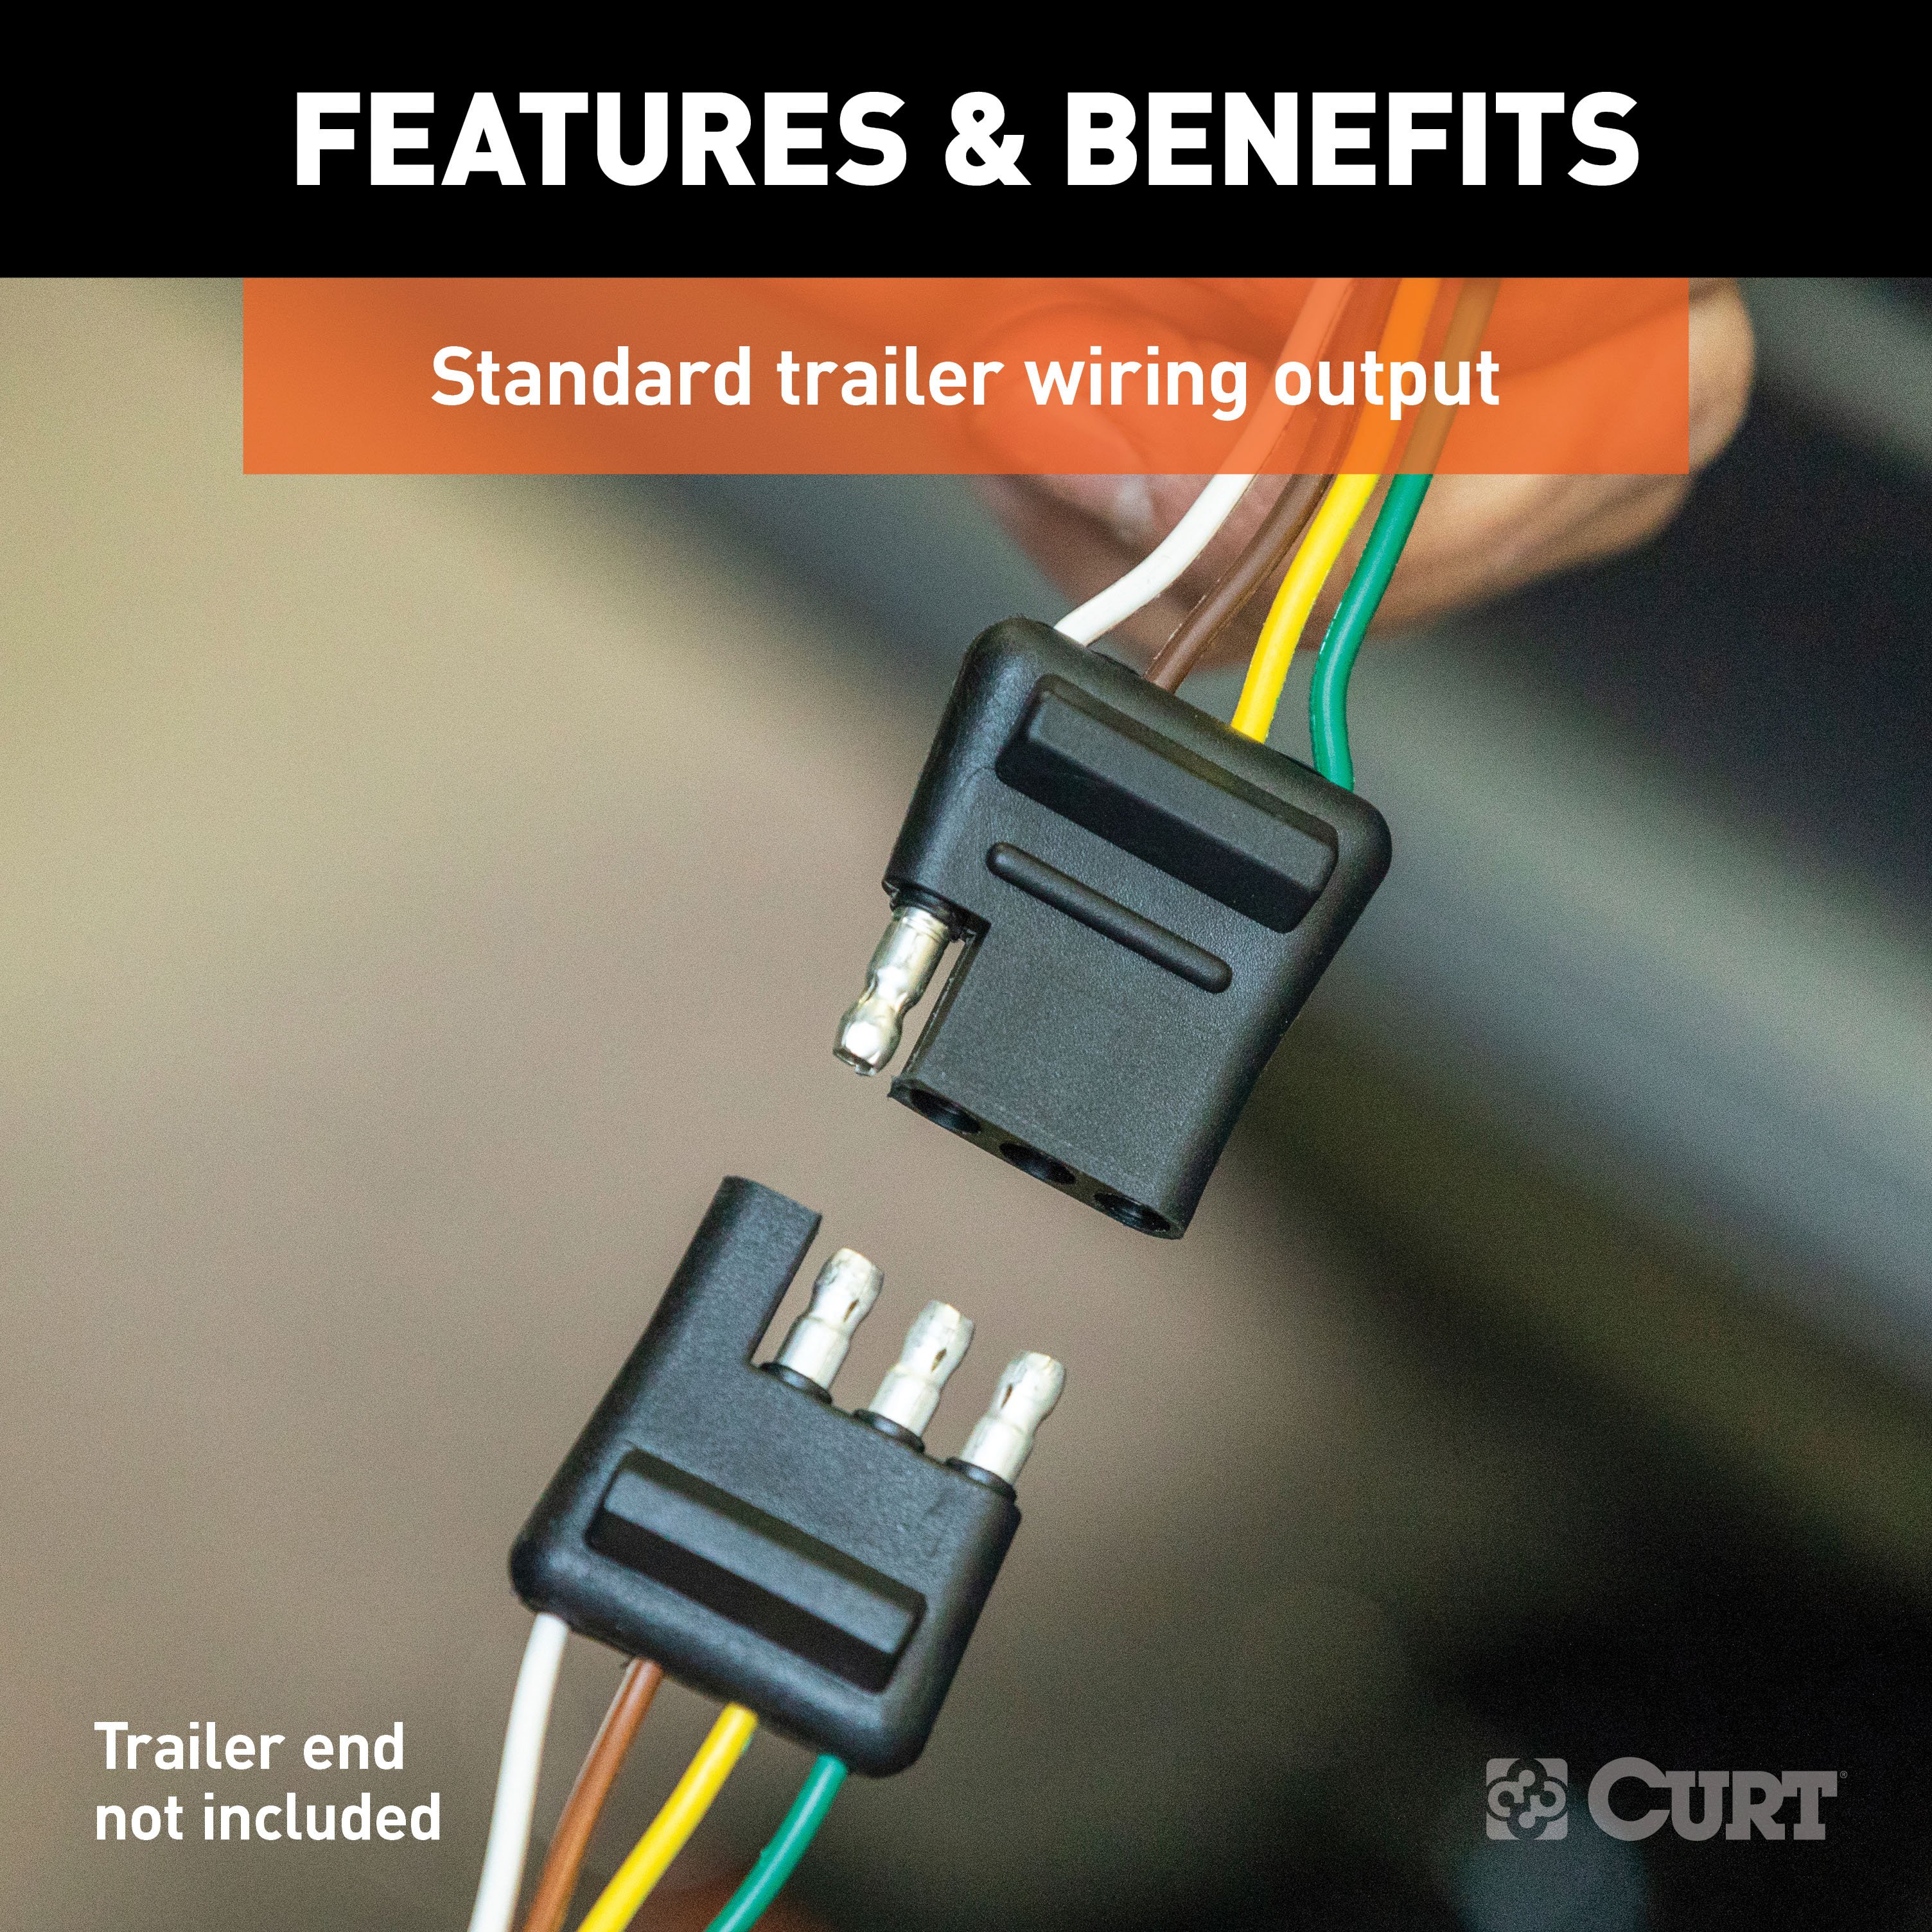
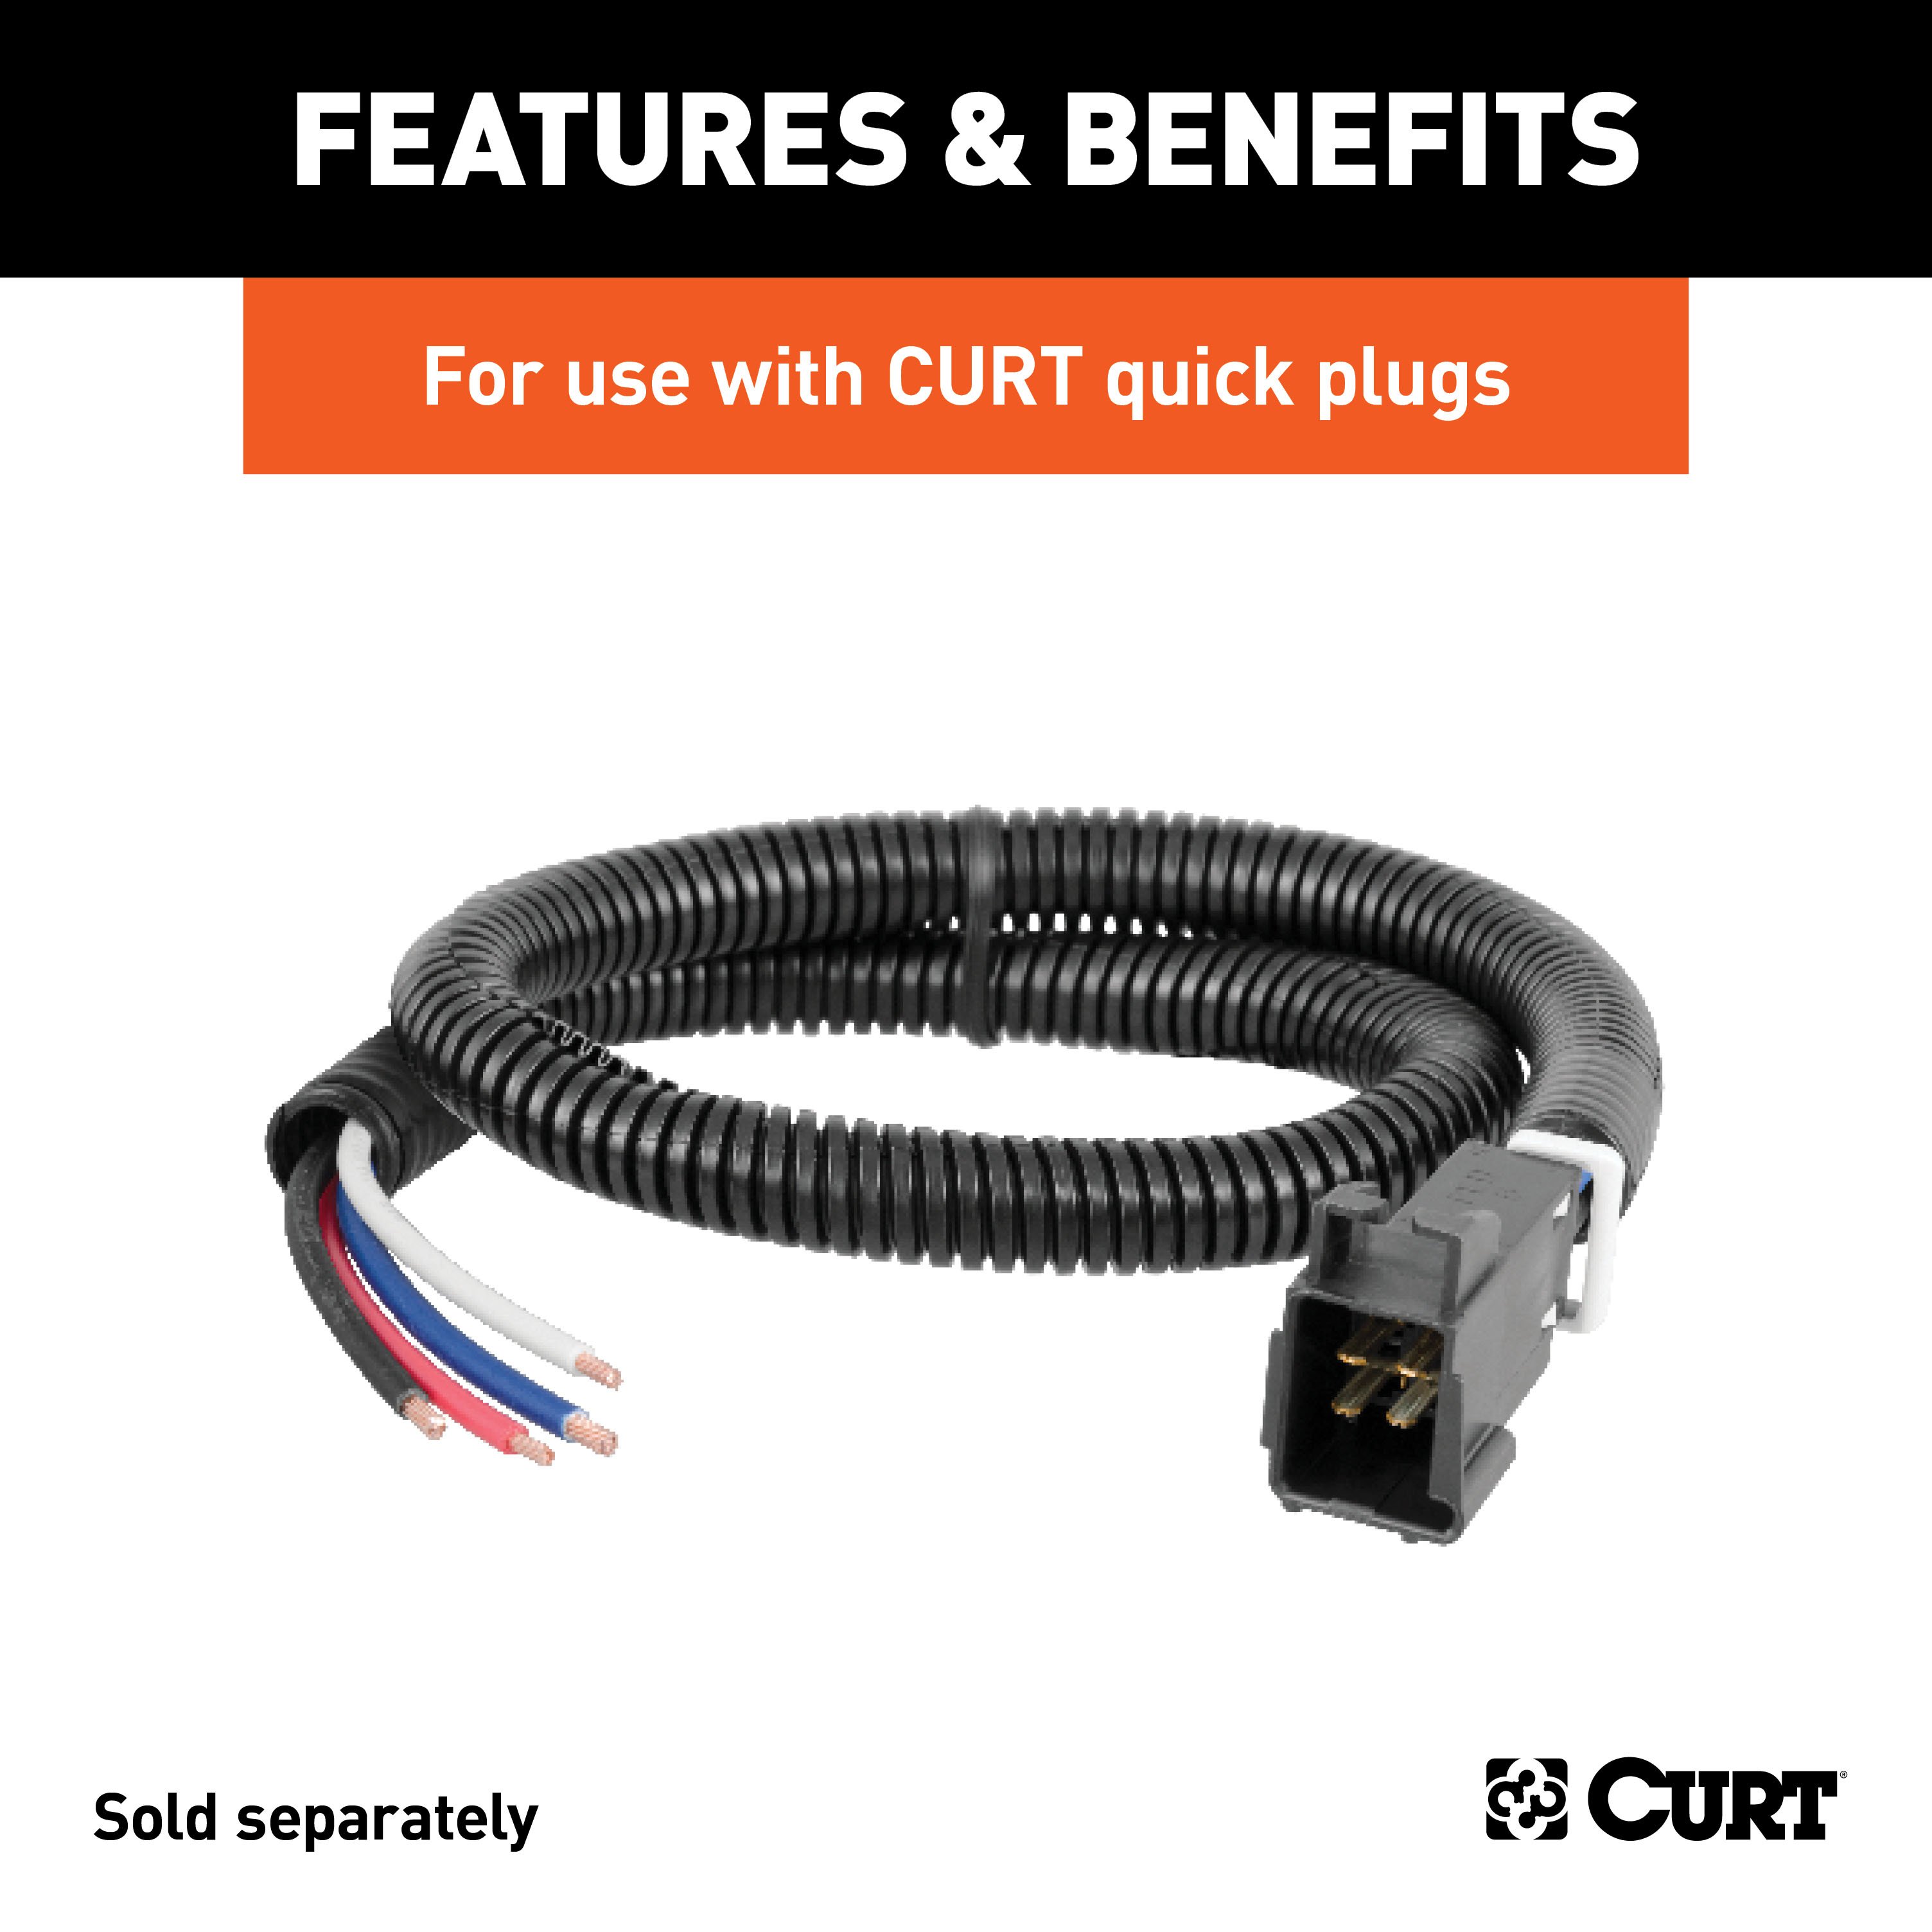
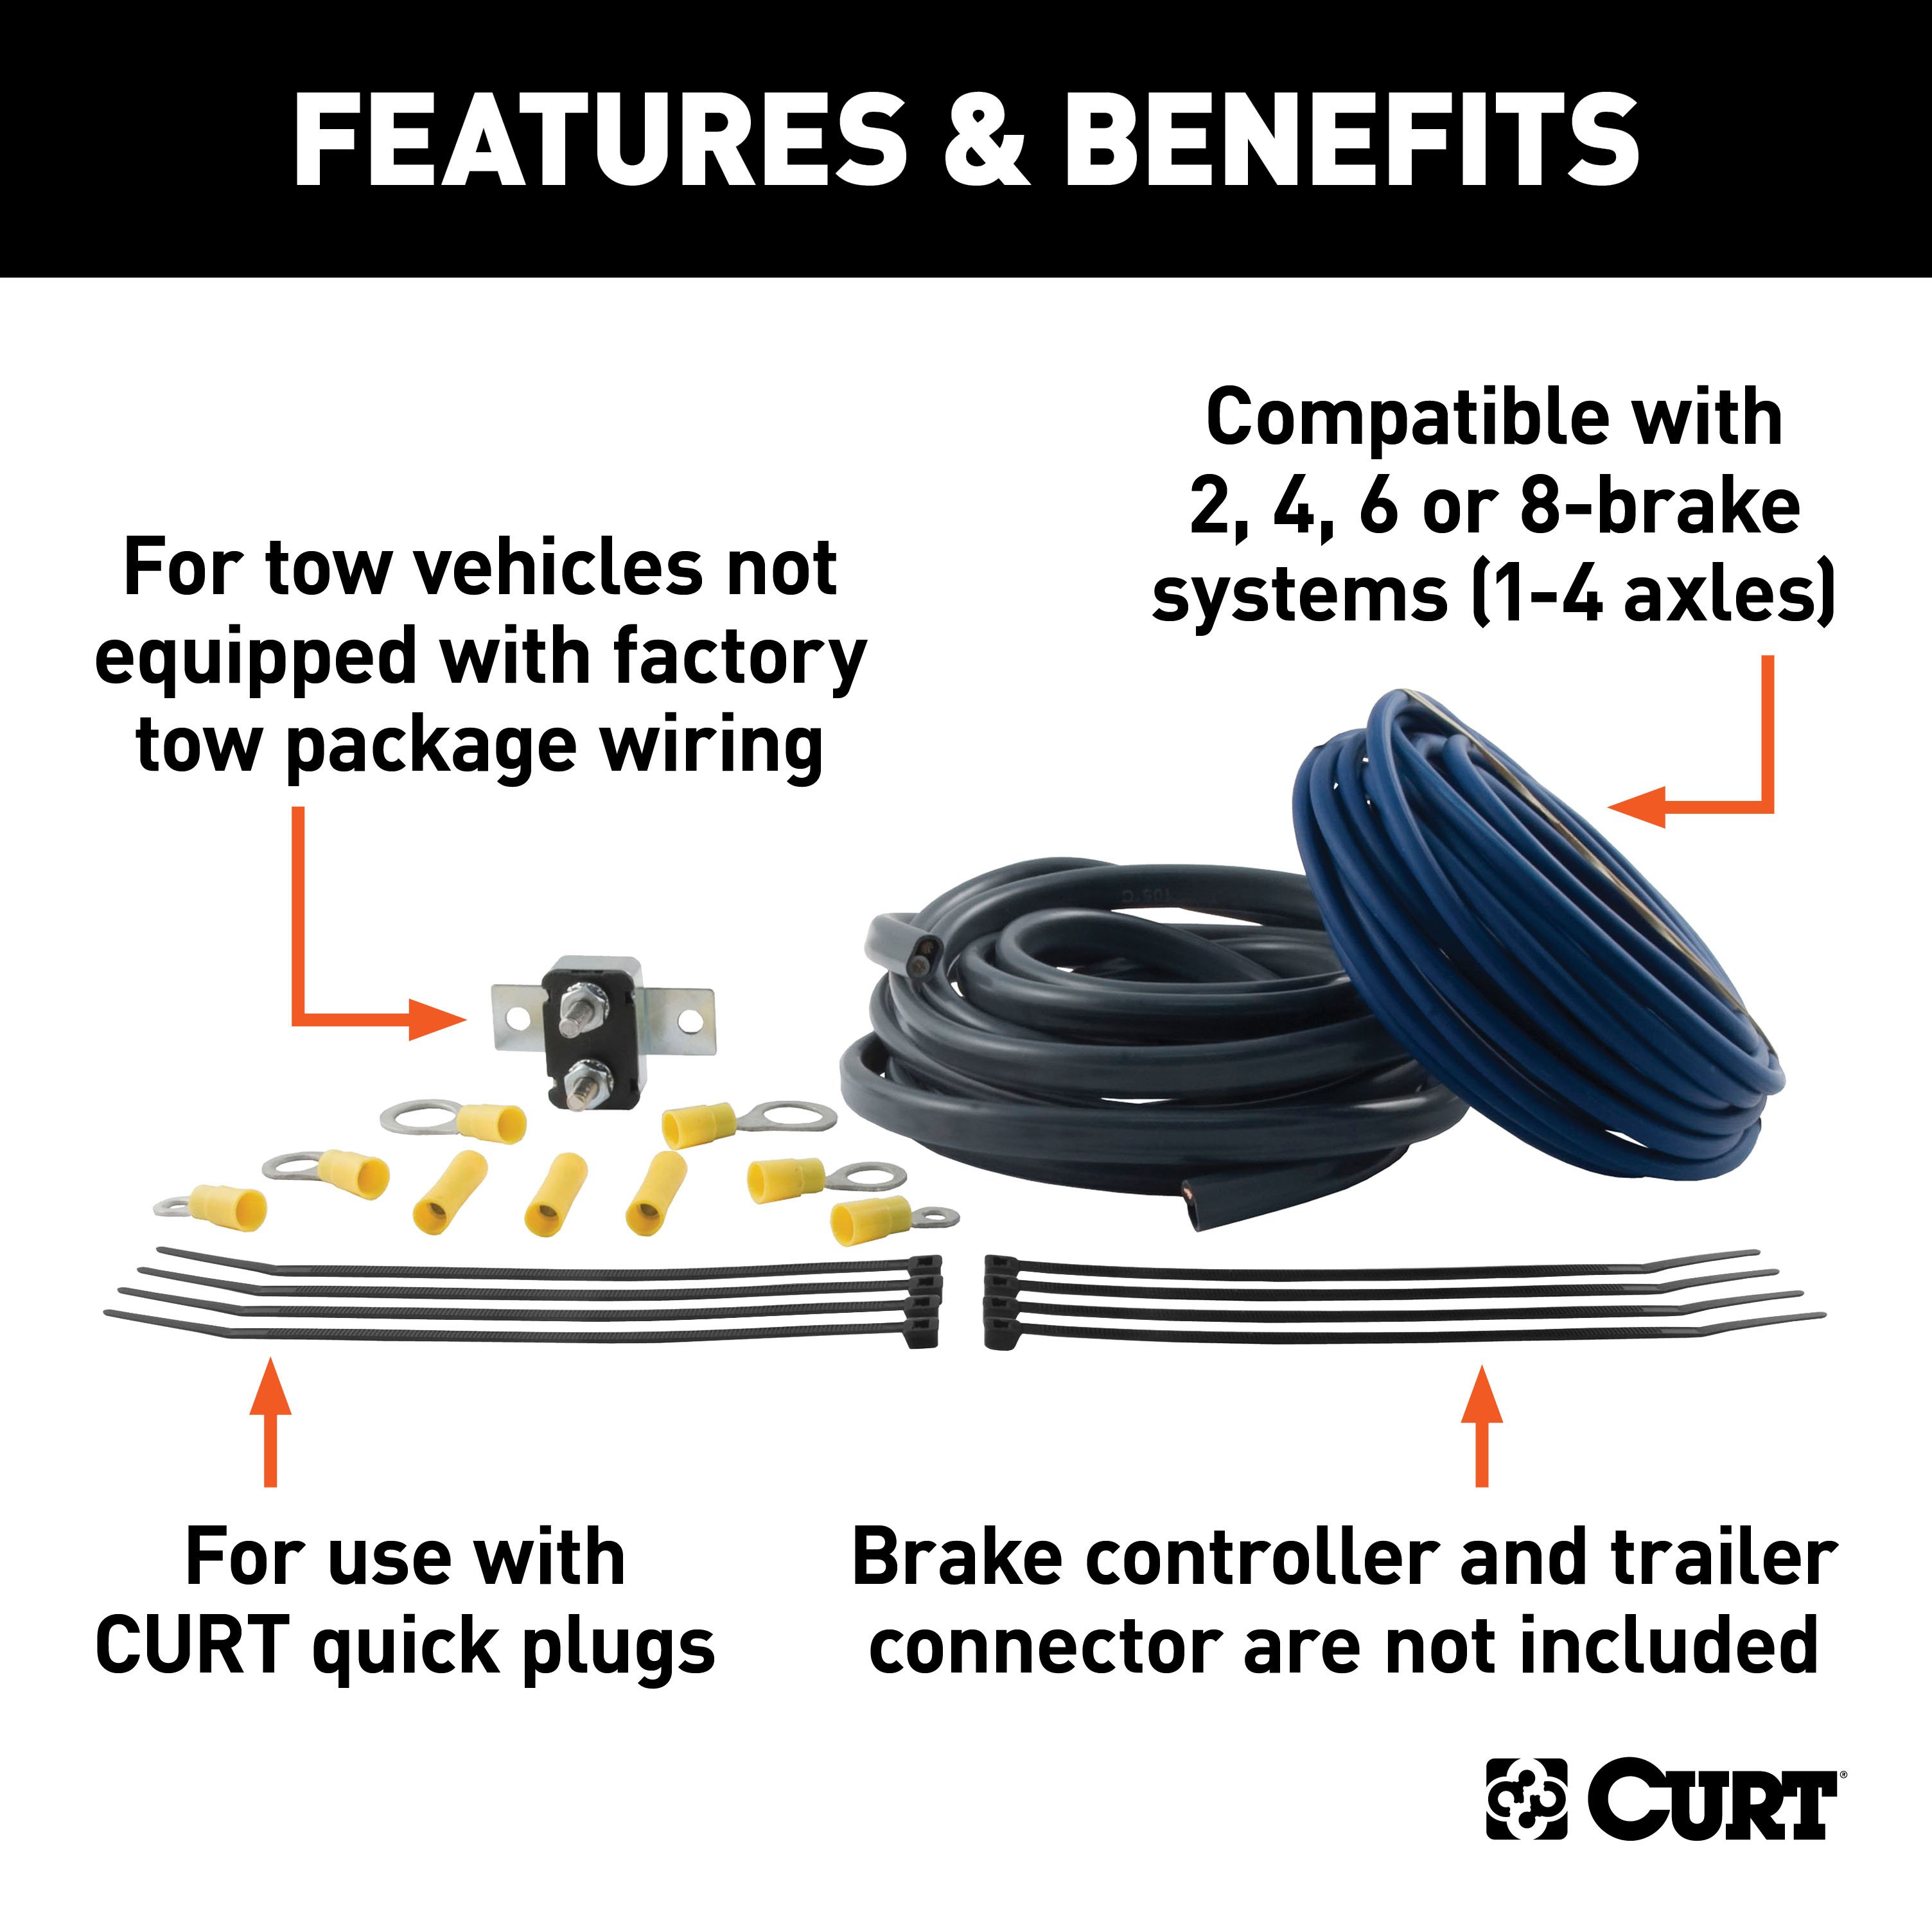
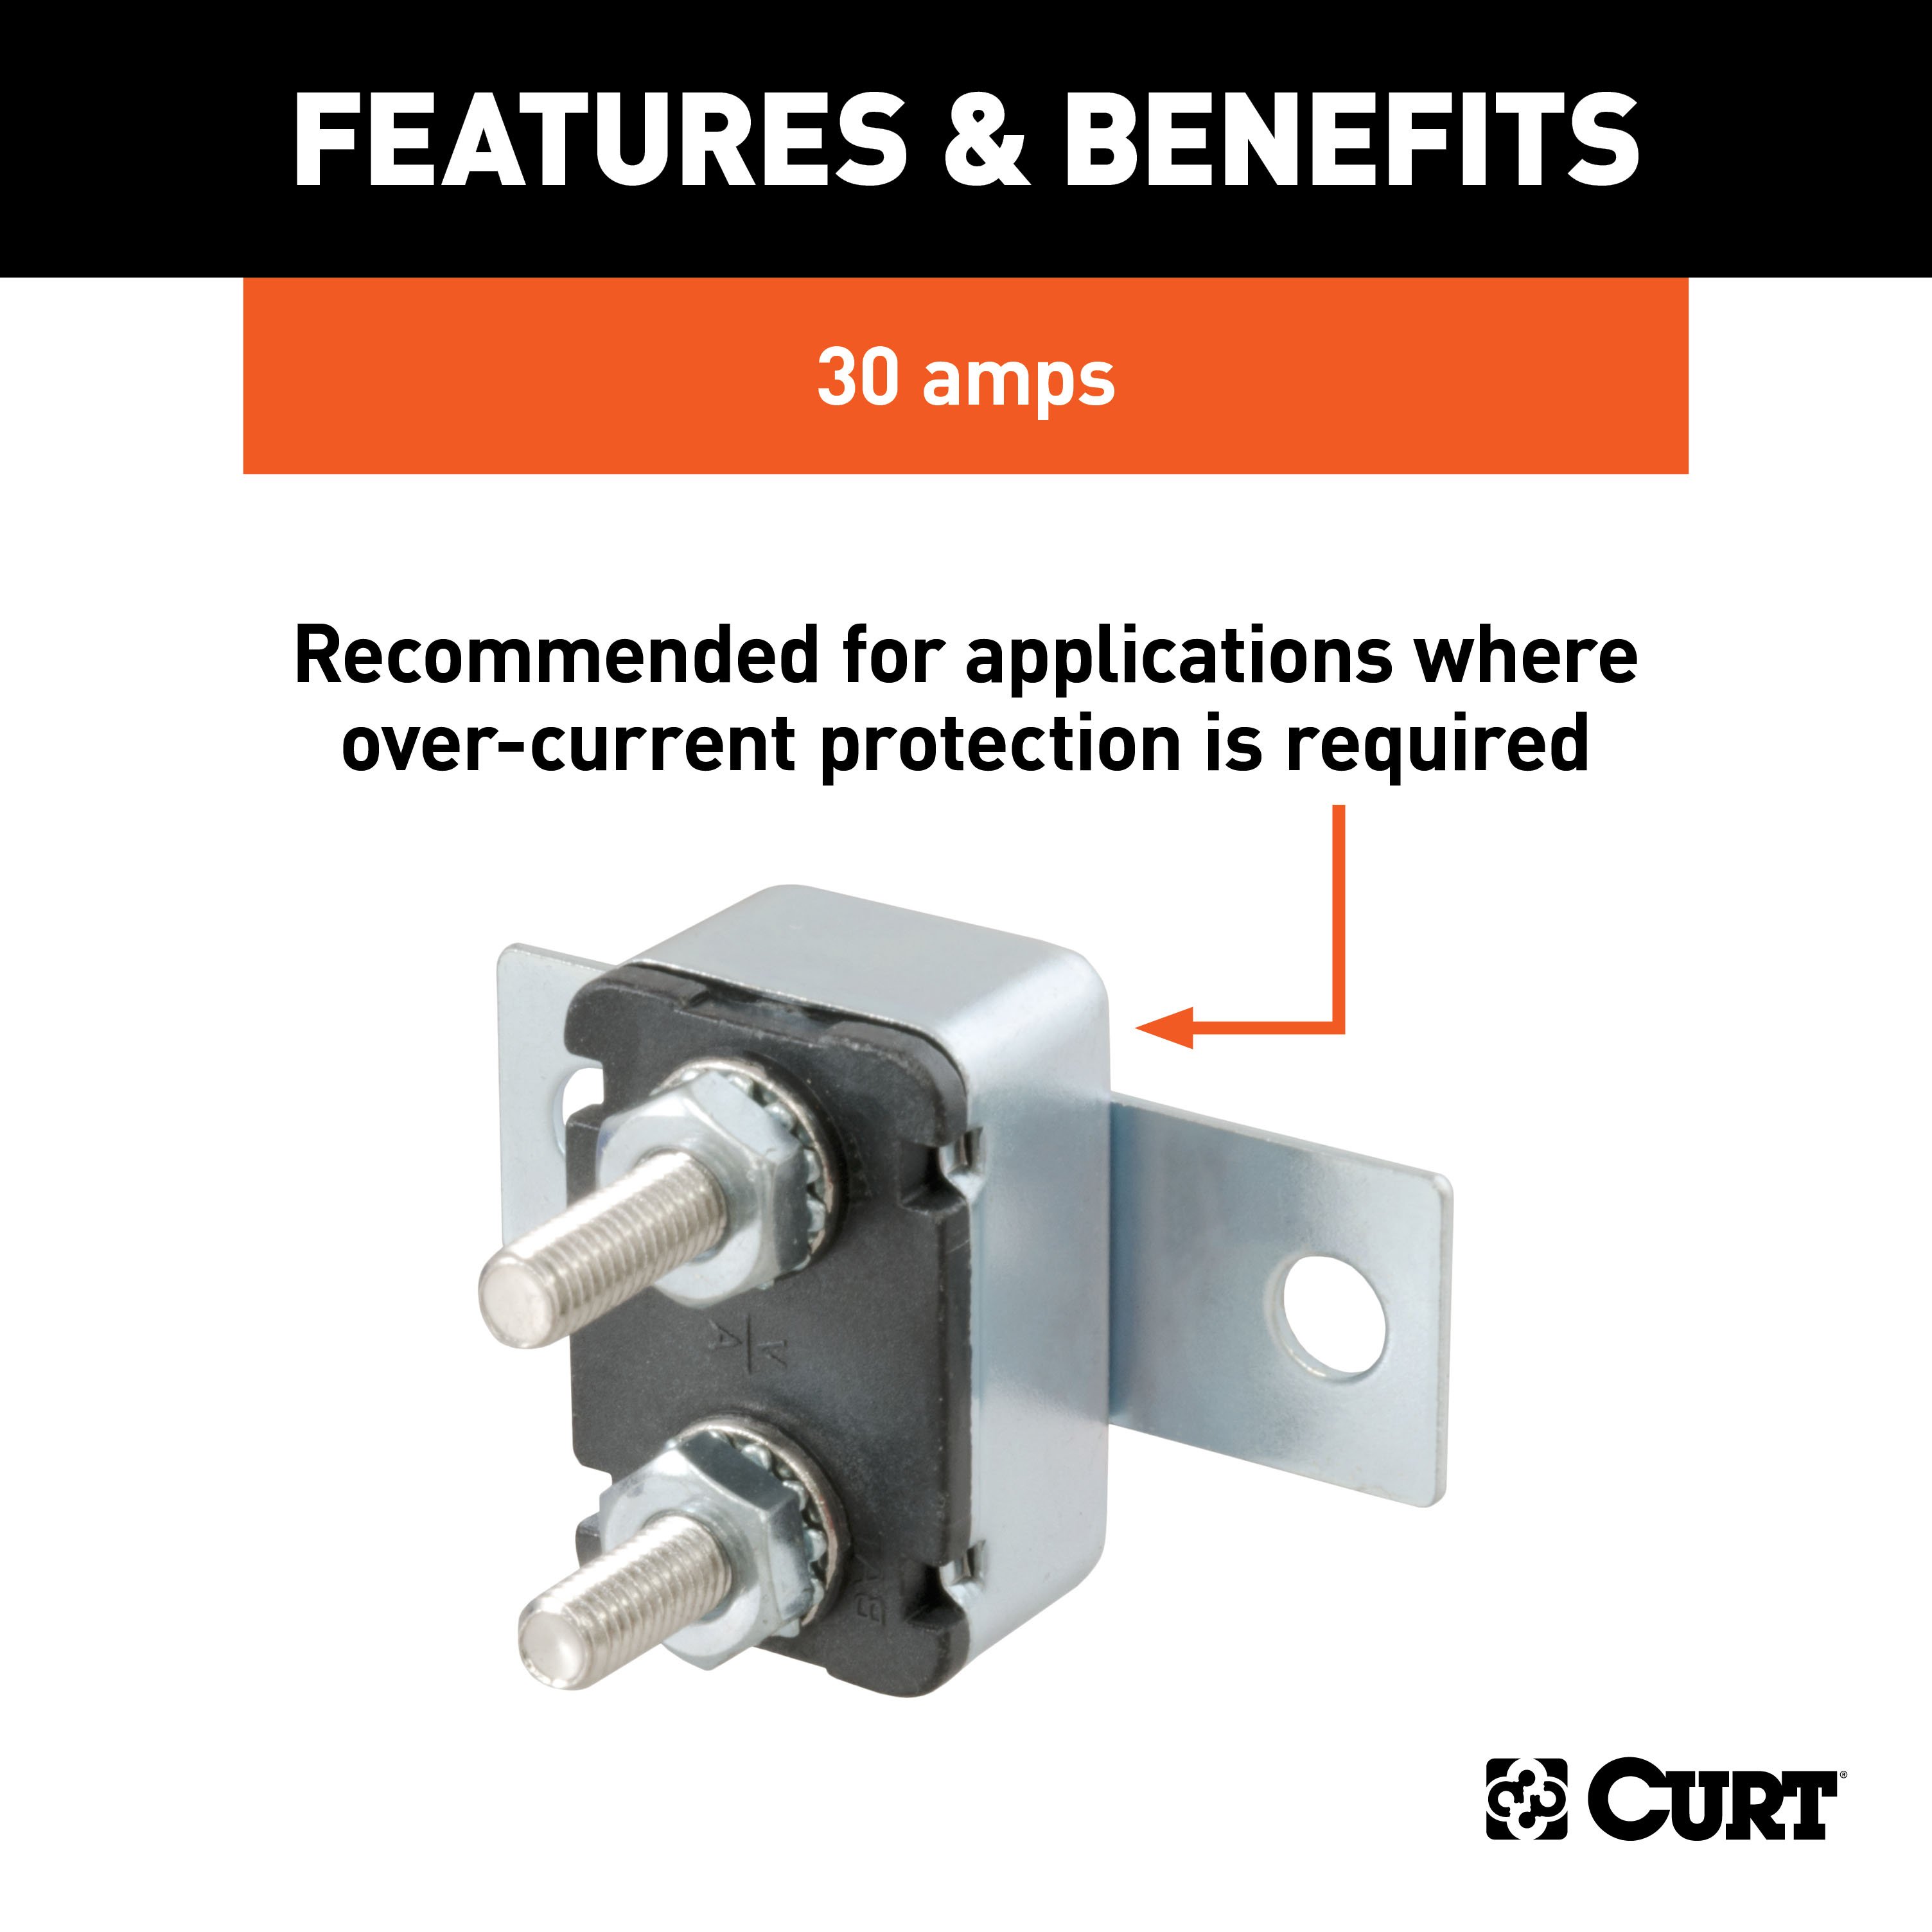
- Includes: Custom 4-Flat, Dual-Output Electrical Adapter, Trailer Brake Controller Wiring Kit, 30-Amp Universal Circuit Breaker
Compatibility Chart
Get Expert Help
For 2010-2017 Chevy Equinox Trailer Wiring 7 Way Trailer Wiring Plug w/ Bracket Fits Models w/ Factory Tow Package Curt Install Notes
Installation Instructions for Chevrolet Equinox (with tow package) and GMC Terrain (with tow package)
Part Numbers:
- 56210
Tools Required:
- 3/16" Allen Wrench
Step-by-Step Instructions:
-
Prepare the Vehicle Interior
- Open the vehicle trunk and remove all trunk floor coverings.
- Remove the two cargo fasteners on the driver side.
- Remove the rear scuff panel by pulling out on the bottom and then upward. Take care not to damage the alignment tabs on the back.
-
Access the Driver-Side Trim Panel
- On the driver side, partially remove the lower trim panel to locate the vehicle's taillight wiring connectors.
- Carefully pull outward on the lower trim panel.
-
Locate the Wiring Connectors
- Mounted on the bottom rear side-panel, locate the 4-pin vehicle taillight wiring connectors.
- These connectors will be similar to the one on the custom wiring connector.
-
Connect the Custom Wiring Connector
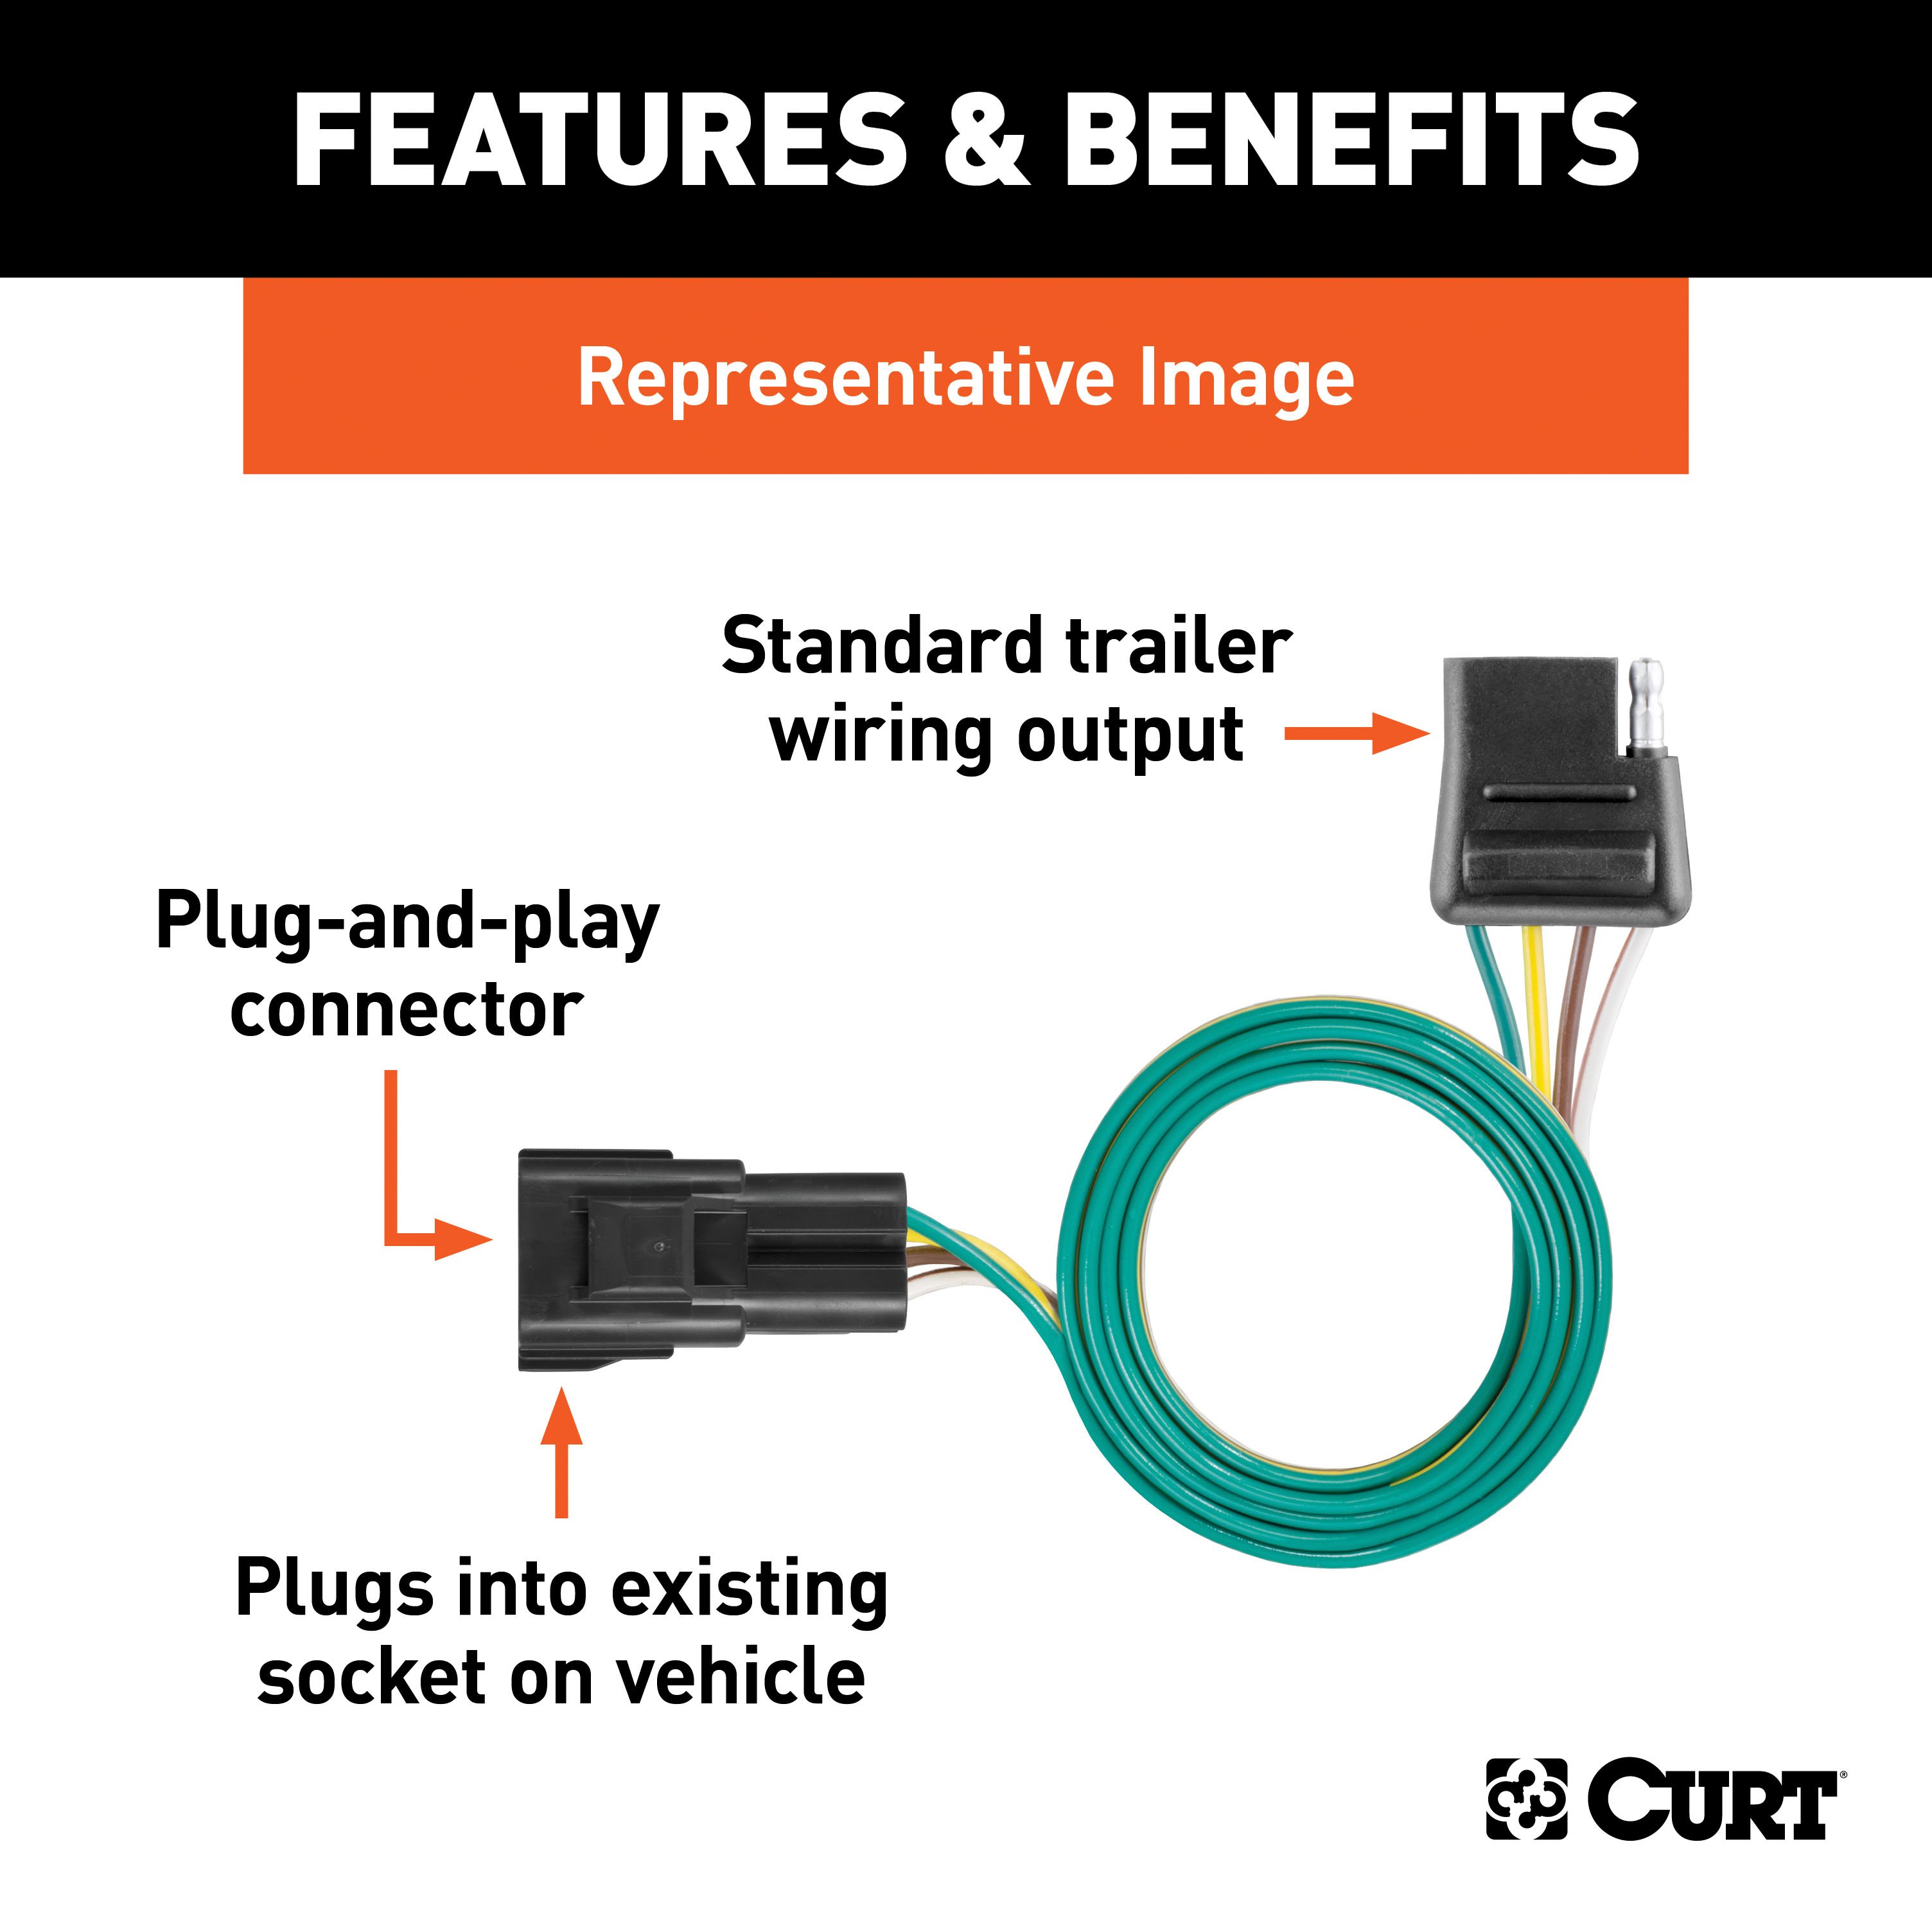
- Insert the custom wiring connector end into the 4-pin vehicle connector.
- Ensure the connectors are fully inserted and the locking tabs are secure.
-
Route the 4-Flat Connector
- When in use, route the 4-flat connector to the center of the vehicle and out of the trunk.
- When not in use, roll it up and store it in a convenient, out-of-the-way location inside the trunk.
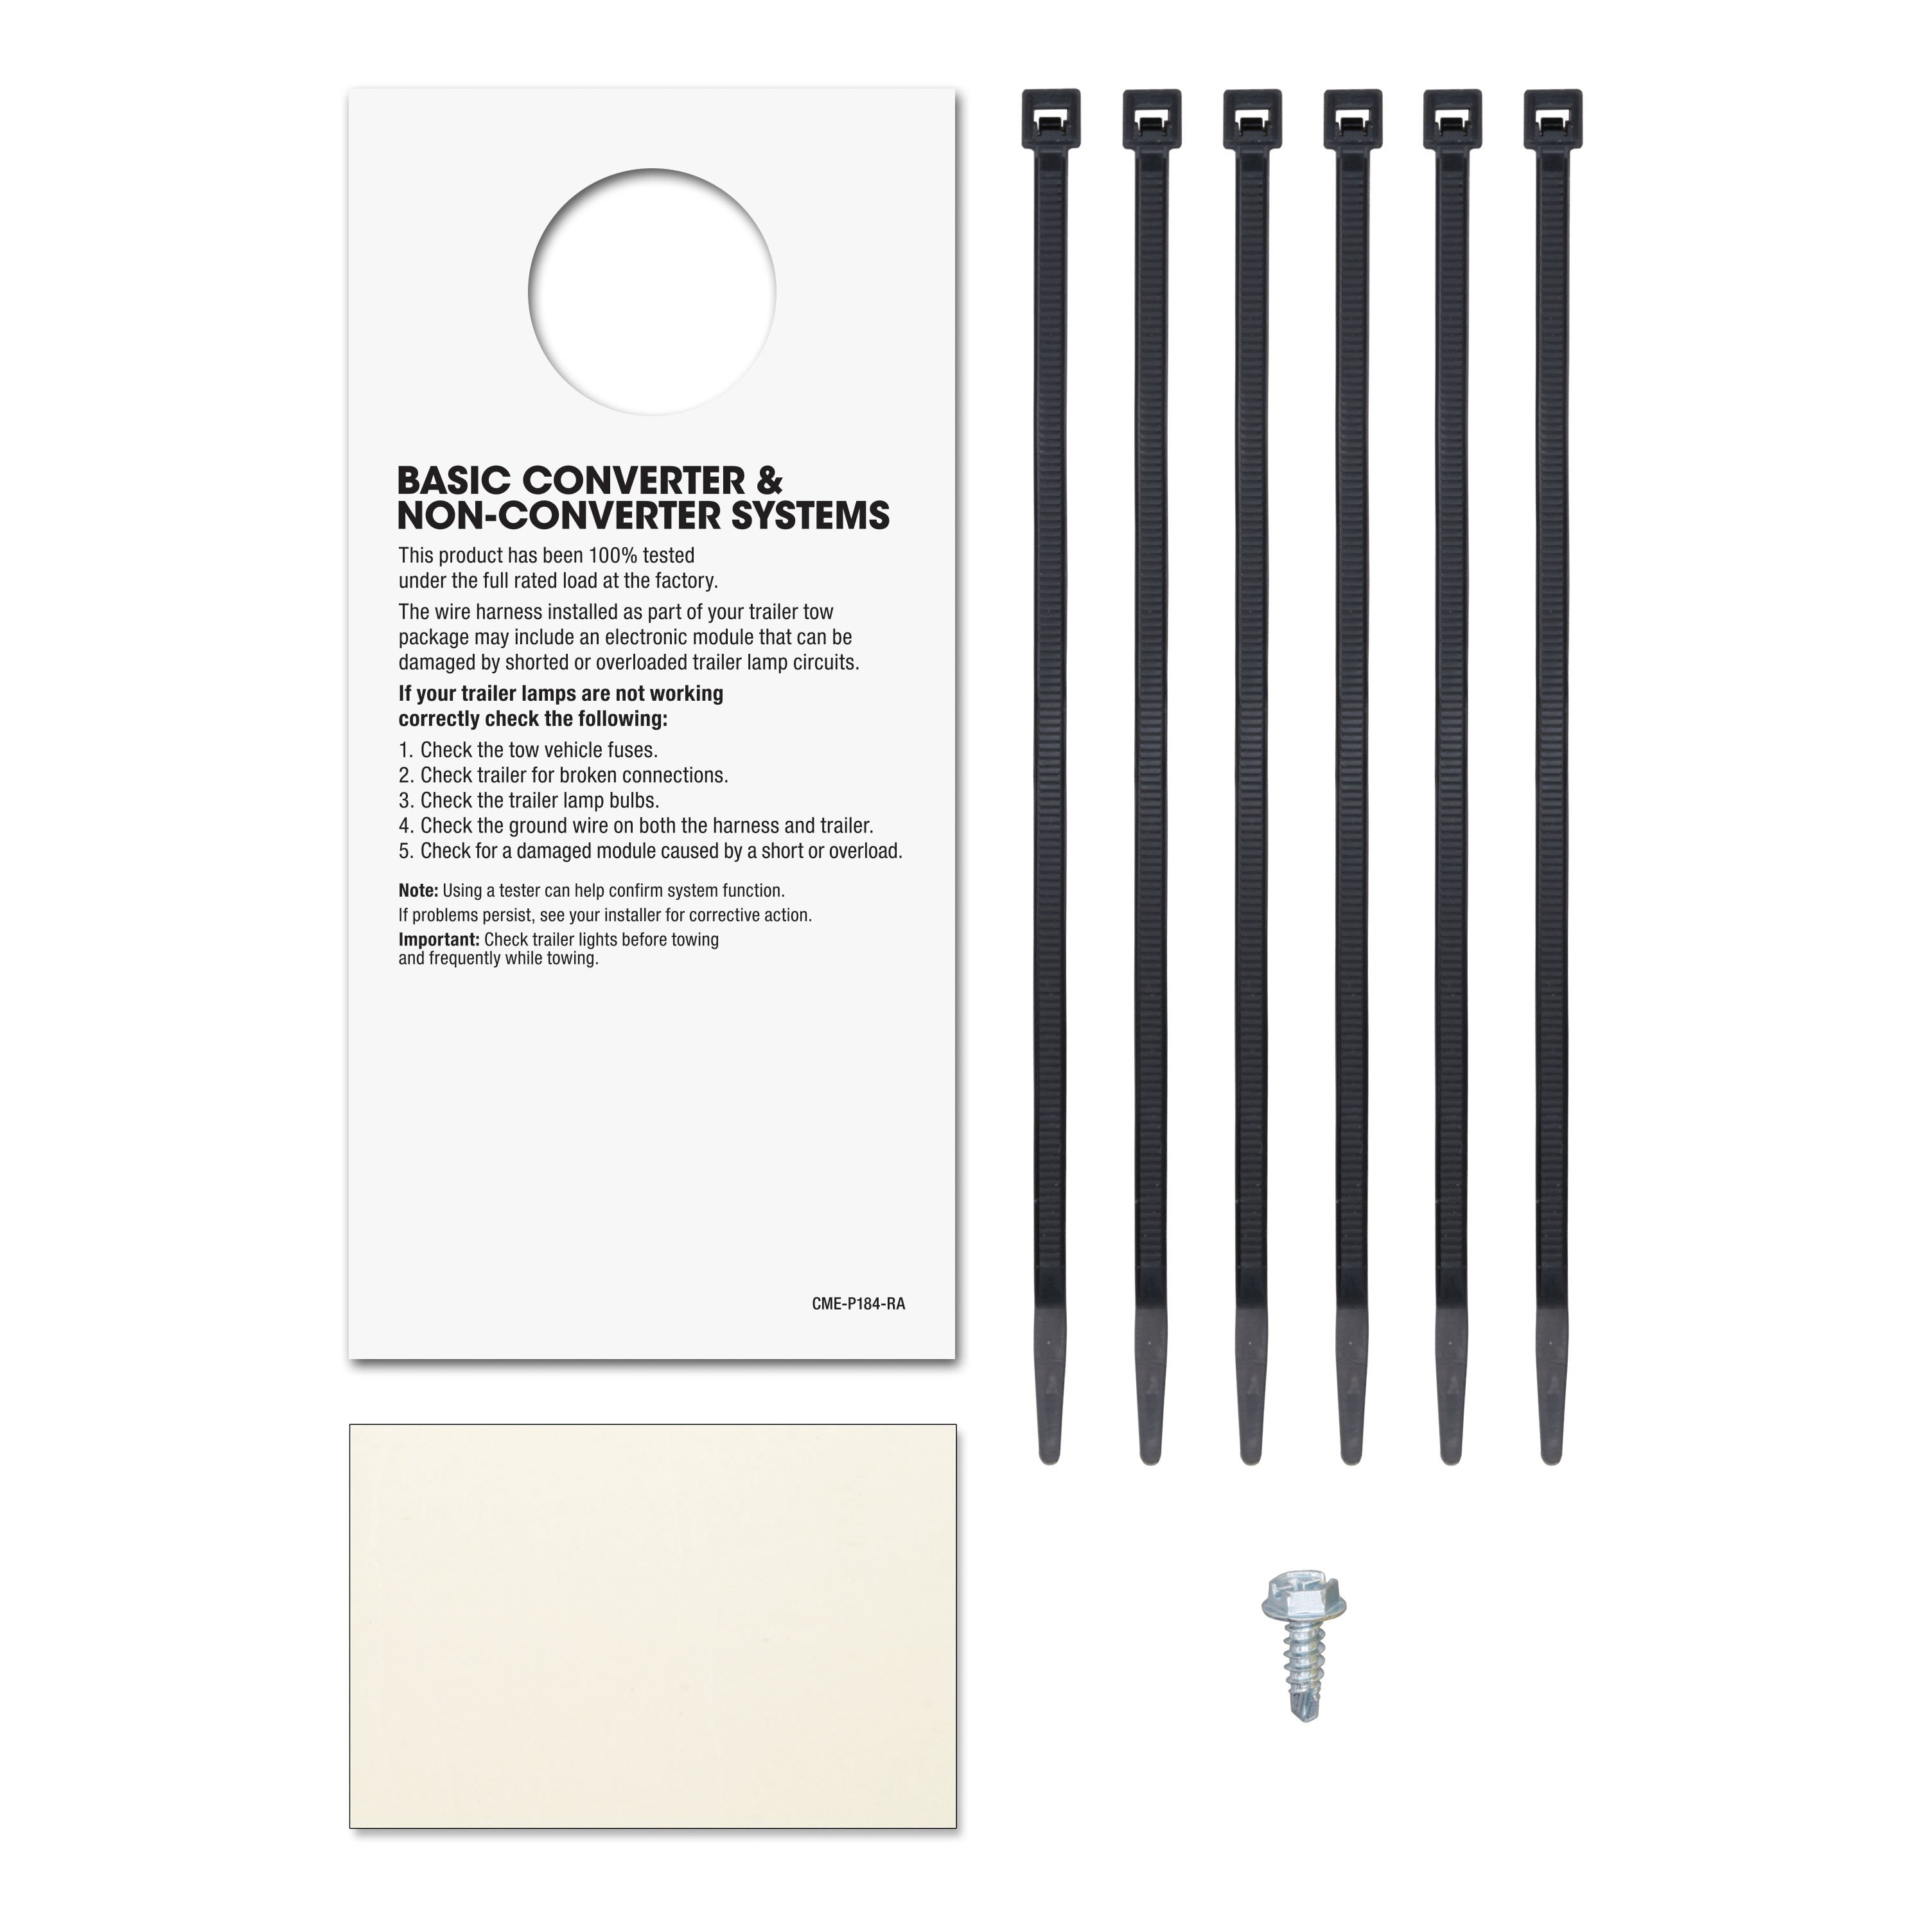
- Secure any loose wires with the provided cable ties.
-
Reinstall Components
- Reinstall all components removed during the installation.
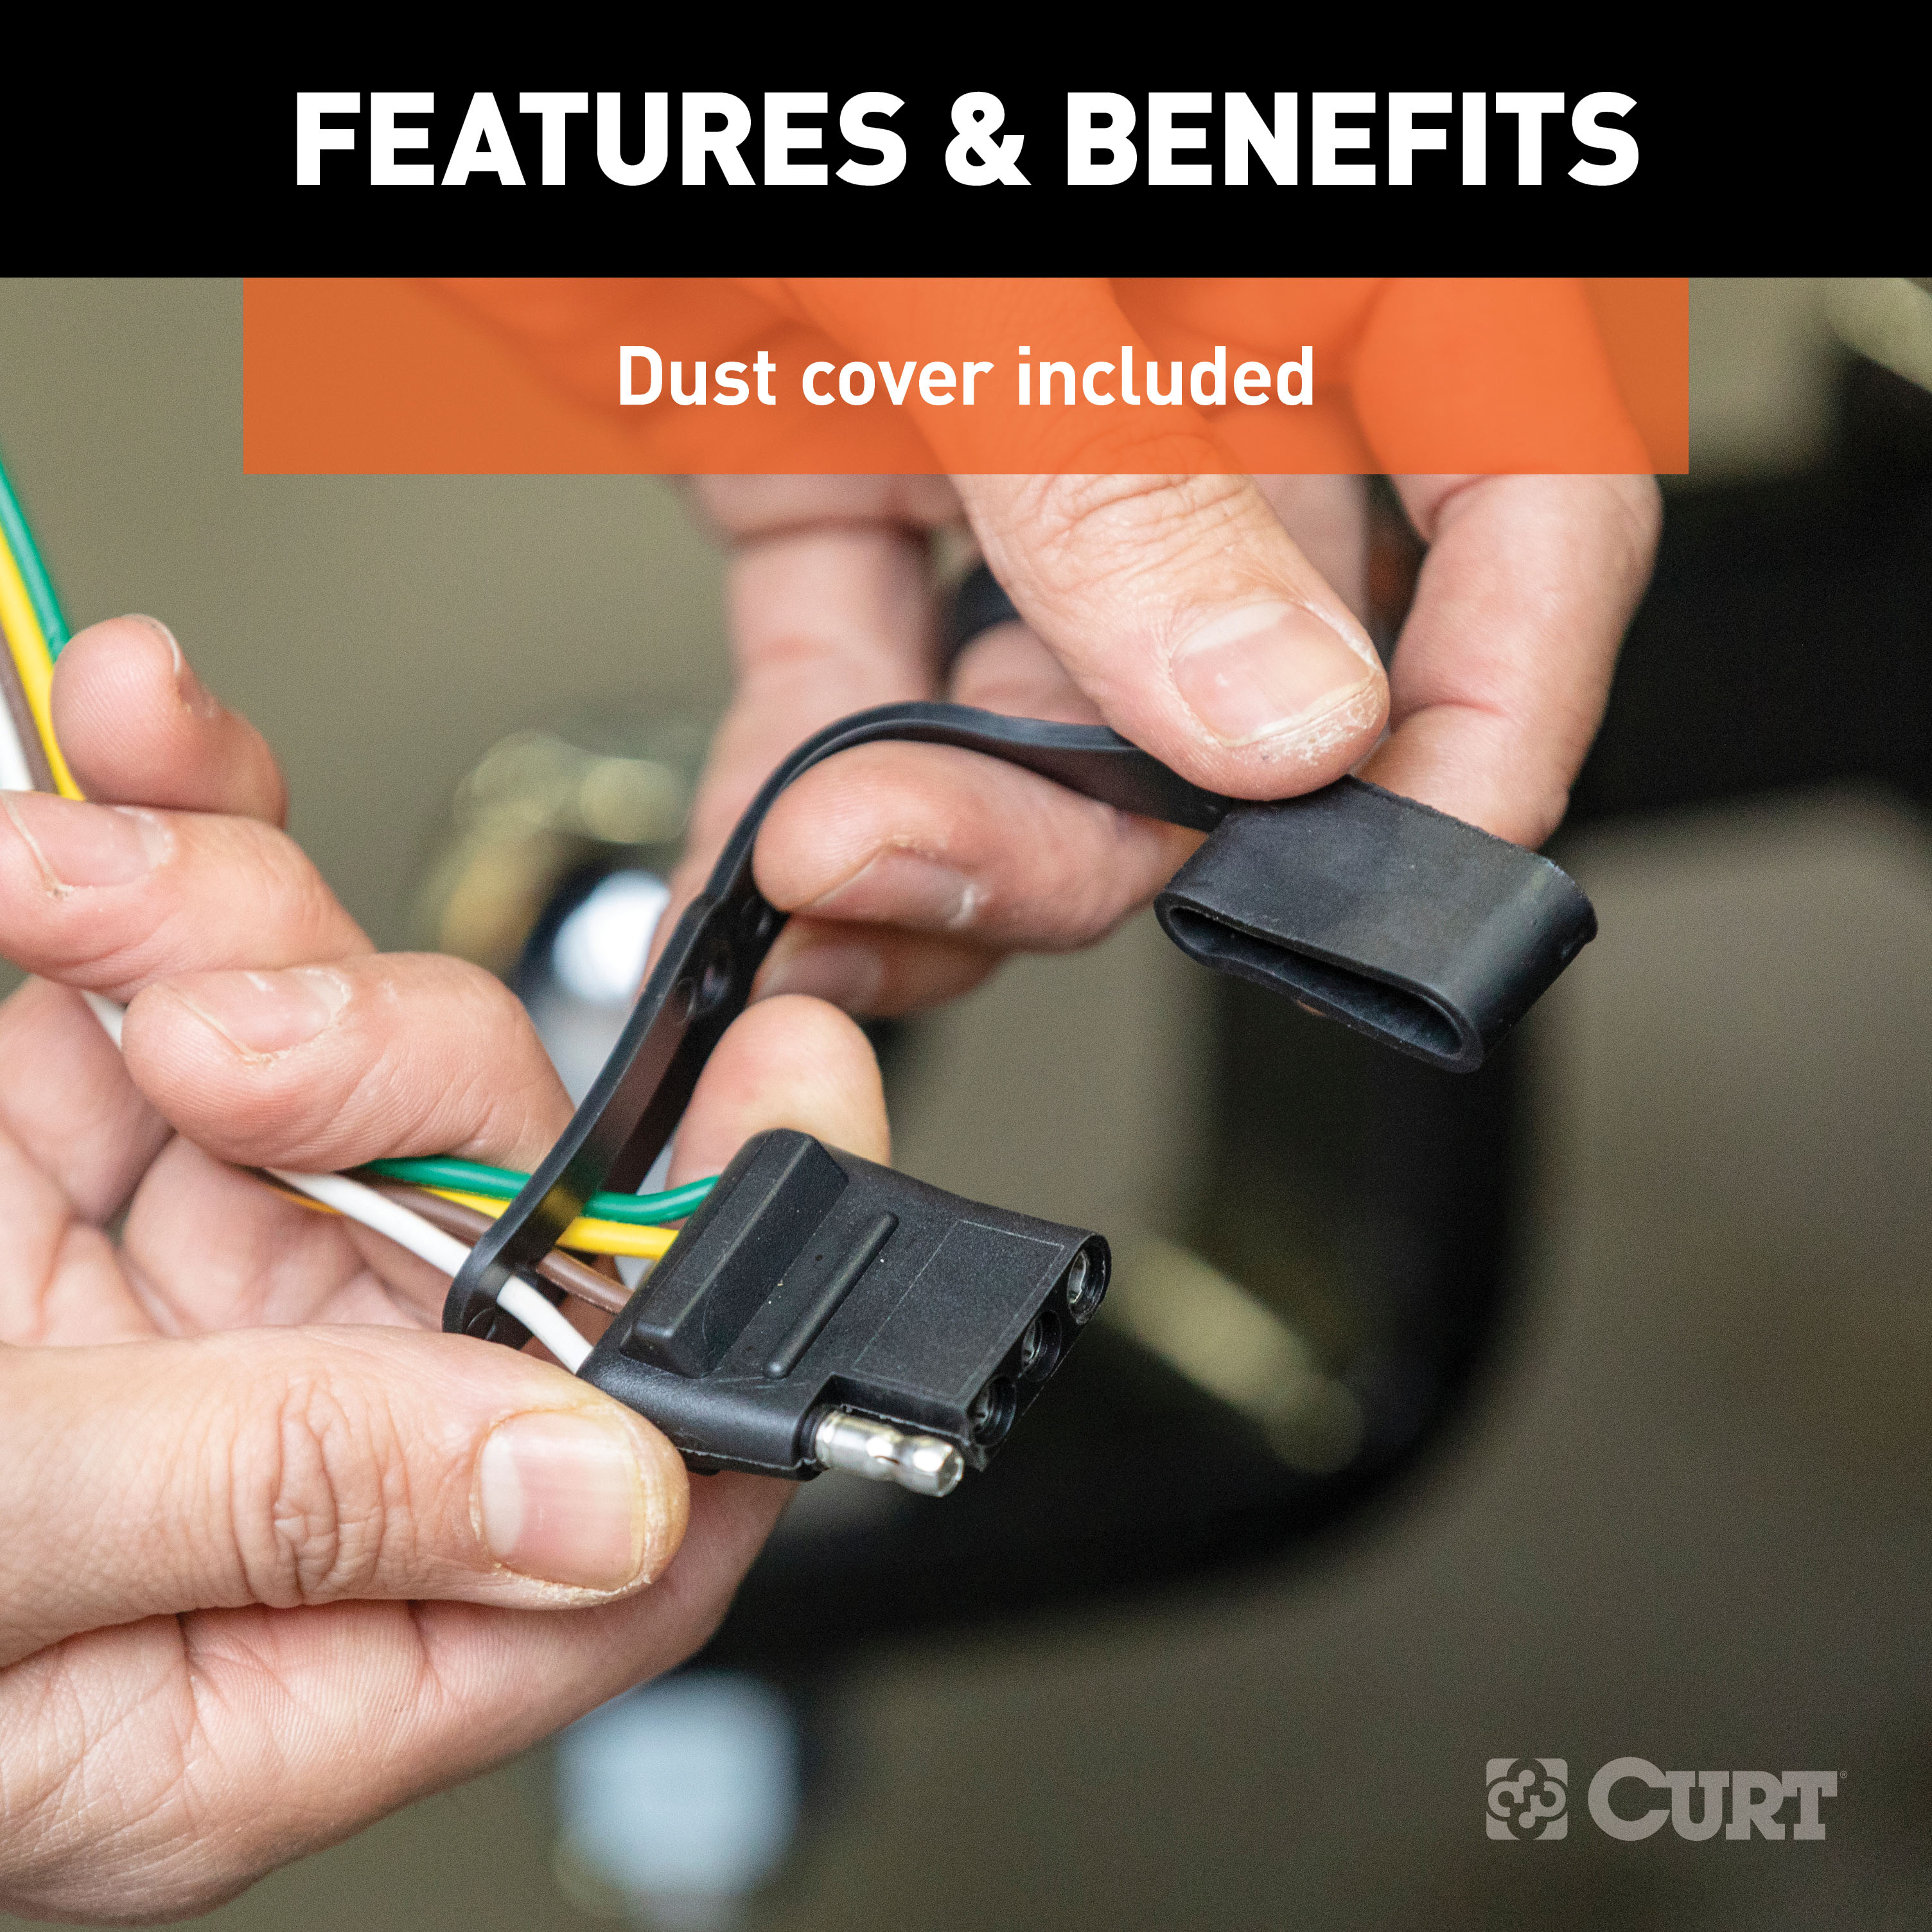
- Attach the provided 4-flat dust cover to prevent corrosion.
Safety Notes:
- Exceeding the product rating can void the warranty, cause overheating, and create a fire hazard.
- Do not exceed the product rating or the tow vehicle's lamp load rating, whichever is lower.
- Verify all wiring connections and ensure proper function using a test light or a properly wired trailer before towing.
Installation Instructions
Part Numbers:
- 56210
Tools Required:
- 3/16" Allen Wrench
Step-by-Step Instructions:
-
Prepare the Vehicle Interior
- Open the vehicle trunk and remove all trunk floor coverings.
- Remove the two cargo fasteners on the driver side.
- Remove the rear scuff panel by pulling out on the bottom and then upward. Take care not to damage the alignment tabs on the back.
-
Access the Driver-Side Trim Panel
- On the driver side, partially remove the lower trim panel to locate the vehicle's taillight wiring connectors.
- Carefully pull outward on the lower trim panel.
-
Locate the Wiring Connectors
- Mounted on the bottom rear side-panel, locate the 4-pin vehicle taillight wiring connectors.
- These connectors will be similar to the one on the custom wiring connector.
-
Connect the Custom Wiring Connector
- Insert the custom wiring connector end into the 4-pin vehicle connector.
- Ensure the connectors are fully inserted and the locking tabs are secure.
-
Route the 4-Flat Connector
- When in use, route the 4-flat connector to the center of the vehicle and out of the trunk.
- When not in use, roll it up and store it in a convenient, out-of-the-way location inside the trunk.
- Secure any loose wires with the provided cable ties.
-
Reinstall Components
- Reinstall all components removed during the installation.
- Attach the provided 4-flat dust cover to prevent corrosion.
Safety Notes:
- Exceeding the product rating can void the warranty, cause overheating, and create a fire hazard.
- Do not exceed the product rating or the tow vehicle's lamp load rating, whichever is lower.
- Verify all wiring connections and ensure proper function using a test light or a properly wired trailer before towing.
Warranty:
For complete warranty information, please download the full installation PDF.
Technical Support:
For technical support and assistance, our team of experts is available to help. You can reach our tech support by visiting www.trailerjacks.com or calling 877-869-6690.
Installation Instructions for 4-Way to 7-Way Adapter and Brake Control Wiring
Tools Required:
- Phillips Head Screwdriver
- Drill with 3/32" Drill Bit
- 10mm Socket & Ratchet or Wrench
- Wire Crimpers
- Wire Cutters
- Test Light or Multimeter
- Cable Ties
Part 1: Install the 4-Way to 7-Way Adapter
Step-by-Step Instructions:
-
Mount the Adapter:
- Choose a suitable mounting point on the vehicle, typically near the hitch.
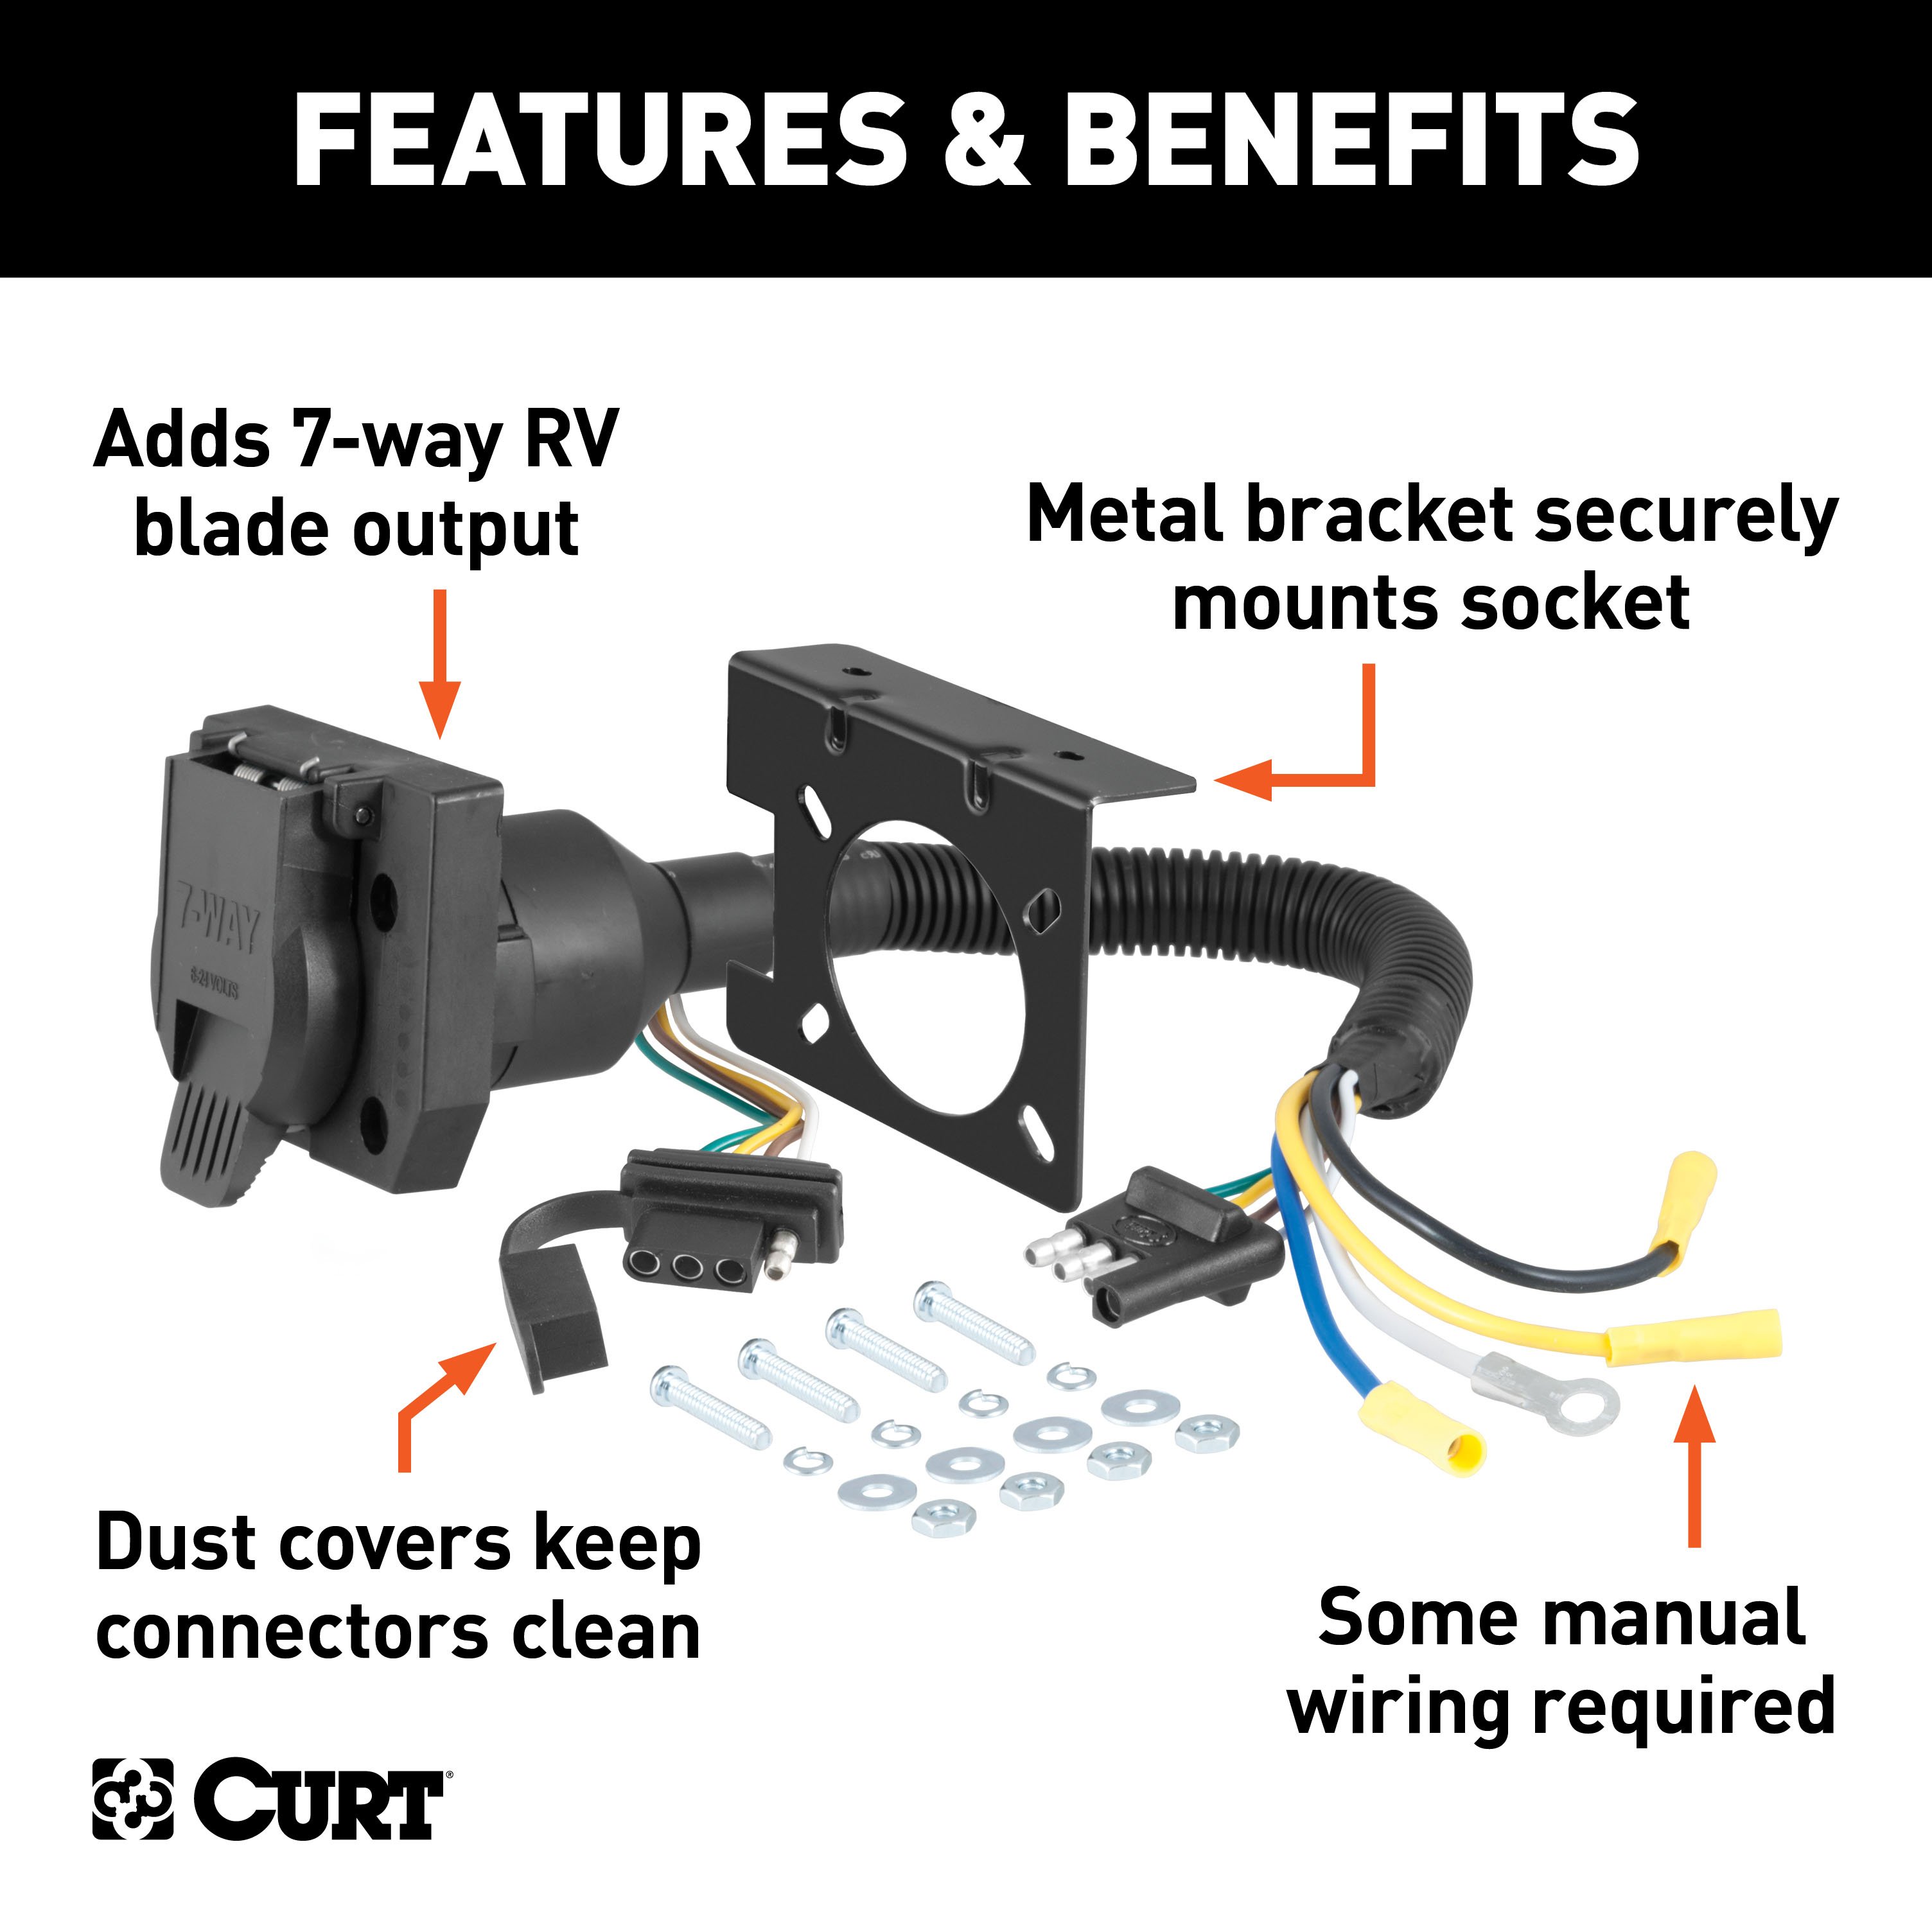
- Use the provided bracket and screws to secure the adapter.
-
Connect the 4-Flat Plug:
- Plug the 4-flat connector on the adapter into the existing 4-flat plug on the vehicle.
- This connection enables tail lights, left turn, and right turn signals.
-
Ground the Adapter:
- Locate a clean, solid grounding point near the adapter.
- Drill a 3/32" hole if necessary and secure the white ground wire from the adapter using the provided screw and eyelet.
-
Leave Additional Wires Disconnected:
- The following wires will remain disconnected until Part 2:
- Black Wire: Power from the battery.
- Blue Wire: Brake control output.
- Yellow Wire: Reverse light (optional; leave disconnected unless needed).
- The following wires will remain disconnected until Part 2:
-
Test Initial Connection:
- Use a test light or trailer to verify functionality of the 4-way connections (tail lights, turn signals).
Part 2: Install Brake Control Wiring
Step-by-Step Instructions:
-
Mount Circuit Breakers:
- Install two 30A circuit breakers on the firewall or another suitable location near the battery.
- Use self-tapping screws to mount them securely.
-
Route Power Wires:
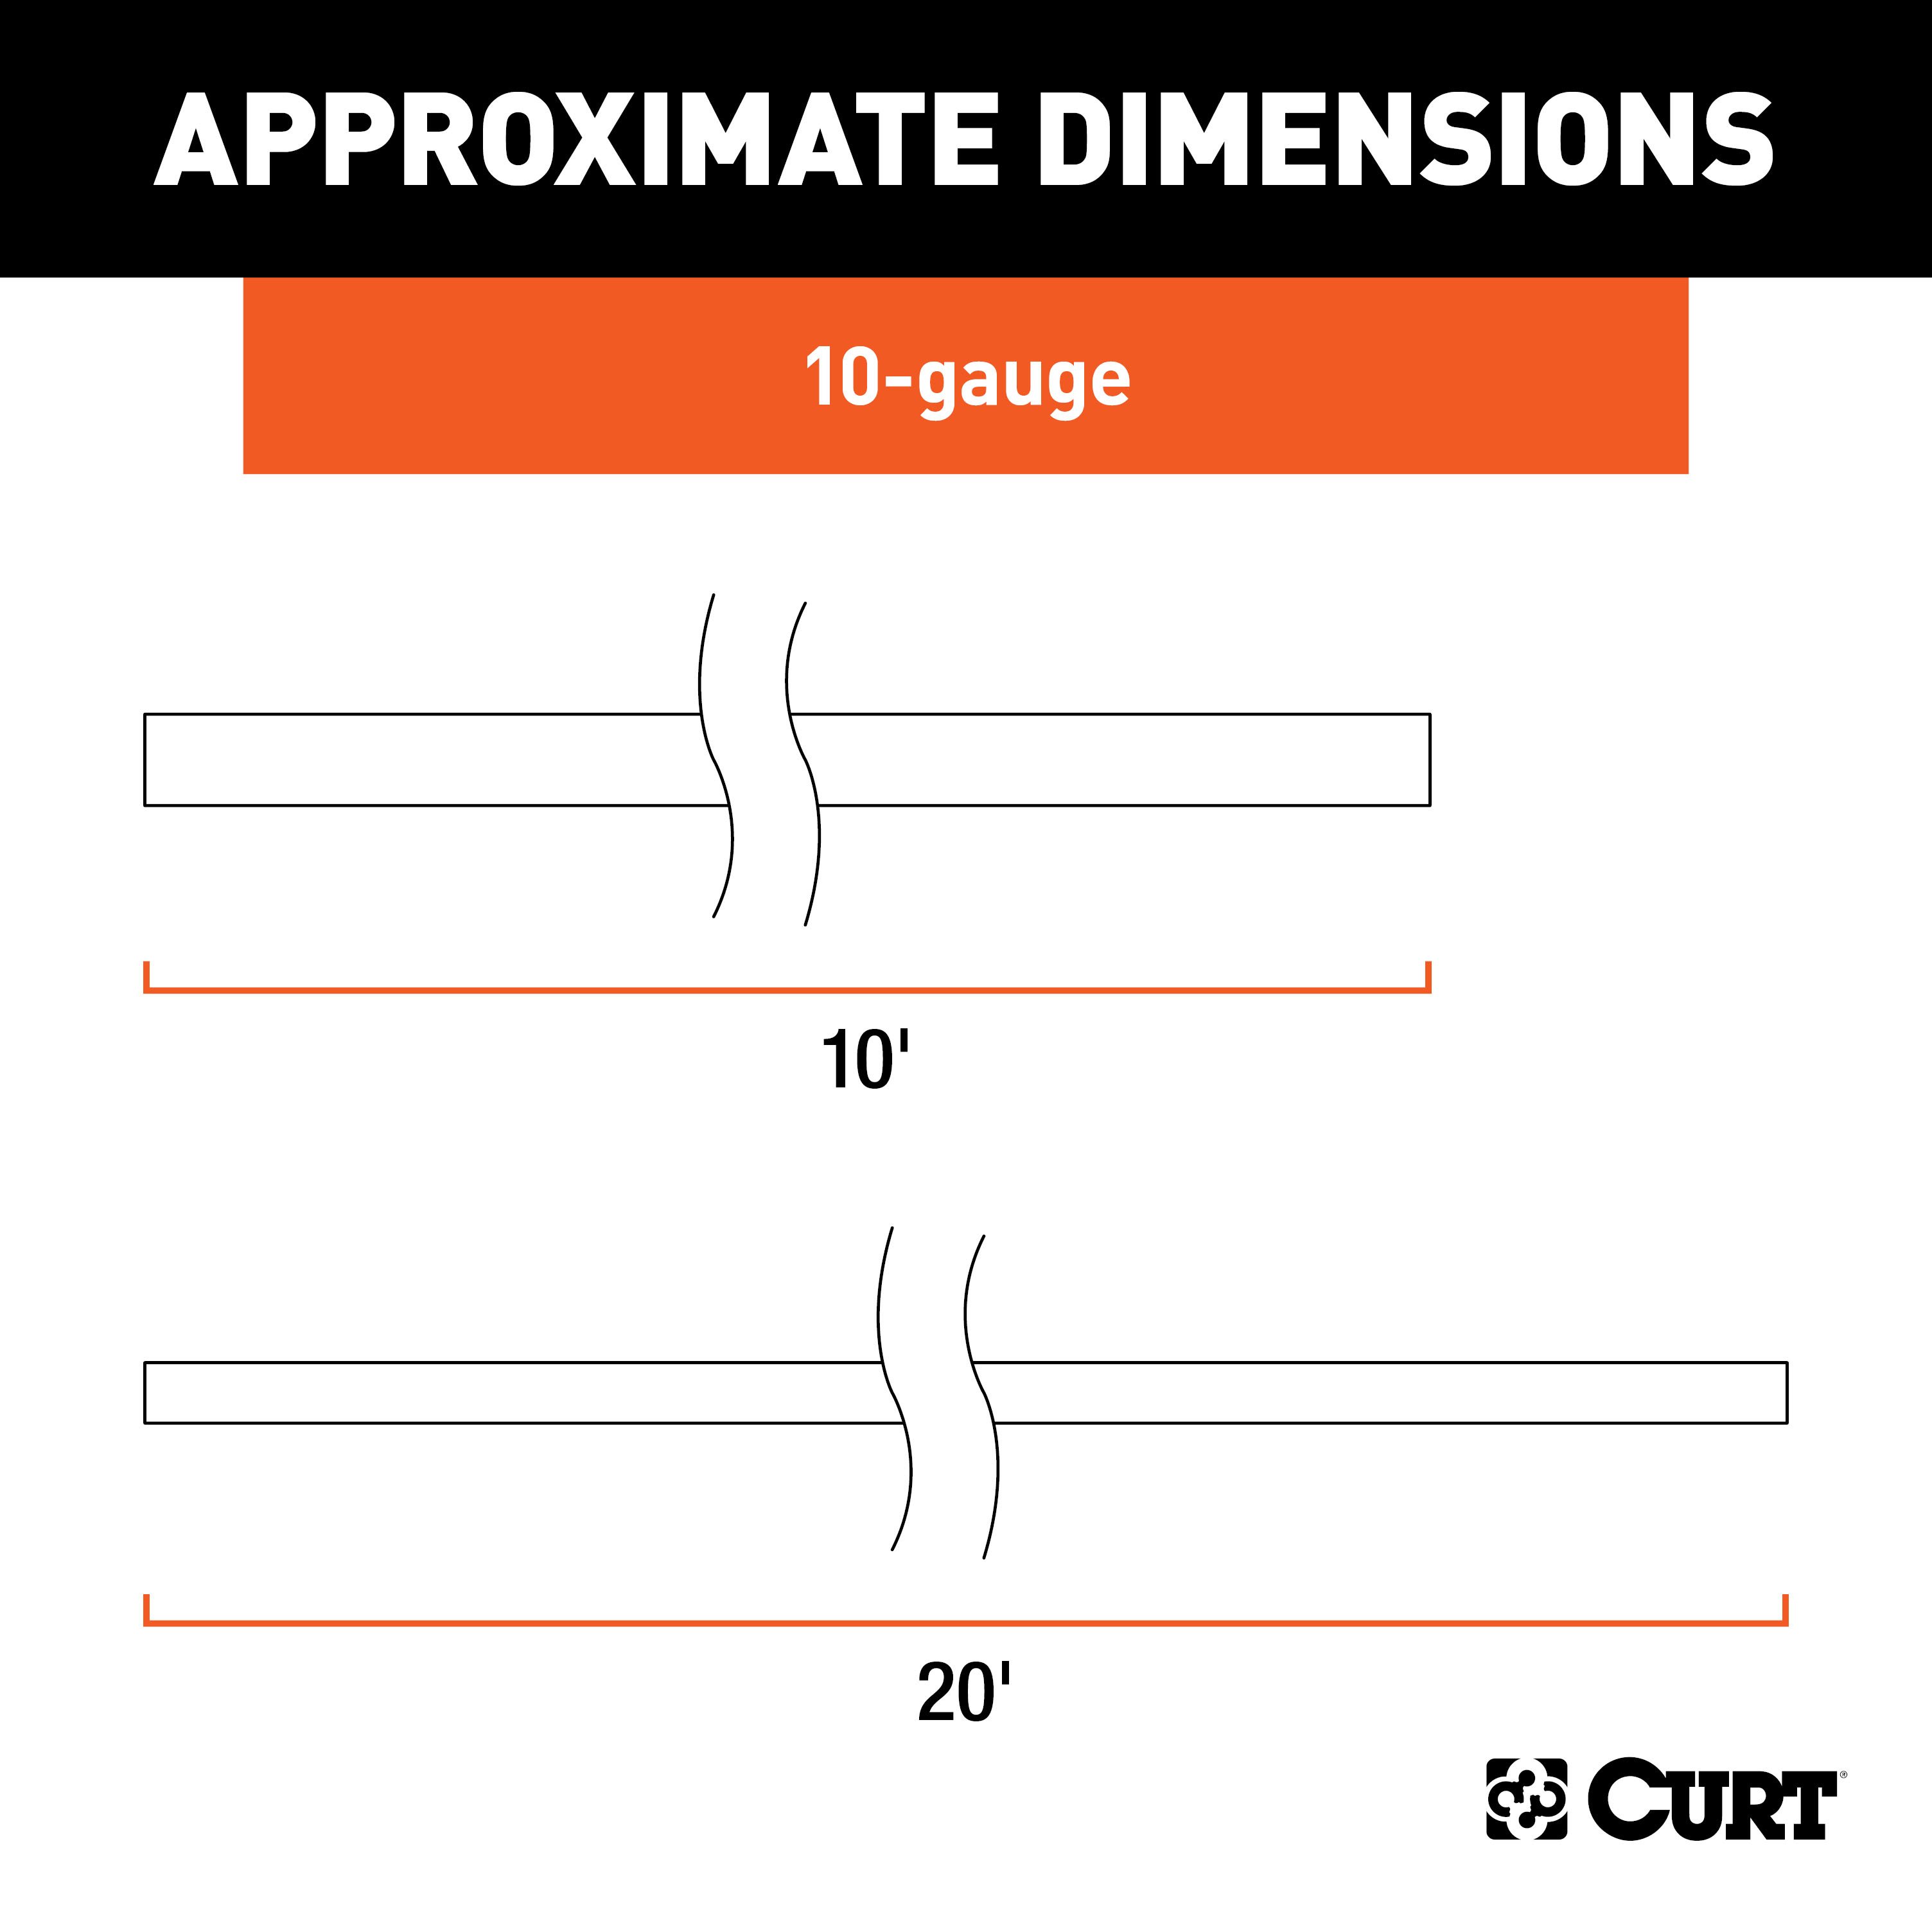
- Connect the black 12-gauge wire from the 7-way adapter to the auxiliary side of one circuit breaker (this powers the 7-way socket).
- Run a heavy-gauge wire from the battery's positive terminal to the battery side of this circuit breaker, using a ring terminal.
- Run another heavy-gauge wire from the battery's positive terminal to the auxiliary side of the second circuit breaker (for the brake controller).
-
Install the Brake Controller:
- Mount the brake controller under the dash on a firm surface.
- Use the following connections:
- Red Wire: Connect to the cold side of the brake switch (active only when the brake pedal is pressed).
- Blue Wire: Connect to the blue wire on the 7-way adapter for trailer brakes.
- White Wire: Connect to a solid ground point on the vehicle body.
- Black Wire: Connect to the auxiliary side of the second 30A circuit breaker (provides power to the brake controller).
-
Optional: Connect Reverse Light Circuit:
- If the trailer has a reverse light circuit, connect the yellow wire from the 7-way adapter to the vehicle’s reverse light circuit.
-
Reconnect the Battery:
- Reattach the negative battery cable and ensure all connections are secure.
- Insert the fuses into both circuit breakers.
-
Secure All Wires:
- Use cable ties to secure all loose wires and prevent damage or rattling.
-
Test the System:
- Verify functionality of all circuits (running lights, turn signals, brake lights, and brake controller output).
- If applicable, test the reverse light circuit.
Notes:
- Most installations will only require connecting the black and blue wires from the 7-way adapter.
- Leave the yellow wire disconnected unless the trailer has a reverse light or surge brake lockout circuit.
- Always adhere to safety guidelines and verify all connections before use.
Warning: Incorrect wiring can cause damage to the vehicle or trailer. Test all connections carefully before use.
Attention:
This is a summary of the installation procedure. For complete installation instructions, including diagrams and detailed information from the manufacturer, please download the full installation PDF.
Warranty Information:
For complete warranty instructions, please download the full installation PDF.
Technical Support:
For technical support and assistance, our team of experts is available to help. You can reach our tech support by visiting www.trailerjacks.com or calling 877-869-6690.


